跳转到主内容
加入维修社区 - 创建账户

Swann Doorphone Video Intercom Wire Replacement

你所需要的

    1. Swann Doorphone Video Intercom Wire Replacement, Wire: 步骤 1 中的图像 1,3 Swann Doorphone Video Intercom Wire Replacement, Wire: 步骤 1 中的图像 2,3 Swann Doorphone Video Intercom Wire Replacement, Wire: 步骤 1 中的图像 3,3
      • Flip the monitor of the Swann Doorphone over so that the underside is facing up.

      • Grip the sides of the black rectangular frame where they extend outwards and pull down.

      • After pulling down, pull the frame towards you to remove it from the monitor.

      询问修复机器人

      添加评论

    2. Swann Doorphone Video Intercom Wire Replacement: 步骤 2 中的图像 1,3 Swann Doorphone Video Intercom Wire Replacement: 步骤 2 中的图像 2,3 Swann Doorphone Video Intercom Wire Replacement: 步骤 2 中的图像 3,3
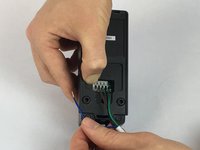
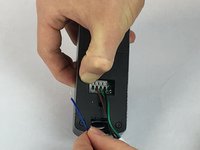
      • Using the JIS #0 screwdriver, unscrew the 2 mm screw in terminal 1 with the blue wire underneath.

      • Pull the blue wire out from beneath the metal plate.

      • Be careful when removing the screw from terminal 1, the metal plate behind the screw is not connected and may fall off.

      询问修复机器人

      添加评论

    3. Swann Doorphone Video Intercom Wire Replacement: 步骤 3 中的图像 1,3 Swann Doorphone Video Intercom Wire Replacement: 步骤 3 中的图像 2,3 Swann Doorphone Video Intercom Wire Replacement: 步骤 3 中的图像 3,3
      • Flip the outdoor camera over so that the underside is facing up.

      • Remove the back cover by grabbing the sides of the camera and pulling towards your body.

      询问修复机器人

      添加评论

    4. Swann Doorphone Video Intercom Wire Replacement: 步骤 4 中的图像 1,3 Swann Doorphone Video Intercom Wire Replacement: 步骤 4 中的图像 2,3 Swann Doorphone Video Intercom Wire Replacement: 步骤 4 中的图像 3,3
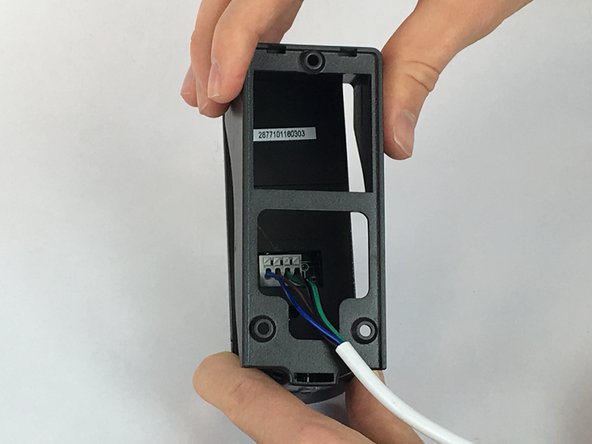
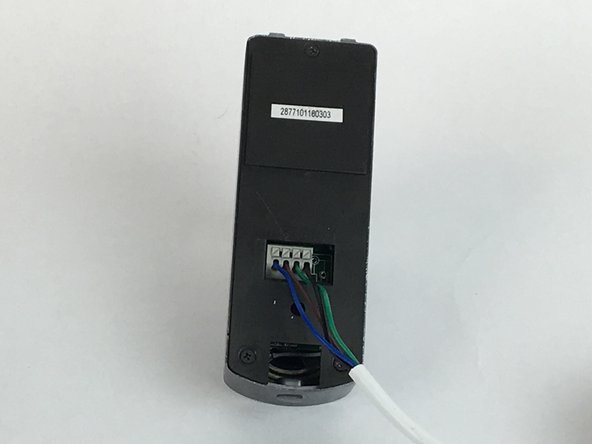
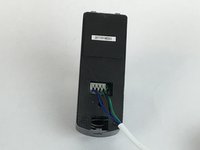
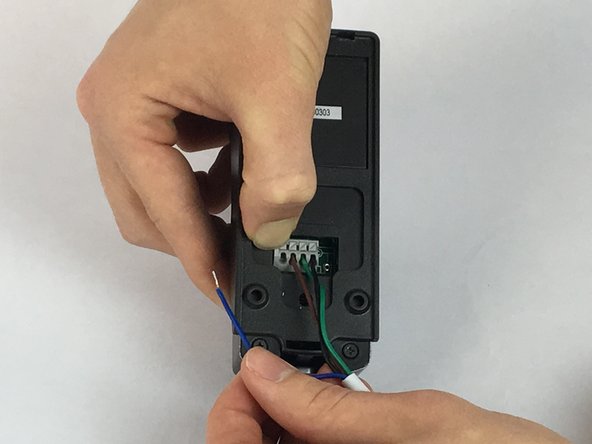
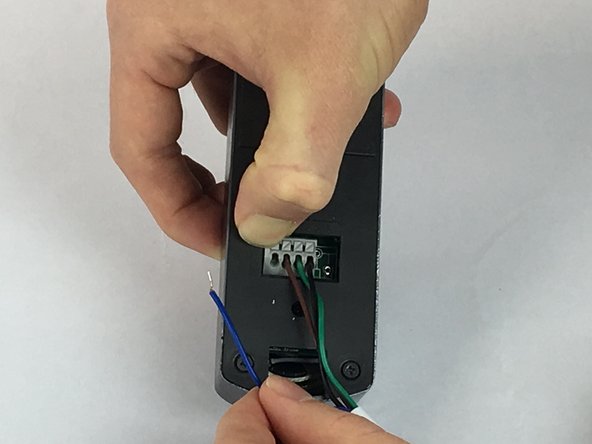
      • With the back cover of the outdoor camera off, press the first gray square button with blue wire down.

      • While pressing the gray square button, remove the blue wire from the first opening under the button.

      • Be sure to remove the same color wire for the outdoor camera as was used for the indoor video intercom.

      • In this guide, we are using the blue wire in terminal 1 for the audio. As a recommendation; * Use the blue wire in terminal 1 for the audio wire. * Use the brown wire in terminal 2 for the ground wire. * Use the green wire in terminal 3 for the video wire. * Use the black wire in terminal 4 for the power wire.

      询问修复机器人

      添加评论

结论

To reassemble your device, follow these instructions in reverse order.

取消:我没有完成这个指南。

2等其他人完成本指南。

Emily Stenke

于02/14/18注册

555 声望

创作了4篇指南

团队

USF Tampa, Team S2-G4, Eyestone Spring 2018 USF Tampa, Team S2-G4, Eyestone Spring 2018 的会员

USFT-EYESTONE-S18S2G4

4 名成员

创作了10篇指南

5指南评论

Have found wires what do I do now to fix the problem?

Norman Stuckey - 回复 分享

Not much good telling me which wiresEmily. I need to know what to do next

Norman Stuckey - 回复 分享

Emily, Anyone home? Still no answer EMILY where are you???

Norman Stuckey - 回复 分享

Is the unit stuffed or can it be repaired

Norman Stuckey - 回复 分享

Emily Emily where are you?

Just when i thought you were going to be useful you have disappeared

Norman Stuckey - 回复 分享

添加评论

浏览统计数据:

过去 24 小时: 0

过去 7 天: 6

过去 30 天: 43

总计 2,525