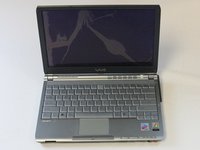
简介
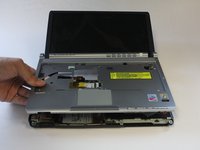
Common reasons for removing the Hard Drive could be exposure to power surges or magnets, device crashes, blue screens. error messages while moving files, or losing files without notice.
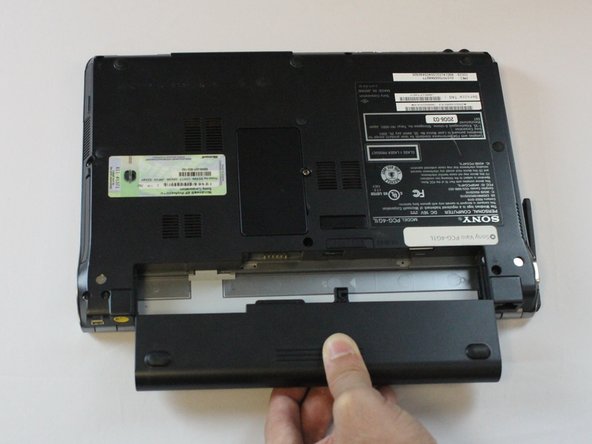
In this guide, you will learn how to replace the Hard Drive of your device. Please remember to unplug the charging cable, since it could result in electric shock.
你所需要的
-
-
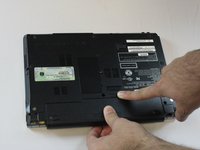
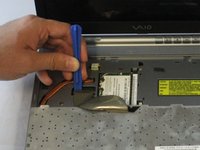
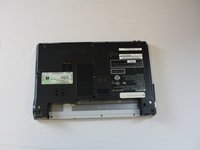
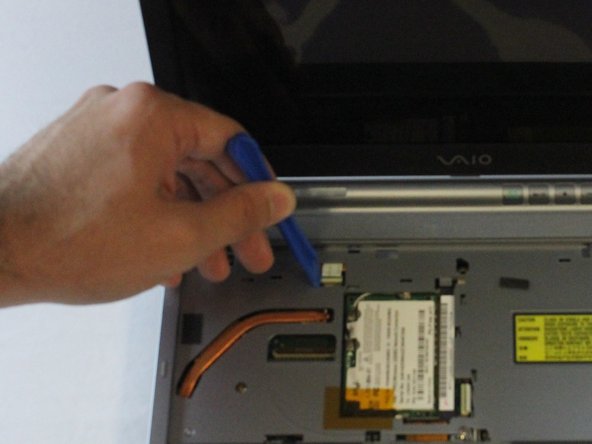
Remove one 5 mm Phillips #1 pan head screw, in the middle of the laptop, using a Bit Driver with Phillips PH1 bit.
-
-
-
-
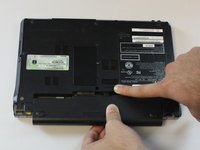
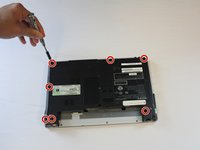
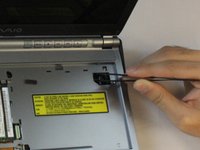
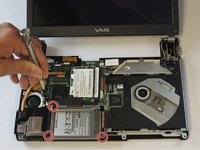
Remove seven 5 mm Phillips #1 pan head screws with a Bit Driver, using a Phillips PH1 bit.
-
-
-
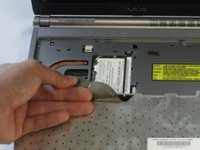
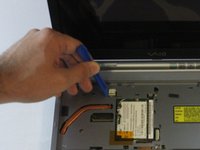
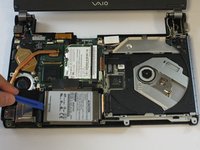
Remove three 5 mm Phillips #0 flat head screws using a Bit Driver with a Phillips PH000 bit.
-
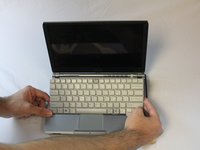
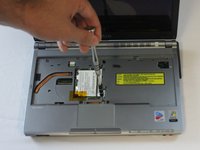
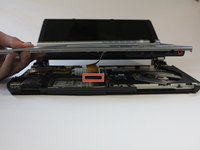
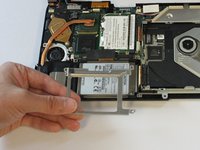
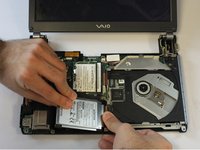
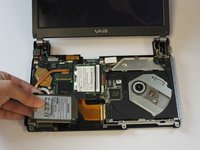
Remove the bracket with your fingers.
-


To reassemble your device, follow these instructions in reverse order.
3等其他人完成本指南。
团队

USF Tampa, Team 2-3, Cagle Fall 2016 USF Tampa, Team 2-3, Cagle Fall 2016 的会员
USFT-CAGLE-F16S2G3
5 名成员
创作了12篇指南