简介
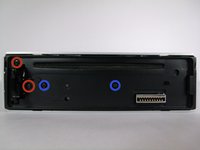
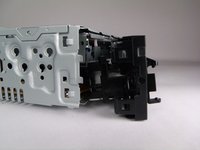
This will show one how to remove and replace the CD drive.
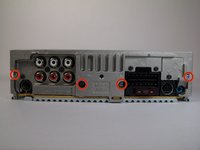
Before any repair work can be done one must remove the device for the vehicle. To do so follow this link to see a general vehicle removal of a stereo system.
你所需要的
-
-
-
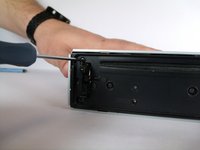
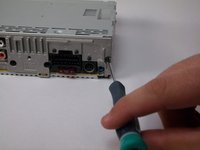
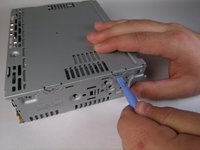
Remove one 9.5mm Phillips #00 screw.
-
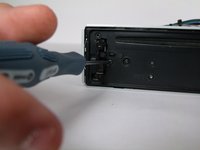
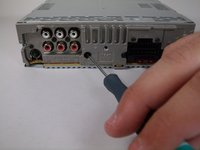
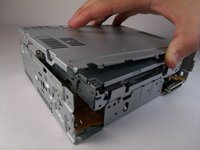
Rotate device 180 degrees and repeat step.
-


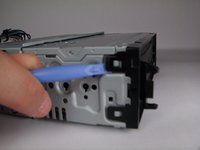


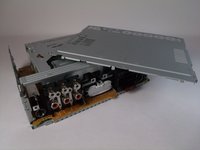


To reassemble your device, follow these instructions in reverse order.
2等其他人完成本指南。
团队

USF Tampa, Team 10-2, Brown Fall 2014 USF Tampa, Team 10-2, Brown Fall 2014 的会员
USFT-BROWN-F14S10G2
3 名成员
创作了7篇指南
1指南评论
This guide is listed as "difficult" yet only requires the use of a screwdriver and some prying tools. It would seem more appropriate to list it as "moderate" at most. I believe the motherboard guide has the same issue.
Also, you say PH#00 in the description of steps, but in the "tools" listing at the beginning of the guide, you said that a PH#0 was needed. These are not the same.
Dale Pearson - 回复 分享