跳转到主内容
加入维修社区 - 创建账户

Samsung NP700Z5AH Hard Drive Replacement

你所需要的

    1. Samsung NP700Z5AH Hard Drive Replacement, Battery: 步骤 1 中的图像 1,1
      • Remove the ten 6.6mm Philips#00 screws securing the lower case to the upper case.

      询问修复机器人

      添加评论

    2. Samsung NP700Z5AH Hard Drive Replacement: 步骤 2 中的图像 1,3 Samsung NP700Z5AH Hard Drive Replacement: 步骤 2 中的图像 2,3 Samsung NP700Z5AH Hard Drive Replacement: 步骤 2 中的图像 3,3
      • Using your fingers, pinch the edge of the SD card and pull to remove it.

      询问修复机器人

      添加评论

    3. Samsung NP700Z5AH Hard Drive Replacement: 步骤 3 中的图像 1,2 Samsung NP700Z5AH Hard Drive Replacement: 步骤 3 中的图像 2,2
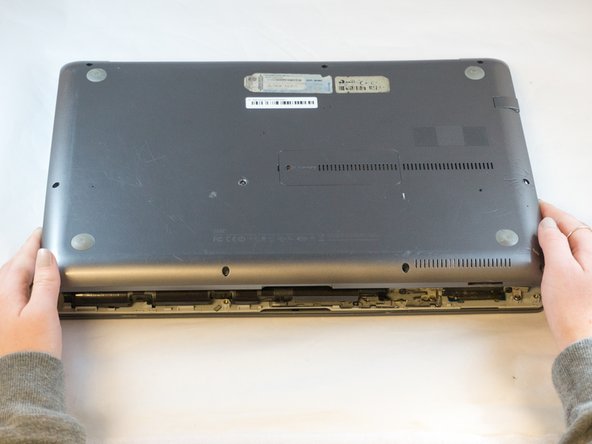
      • Wedge your fingers in between the upper case and the lower case

      • Gently pull the lower case away from the upper case to remove it

      询问修复机器人

      添加评论

    4. Samsung NP700Z5AH Hard Drive Replacement: 步骤 4 中的图像 1,2 Samsung NP700Z5AH Hard Drive Replacement: 步骤 4 中的图像 2,2
      在这个步骤中使用的工具:
      Tweezers
      $4.99
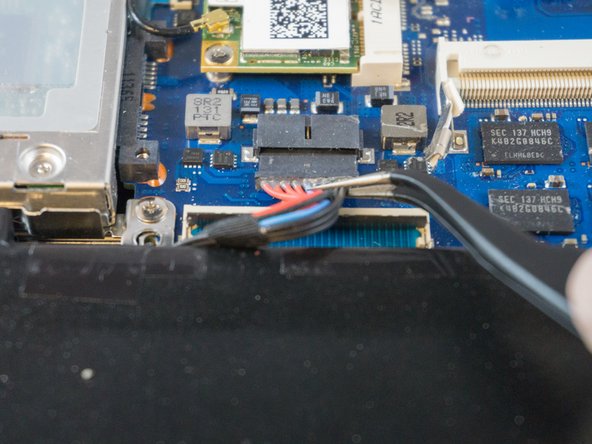
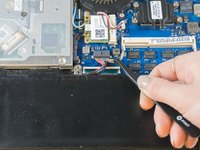
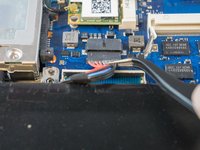
      • Using tweezers or your fingertips, carefully pull on the battery connector to disconnect it from the motherboard.

      • Be sure to pull straight backwards, or you risk damaging the wires.

      添加评论

    5. Samsung NP700Z5AH Hard Drive Replacement: 步骤 5 中的图像 1,1
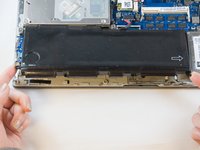
      • Remove the two 4.4mm Phillips#00 screws from the battery case.

      询问修复机器人

      添加评论

    6. Samsung NP700Z5AH Hard Drive Replacement: 步骤 6 中的图像 1,2 Samsung NP700Z5AH Hard Drive Replacement: 步骤 6 中的图像 2,2
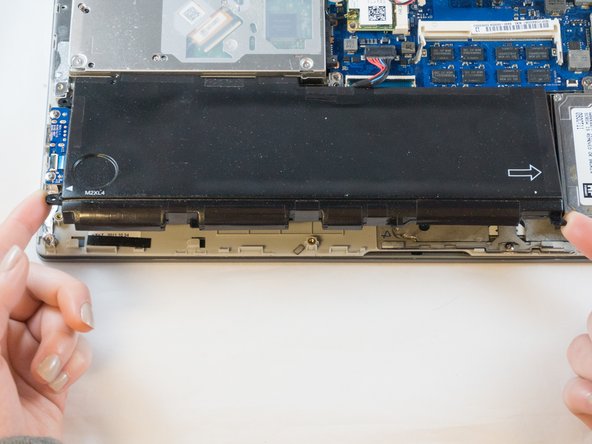
      • Place your fingers on the corner sections of the battery.

      • Lift to remove the battery.

      • If you choose to use tools to remove the battery be careful not to damage it. A damaged lithium-ion battery may leak dangerous chemicals and/or catch fire. Use only plastic pry tools.

      添加评论

    1. Samsung NP700Z5AH Hard Drive Replacement, Hard Drive: 步骤 7 中的图像 1,3 Samsung NP700Z5AH Hard Drive Replacement, Hard Drive: 步骤 7 中的图像 2,3 Samsung NP700Z5AH Hard Drive Replacement, Hard Drive: 步骤 7 中的图像 3,3
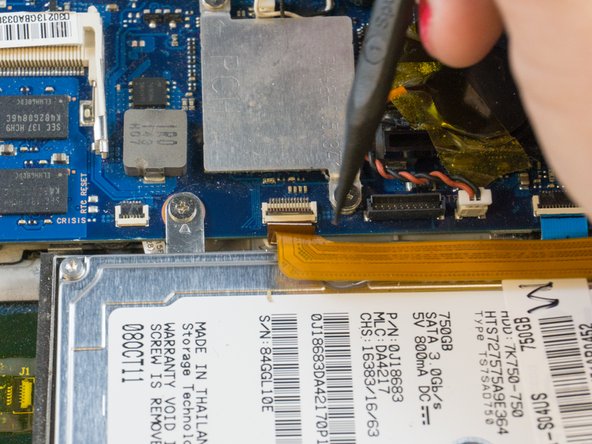
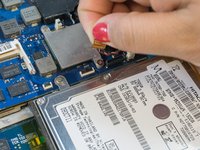
      • Using the tip of the spudger, flip up the small locking flap on the ZIF connector. Now you can pull the cable.

      • Be sure to pry up on the hinged flap, not the connector socket.

      • The white line on this ribbon cable marks the edge of the connection area. To reinstall, insert the cable into the connector up to this line, and then close the locking flap. If the cable doesn’t insert easily up to (or very near to) this line, it’s probably misaligned and needs to be gently removed and repositioned.

      询问修复机器人

      添加评论

    2. Samsung NP700Z5AH Hard Drive Replacement: 步骤 8 中的图像 1,2 Samsung NP700Z5AH Hard Drive Replacement: 步骤 8 中的图像 2,2
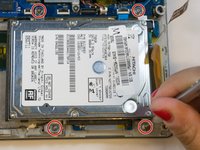
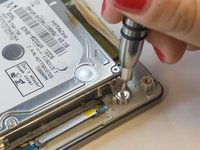
      • Using the Phillips#00, remove the four 4.5mm screws securing the hard drive.

      询问修复机器人

      添加评论

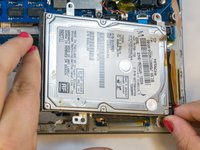
    3. Samsung NP700Z5AH Hard Drive Replacement: 步骤 9 中的图像 1,2 Samsung NP700Z5AH Hard Drive Replacement: 步骤 9 中的图像 2,2
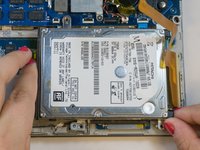
      • Using your fingers, grasp the edges of the hard drive and lift to remove it.

      询问修复机器人

      添加评论

结论

To reassemble your device, follow these instructions in reverse order.

取消:我没有完成这个指南。

4等其他人完成本指南。

2指南评论

Thanks, Eric. I wished I’d read your ifixit lesson before I broke it!! Next time I’ll know better.

rbrtparsons - 回复 分享

cảm ơn rất chi tiết

thọ nguyễn văn - 回复 分享

添加评论

浏览统计数据:

过去 24 小时: 0

过去 7 天: 7

过去 30 天: 36

总计 2,826