跳转到主内容
加入维修社区 - 创建账户

Samsung NP-R540-JA09US Front Panel Replacement

你所需要的

    1. Samsung NP-R540-JA09US Front Panel Replacement, Battery: 步骤 1 中的图像 1,1
      • Turn off laptop before starting.

      • Remove power cable before starting.

      • Flip the laptop over so that the bottom of the laptop is facing upwards.

      询问修复机器人

      添加评论

    2. Samsung NP-R540-JA09US Front Panel Replacement: 步骤 2 中的图像 1,1
      • Pull the two latches outward.

      询问修复机器人

      添加评论

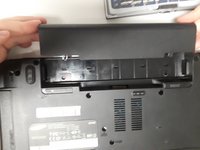
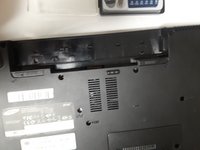
    3. Samsung NP-R540-JA09US Front Panel Replacement: 步骤 3 中的图像 1,2 Samsung NP-R540-JA09US Front Panel Replacement: 步骤 3 中的图像 2,2
      • Slide the battery out of the laptop.

      询问修复机器人

      添加评论

    1. Samsung NP-R540-JA09US Front Panel Replacement, Optical Drive: 步骤 4 中的图像 1,1
      • Remove securing screw with the PH0 head.

      添加评论

    2. Samsung NP-R540-JA09US Front Panel Replacement: 步骤 5 中的图像 1,1
      • Slide the optical drive out and remove it from the device.

      询问修复机器人

      添加评论

    1. Samsung NP-R540-JA09US Front Panel Replacement, Keyboard: 步骤 6 中的图像 1,1
      • Remove the two Phillips #0 screws labeled KBD.

      询问修复机器人

      添加评论

      • There are 5 clips along the top of the keyboard. Insert a thin opener tool (iSessamo tool or similar) between each clip and the keyboard tray to release it.

      • Make sure to pry the metal keyboard base and not the keycaps.

      添加评论

    2. Samsung NP-R540-JA09US Front Panel Replacement: 步骤 8 中的图像 1,1
      • Do not bend your keyboard as shown in this picture.

      • Lift the keyboard up to release catches on the sides, then slide the keyboard towards the screen to slide tabs out of the slots at the bottom.

      添加评论

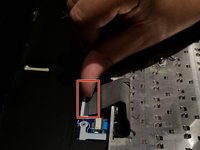
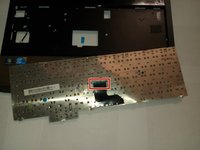
    3. Samsung NP-R540-JA09US Front Panel Replacement: 步骤 9 中的图像 1,2 Samsung NP-R540-JA09US Front Panel Replacement: 步骤 9 中的图像 2,2
      • Disconnect the keyboard cable from the motherboard.

      询问修复机器人

      添加评论

    1. Samsung NP-R540-JA09US Front Panel Replacement, Front Panel: 步骤 10 中的图像 1,1
      • Remove the two screws with a Phillips #00 screwdriver.

      询问修复机器人

      添加评论

    2. Samsung NP-R540-JA09US Front Panel Replacement: 步骤 11 中的图像 1,1
      • Remove the highlighted screws with a Phillips #0 Screwdriver.

      添加评论

    3. Samsung NP-R540-JA09US Front Panel Replacement: 步骤 12 中的图像 1,3 Samsung NP-R540-JA09US Front Panel Replacement: 步骤 12 中的图像 2,3 Samsung NP-R540-JA09US Front Panel Replacement: 步骤 12 中的图像 3,3
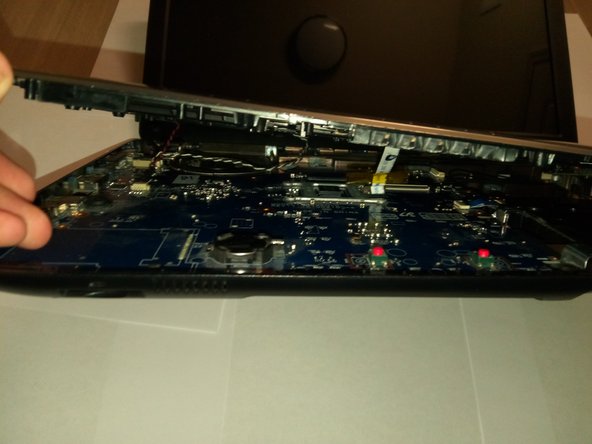
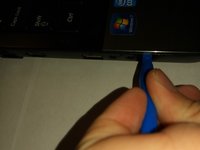
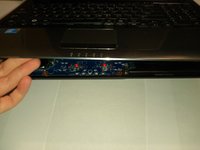
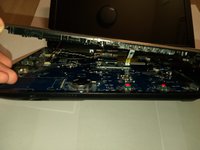
      • Pry the front panel away from the base with an Opening Tool.

      询问修复机器人

      添加评论

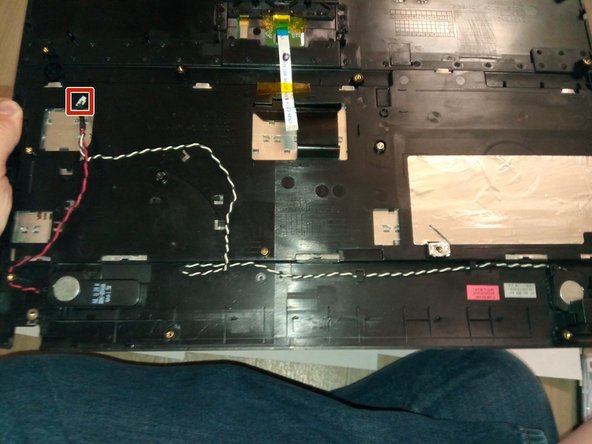
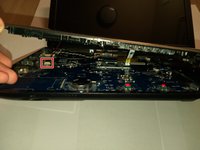
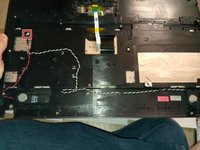
    4. Samsung NP-R540-JA09US Front Panel Replacement: 步骤 13 中的图像 1,2 Samsung NP-R540-JA09US Front Panel Replacement: 步骤 13 中的图像 2,2
      • Disconnect the speaker wire from the motherboard.

      询问修复机器人

      添加评论

结论

To reassemble your device, follow these instructions in reverse order.

取消:我没有完成这个指南。

0指南评论

添加评论

浏览统计数据:

过去 24 小时: 2

过去 7 天: 9

过去 30 天: 39

总计 925