跳转到主内容

Samsung Gravity TXT Screen Replacement

你所需要的

  1. Samsung Gravity TXT Screen Replacement, Battery: 步骤 1 中的图像 1,2 Samsung Gravity TXT Screen Replacement, Battery: 步骤 1 中的图像 2,2
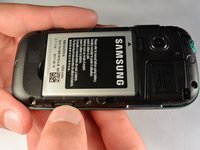
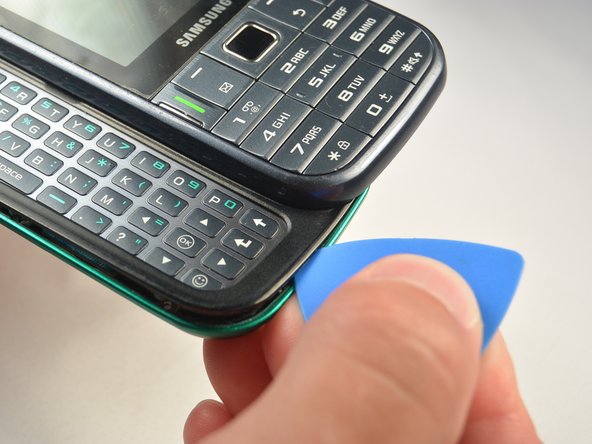
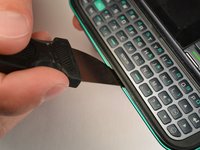
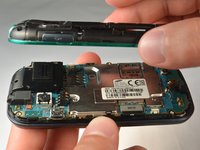
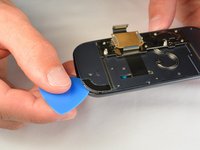
    • Pry the back cover off with a plastic opening tool, or your fingernail, in the indentation on the bottom of the device.

  2. Samsung Gravity TXT Screen Replacement: 步骤 2 中的图像 1,1
    • Lift the back cover away from the main body of the phone.

  3. Samsung Gravity TXT Screen Replacement: 步骤 3 中的图像 1,1
    • Insert your finger in the groove below the battery.

    • Press the battery toward the audio jack while lifting upward and away from the phone.

    • Remember to place the battery back with the copper contacts on the battery lined up with those on the phone.

  4. Samsung Gravity TXT Screen Replacement, SIM Card: 步骤 4 中的图像 1,3 Samsung Gravity TXT Screen Replacement, SIM Card: 步骤 4 中的图像 2,3 Samsung Gravity TXT Screen Replacement, SIM Card: 步骤 4 中的图像 3,3
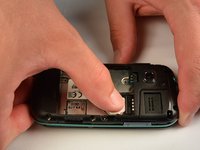
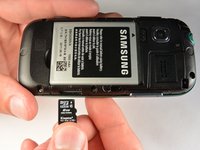
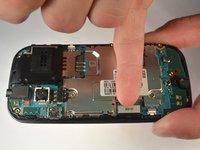
    • Using your finger, push the SIM Card down and slide out of the slot.

    • Slide the SIM card out enough to grab it firmly.

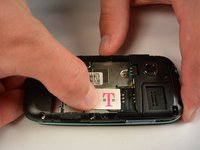
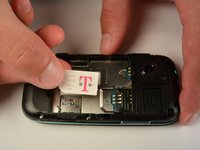
    • Remove the SIM card away from the phone.

    • Follow the visual on the bottom of the SIM card slot to put the SIM card back in the correct orientation.

    • When sliding the SIM Card back in the slot, make sure the card goes all the way in the slot until it hits the stopper.

  5. Samsung Gravity TXT Screen Replacement, microSD Card: 步骤 5 中的图像 1,3 Samsung Gravity TXT Screen Replacement, microSD Card: 步骤 5 中的图像 2,3 Samsung Gravity TXT Screen Replacement, microSD Card: 步骤 5 中的图像 3,3
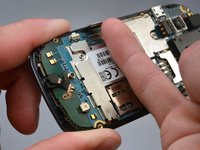
    • Using your fingernail, push the microSD card slightly deeper into the slot, until you hear a click.

    • The removal of the battery is not required for this operation; therefore, step 3 can be skipped if just replacing the microSD card.

    • After the click, release the microSD card to allow it to pop out.

    • Remove the microSD card from its slot

    • When placing the microSD card back in the phone, make sure the card clicks in place.

  6. Samsung Gravity TXT Screen Replacement, Plastic Back Frame: 步骤 6 中的图像 1,1
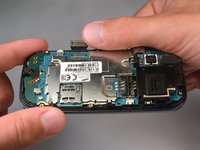
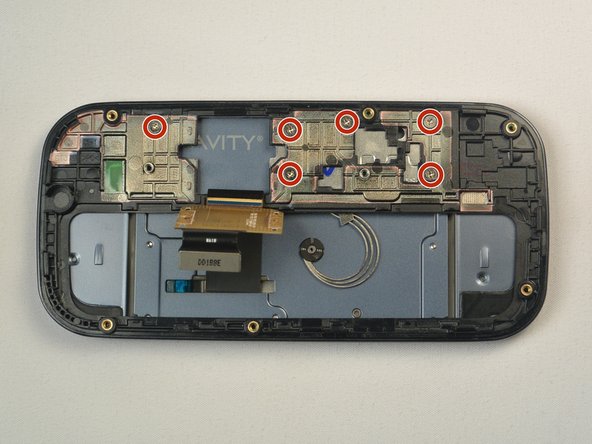
    • Remove the six 3 mm #00 Phillips screws in the plastic back frame.

  7. Samsung Gravity TXT Screen Replacement: 步骤 7 中的图像 1,3 Samsung Gravity TXT Screen Replacement: 步骤 7 中的图像 2,3 Samsung Gravity TXT Screen Replacement: 步骤 7 中的图像 3,3
    • Slide the keyboard out.

    • Use a Jimmy to separate a small segment of the plastic back frame from rest of the phone.

    • Starting at the bottom of the keyboard is recommended.

    • Slide an opening pick around the rest of the seam, starting at the gap just created with the Jimmy.

    • You will have to slide the keyboard back in to separate the back frame from the top have of the keyboard slider.

    • Lift the plastic back frame away.

  8. Samsung Gravity TXT Screen Replacement, Motherboard: 步骤 8 中的图像 1,1
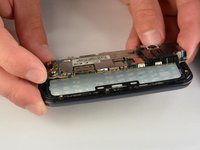
    • Remove the two 3 mm Phillips #00 screws securing the motherboard to the front panel.

    • Do not try to pull the motherboad out just yet. The display data cable needs to be disconnected from the motherboad first.

  9. Samsung Gravity TXT Screen Replacement: 步骤 9 中的图像 1,3 Samsung Gravity TXT Screen Replacement: 步骤 9 中的图像 2,3 Samsung Gravity TXT Screen Replacement: 步骤 9 中的图像 3,3
    • Use your finger nail to disconnect the display data cable from the motherboard.

  10. Samsung Gravity TXT Screen Replacement: 步骤 10 中的图像 1,2 Samsung Gravity TXT Screen Replacement: 步骤 10 中的图像 2,2
    • Carefully lift the main motherboard assembly away from the front panel.

  11. Samsung Gravity TXT Screen Replacement, Keyboard: 步骤 11 中的图像 1,1
    • Take the keyboard off of the phone.

  12. Samsung Gravity TXT Screen Replacement, Screen: 步骤 12 中的图像 1,3 Samsung Gravity TXT Screen Replacement, Screen: 步骤 12 中的图像 2,3 Samsung Gravity TXT Screen Replacement, Screen: 步骤 12 中的图像 3,3
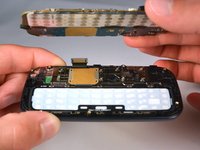
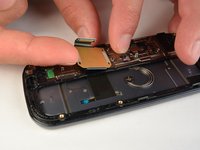
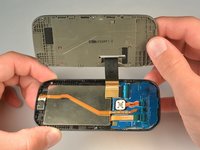
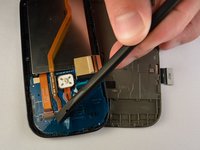
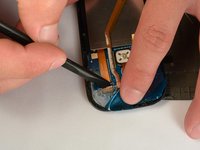
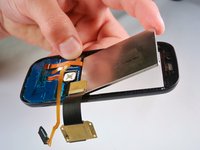
    • Lift the ribbon off the plastic inner frame.

    • You may have to warm the adhesive using an iOpener to avoid damaging the ribbon.

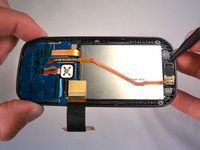
    • Remove the six 1.2 mm #00 screws from the inner plastic frame.

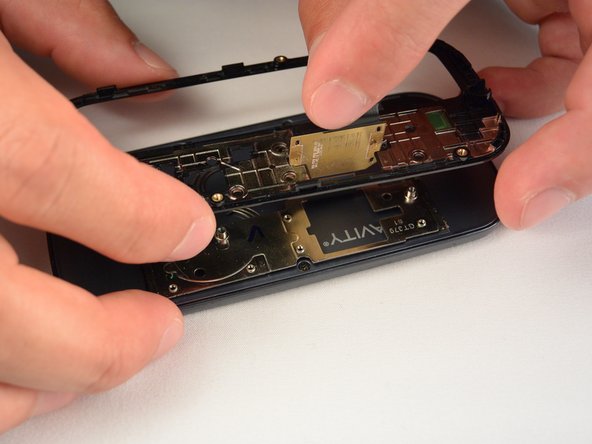
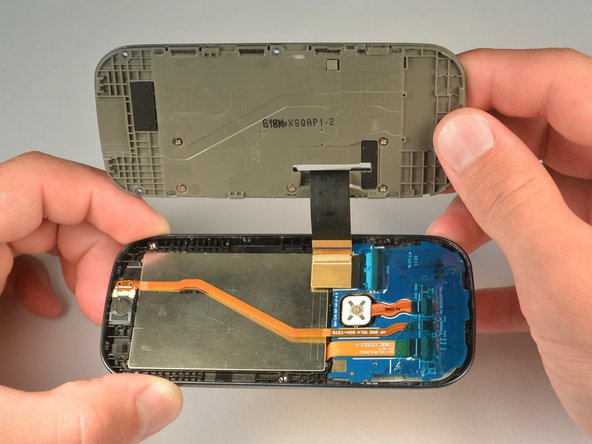
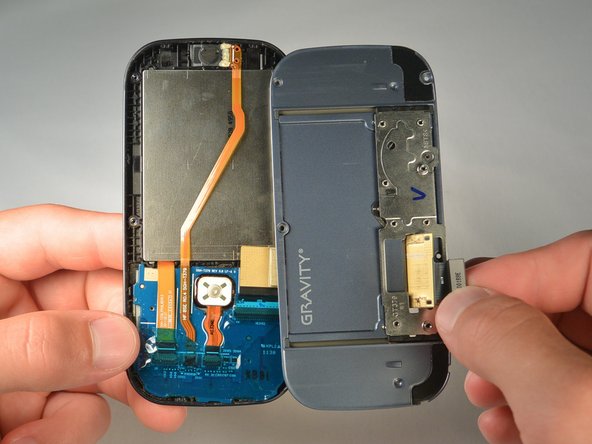
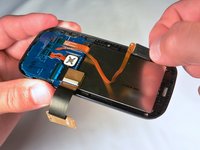
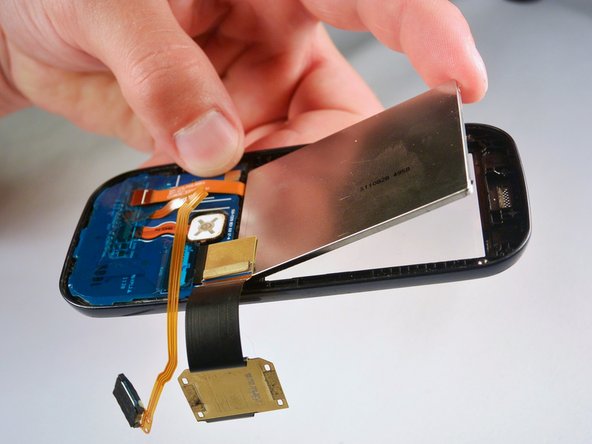
    • Slide the ribbon through the slot on the inner frame while pulling the frame away.

  13. Samsung Gravity TXT Screen Replacement: 步骤 13 中的图像 1,1
    • Remove the four 2.4 mm #00 Phillips screws.

  14. Samsung Gravity TXT Screen Replacement: 步骤 14 中的图像 1,3 Samsung Gravity TXT Screen Replacement: 步骤 14 中的图像 2,3 Samsung Gravity TXT Screen Replacement: 步骤 14 中的图像 3,3
    • Use a opening pick to separate the plastic back casing from the front of the phone by running it along the seam between the two.

    • Lift casing slightly away while sliding the ribbon through the slot in the casing.

  15. Samsung Gravity TXT Screen Replacement: 步骤 15 中的图像 1,2 Samsung Gravity TXT Screen Replacement: 步骤 15 中的图像 2,2
    • Use a spudger to get underneath and remove the call speaker.

  16. Samsung Gravity TXT Screen Replacement: 步骤 16 中的图像 1,2 Samsung Gravity TXT Screen Replacement: 步骤 16 中的图像 2,2
    • Remove the plastic adhesive sheet to expose the ribbon cables

    • The use of an iOpener may be needed to soften the eadhesive

    • Use your finger or a spudger to pull the screen ribbon out of the connector

  17. Samsung Gravity TXT Screen Replacement: 步骤 17 中的图像 1,3 Samsung Gravity TXT Screen Replacement: 步骤 17 中的图像 2,3 Samsung Gravity TXT Screen Replacement: 步骤 17 中的图像 3,3
    • Use a Jimmy to separate the screen from the rest of the phone

    • You may need to heat the perimeter of the screen with an iOpener to soften the adhesive.

    • Lift the screen away

结论

To reassemble your device, follow these instructions in reverse order.

另外一个人完成了本指南。

团队

IUPUI, Team 1-1, Renguette SU 2015 IUPUI, Team 1-1, Renguette SU 2015 的会员

IUPUI-RENGUETTE-SU15S1G1

5 名成员

创作了16篇指南

0条评论

添加评论

浏览统计数据:

过去 24 小时: 0

过去 7 天: 2

过去 30 天: 8

总计 872