跳转到主内容
加入维修社区 - 创建账户

Samsung Glyde Motherboard Replacement

你所需要的

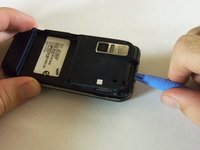
    1. Samsung Glyde Motherboard Replacement, Battery: 步骤 1 中的图像 1,1
      • Using your thumb, press down and slide the back cover away from the camera.

      询问修复机器人

      添加评论

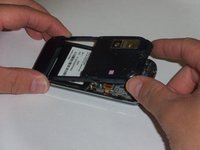
    2. Samsung Glyde Motherboard Replacement: 步骤 2 中的图像 1,1
      • Remove the battery from the phone by using your plastic opening tool to find a gap at any edge of the battery and lifting the battery up.

      询问修复机器人

      添加评论

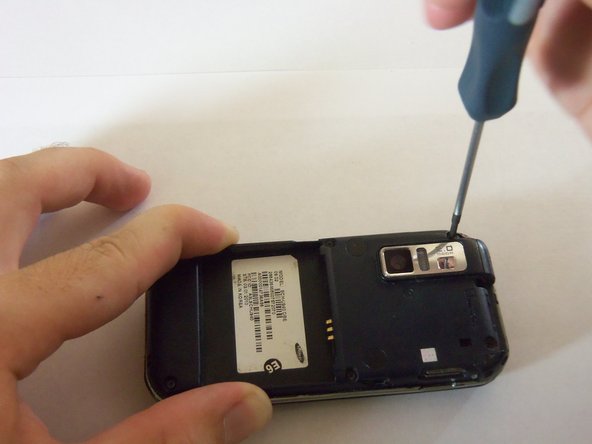
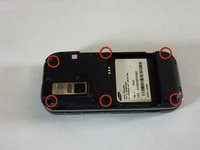
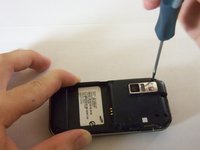
    1. Samsung Glyde Motherboard Replacement, Motherboard: 步骤 3 中的图像 1,2 Samsung Glyde Motherboard Replacement, Motherboard: 步骤 3 中的图像 2,2
      • Using a Phillips#00 screw driver, remove the six 4mm screws holding the back case together.

      询问修复机器人

      添加评论

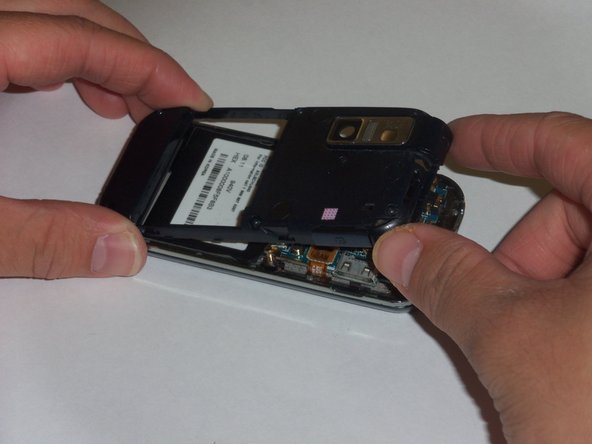
    2. Samsung Glyde Motherboard Replacement: 步骤 4 中的图像 1,2 Samsung Glyde Motherboard Replacement: 步骤 4 中的图像 2,2
      • Use a plastic opening tool to pry the case off. To do this, find a gap on any side of the phone, top preferably, and slip the tip of the tool in the gap

      • Now use moderate strength and slowly maneuver the tool around the outside until the case becomes loose.

      • Using your fingers, take the case off.

      询问修复机器人

      添加评论

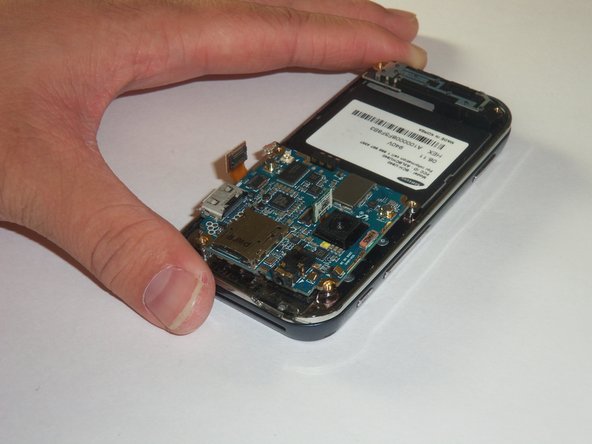
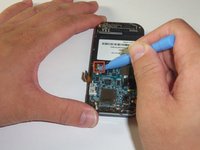
    3. Samsung Glyde Motherboard Replacement: 步骤 5 中的图像 1,2 Samsung Glyde Motherboard Replacement: 步骤 5 中的图像 2,2
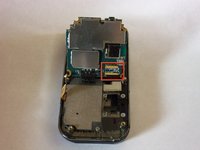
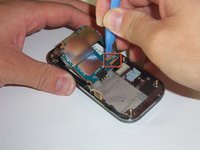
      • The green film above the camera is the camera connector to the motherboard.

      • Use a plastic opening tool to disconnect the camera connector.

      询问修复机器人

      添加评论

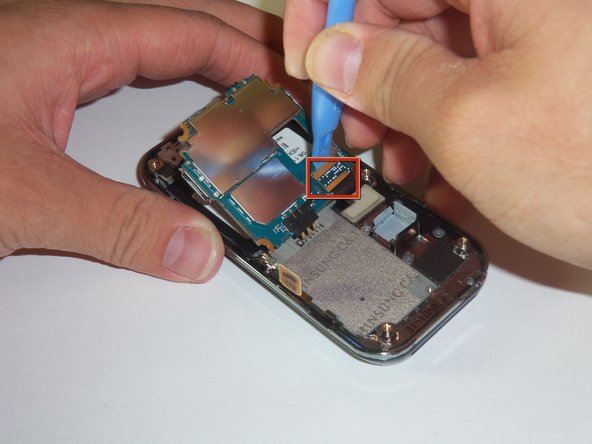
    4. Samsung Glyde Motherboard Replacement: 步骤 6 中的图像 1,2 Samsung Glyde Motherboard Replacement: 步骤 6 中的图像 2,2
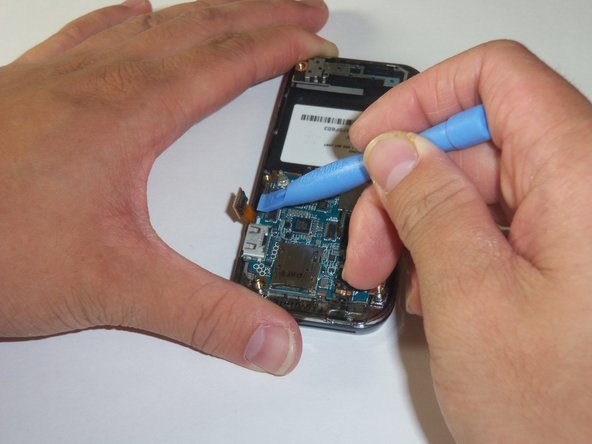
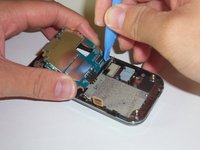
      • The golden film connector connects the keyboard to the motherboard.

      • Use a plastic opening tool to disconnect the keyboard connector.

      询问修复机器人

      添加评论

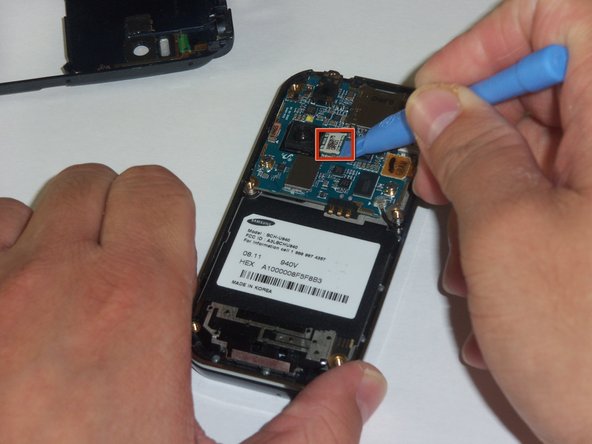
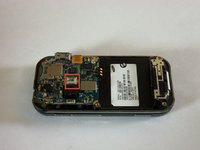
    5. Samsung Glyde Motherboard Replacement: 步骤 7 中的图像 1,2 Samsung Glyde Motherboard Replacement: 步骤 7 中的图像 2,2
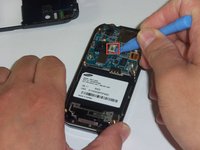
      • The circular connector holds the motherboard in place.

      • Using a plastic opening tool, disconnect the circular connector.

      询问修复机器人

      添加评论

    6. Samsung Glyde Motherboard Replacement: 步骤 8 中的图像 1,3 Samsung Glyde Motherboard Replacement: 步骤 8 中的图像 2,3 Samsung Glyde Motherboard Replacement: 步骤 8 中的图像 3,3
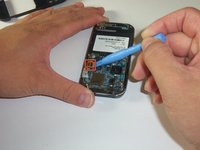
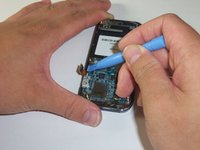
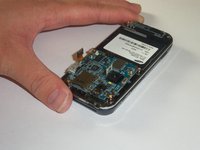
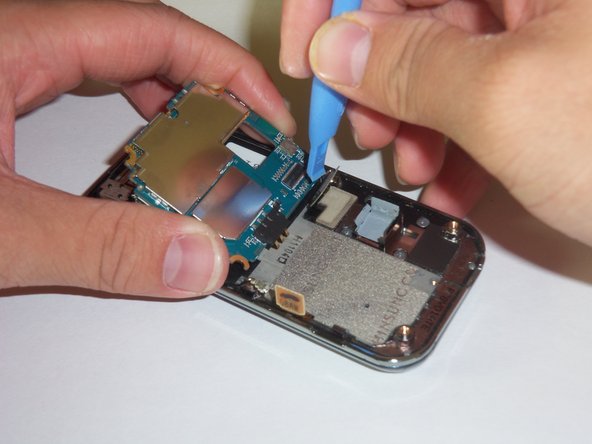
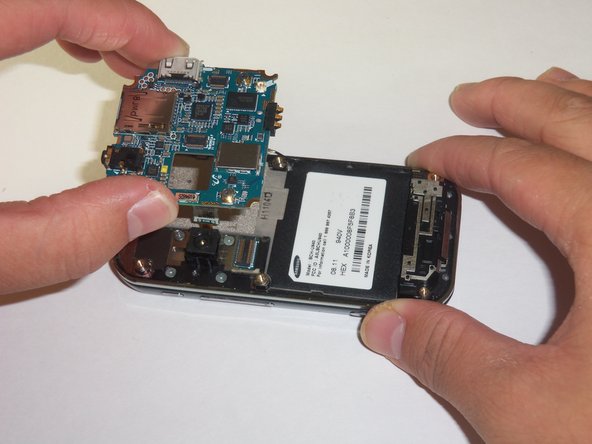
      • There is a LCD connector underneath the motherboard.

      • Gently lift the far edge of the motherboard upwards toward the center of the phone.

      • Using a plastic opening tool, disconnect the LCD connector.

      询问修复机器人

      添加评论

    7. Samsung Glyde Motherboard Replacement: 步骤 9 中的图像 1,2 Samsung Glyde Motherboard Replacement: 步骤 9 中的图像 2,2
      • After disconnecting the four connectors, gently lift the motherboard up with your fingers.

      • Place the motherboard in a secure area.

      询问修复机器人

      添加评论

结论

To reassemble your device, follow these instructions in reverse order.

取消:我没有完成这个指南。

Stephen

于10/12/11注册

26 声望

撰写一个指南

团队

Cal Poly, Team 3-12, Regan Fall 2011 Cal Poly, Team 3-12, Regan Fall 2011 的会员

CPSU-REGAN-F11S3G12

4 名成员

创作了56篇指南

0指南评论

添加评论

浏览统计数据:

过去 24 小时: 0

过去 7 天: 5

过去 30 天: 31

总计 1,498