跳转到主内容
加入维修社区 - 创建账户

Samsung Galaxy View Sound and Power Buttons Replacement

你所需要的

    1. Samsung Galaxy View Sound and Power Buttons Replacement, Kickstand: 步骤 1 中的图像 1,1
      • Place the device on a hard flat surface with its screen facing downwards.

      • Rotate the the kickstand so that the handle grip hole is up in the air and not touching the back of the tablet.

      询问修复机器人

      添加评论

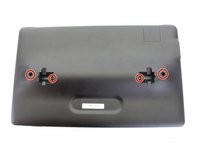
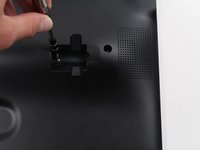
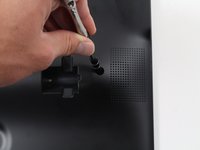
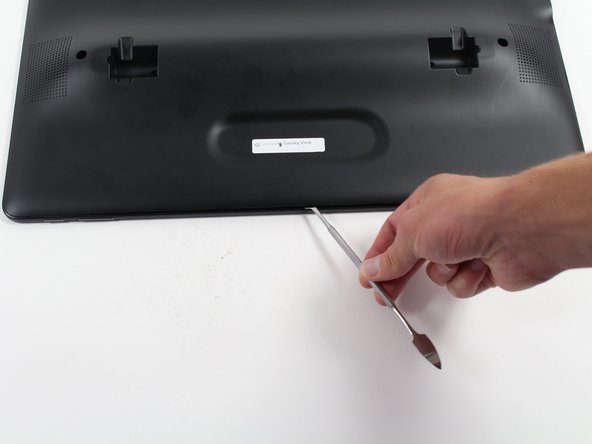
    2. Samsung Galaxy View Sound and Power Buttons Replacement: 步骤 2 中的图像 1,3 Samsung Galaxy View Sound and Power Buttons Replacement: 步骤 2 中的图像 2,3 Samsung Galaxy View Sound and Power Buttons Replacement: 步骤 2 中的图像 3,3
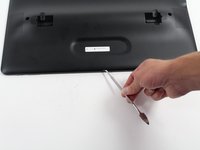
      • Stick the pointy end of the spudger into the circular opening of the leftmost metallic latch.

      • With the spudger still inserted, pry the spudger to the right pushing the latch opening along with it.

      • Once the latch is moved to the right, pull up on the left side of the kickstand, releasing it from the back of the tablet.

      • Repeat the previous steps for the rightmost latch, and then lift the kickstand off the back of the tablet.

      询问修复机器人

      添加评论

    1. Samsung Galaxy View Sound and Power Buttons Replacement, Battery: 步骤 3 中的图像 1,2 Samsung Galaxy View Sound and Power Buttons Replacement, Battery: 步骤 3 中的图像 2,2
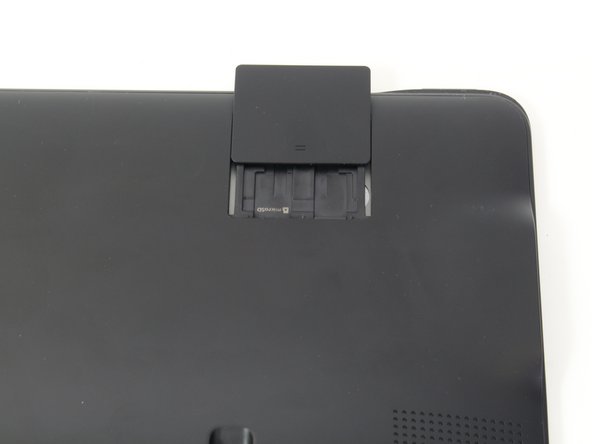
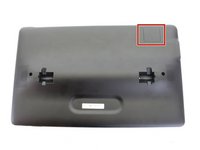
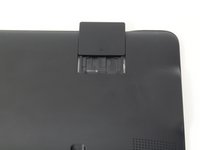
      • Check the device is completely turned off.

      • Slide open the SD compartment tab, and remove the SD card to ensure all data is saved.

      询问修复机器人

      添加评论

    2. Samsung Galaxy View Sound and Power Buttons Replacement: 步骤 4 中的图像 1,3 Samsung Galaxy View Sound and Power Buttons Replacement: 步骤 4 中的图像 2,3 Samsung Galaxy View Sound and Power Buttons Replacement: 步骤 4 中的图像 3,3
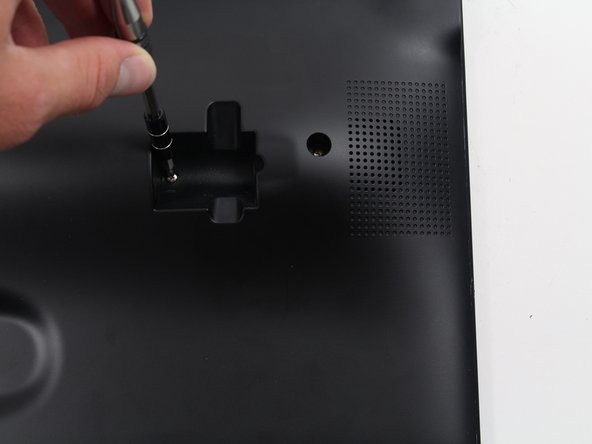
      • Remove the 4 screws (4 mm in length) using the Phillips #0 screwdriver.

      询问修复机器人

      添加评论

    3. Samsung Galaxy View Sound and Power Buttons Replacement: 步骤 5 中的图像 1,3 Samsung Galaxy View Sound and Power Buttons Replacement: 步骤 5 中的图像 2,3 Samsung Galaxy View Sound and Power Buttons Replacement: 步骤 5 中的图像 3,3
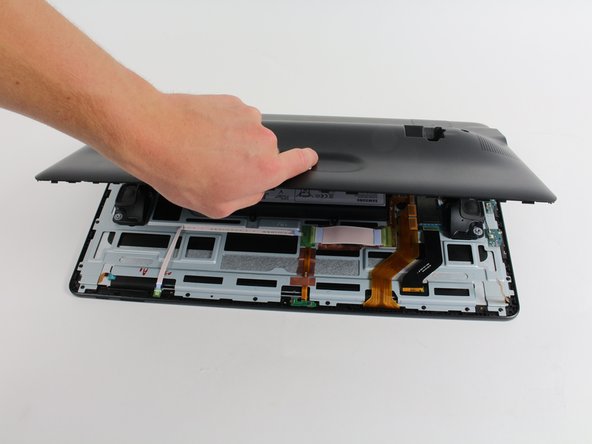
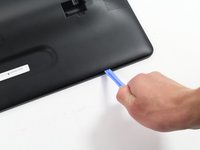
      • Insert the plastic opening tool between the seam of the back panel and the front casing to create an initial opening.

      • Insert the metal spudger within the opening.

      • Move the metal spudger down the seam, prying the back panel open as you go.

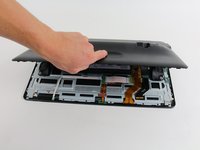
      • Once a large enough opening is made, pry the entire back panel off with your hand.

      • You will hear loud popping from the magnetized latches. This is not causing damage to the device and will require some force to open.

      询问修复机器人

      添加评论

    4. Samsung Galaxy View Sound and Power Buttons Replacement: 步骤 6 中的图像 1,2 Samsung Galaxy View Sound and Power Buttons Replacement: 步骤 6 中的图像 2,2
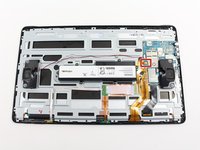
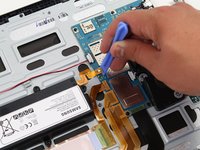
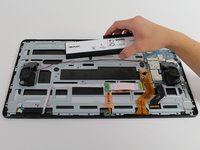
      • Using the plastic opening tool, lift off the orange press-fit connector (marked with a white arrow-head) where it attaches to the motherboard.

      询问修复机器人

      添加评论

    5. Samsung Galaxy View Sound and Power Buttons Replacement: 步骤 7 中的图像 1,3 Samsung Galaxy View Sound and Power Buttons Replacement: 步骤 7 中的图像 2,3 Samsung Galaxy View Sound and Power Buttons Replacement: 步骤 7 中的图像 3,3
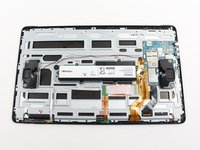
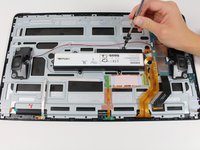
      • Remove the 6 screws (4 mm in length) using the Phillips #0 screwdriver.

      • Remove the battery from the device.

      添加评论

    1. Samsung Galaxy View Sound and Power Buttons Replacement, Sound and Power Buttons: 步骤 8 中的图像 1,1
      • Use your fingers to pull the blue no-fuss ribbon cable connector to the right of the metal bar, up and away from its connection.

      询问修复机器人

      添加评论

    2. Samsung Galaxy View Sound and Power Buttons Replacement: 步骤 9 中的图像 1,2 Samsung Galaxy View Sound and Power Buttons Replacement: 步骤 9 中的图像 2,2
      在这个步骤中使用的工具:
      Tweezers
      $4.99
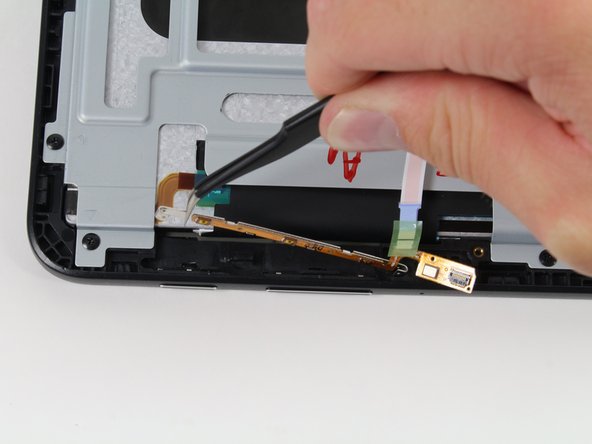
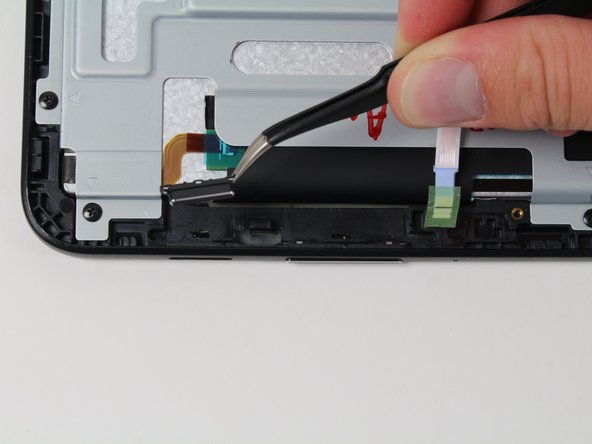
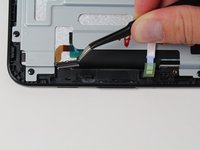
      • Use the tweezers to pick up the metal bar starting with one side and moving to the other.

      • Lift it straight up from the device.

      询问修复机器人

      添加评论

    3. Samsung Galaxy View Sound and Power Buttons Replacement: 步骤 10 中的图像 1,3 Samsung Galaxy View Sound and Power Buttons Replacement: 步骤 10 中的图像 2,3 Samsung Galaxy View Sound and Power Buttons Replacement: 步骤 10 中的图像 3,3
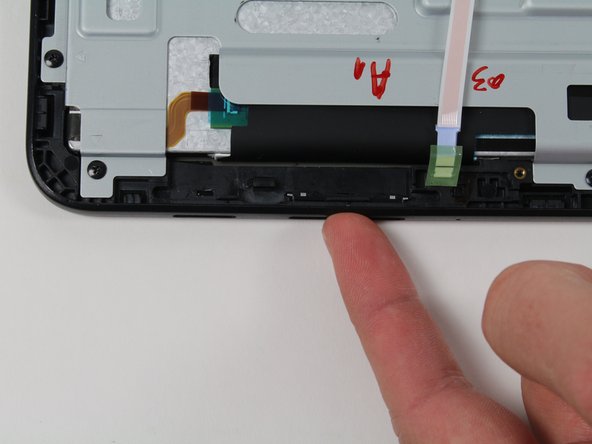
      • Use your fingers to gently push each button through the hole in the device.

      • Use the tweezers to pick up the loose buttons and remove them from the device.

      询问修复机器人

      添加评论

结论

To reassemble your device, follow these instructions in reverse order.

取消:我没有完成这个指南。

3等其他人完成本指南。

团队

Cal Poly, Team 4-5, Livingston Fall 2016 Cal Poly, Team 4-5, Livingston Fall 2016 的会员

CPSU-LIVINGSTON-F16S4G5

4 名成员

创作了12篇指南

0指南评论

添加评论

浏览统计数据:

过去 24 小时: 1

过去 7 天: 13

过去 30 天: 35

总计 2,316