简介
In order to replace the camera, it is required to first remove the kickstand, and then to open up the device. The battery will be removed for user and device safety reasons.
你所需要的
-
-
-
Place the device on a hard flat surface with its screen facing downwards.
-
Rotate the the kickstand so that the handle grip hole is up in the air and not touching the back of the tablet.
 询问修复机器人
-
-
-
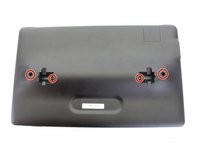
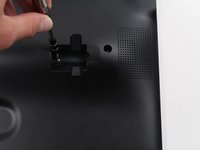
Stick the pointy end of the spudger into the circular opening of the leftmost metallic latch.
-
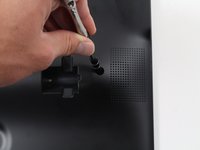
With the spudger still inserted, pry the spudger to the right pushing the latch opening along with it.
-
Once the latch is moved to the right, pull up on the left side of the kickstand, releasing it from the back of the tablet.
-
Repeat the previous steps for the rightmost latch, and then lift the kickstand off the back of the tablet.
-
-
-
-
-
Check the device is completely turned off.
-
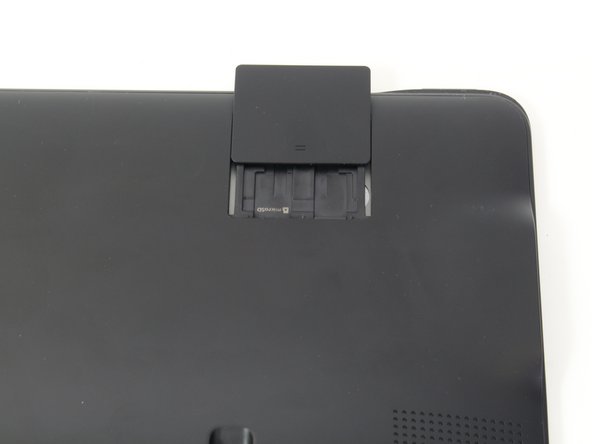
Slide open the SD compartment tab, and remove the SD card to ensure all data is saved.
-
-
-
-
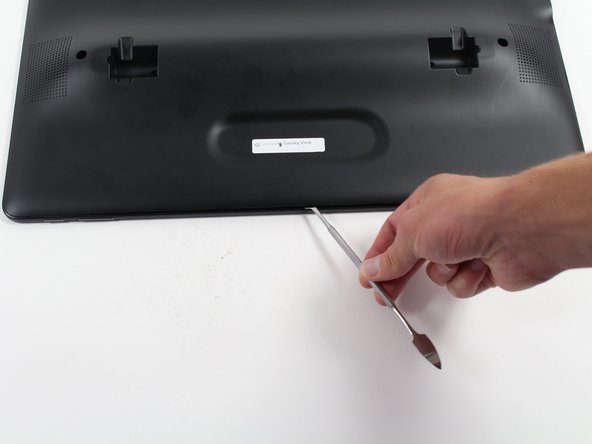
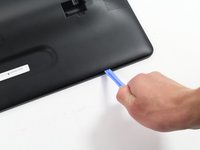
Insert the plastic opening tool between the seam of the back panel and the front casing to create an initial opening.
-
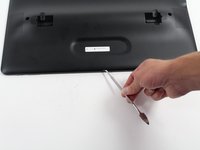
Insert the metal spudger within the opening.
-
Move the metal spudger down the seam, prying the back panel open as you go.
-
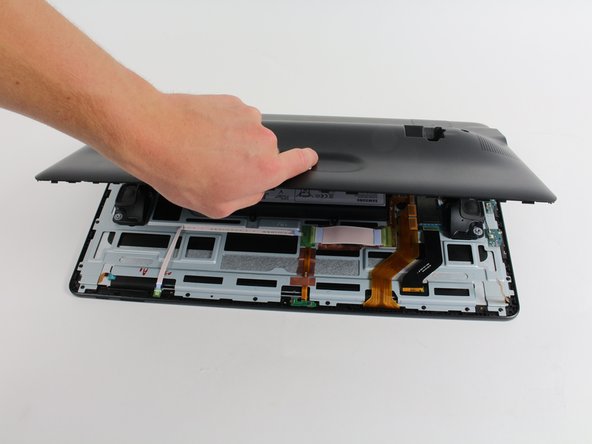
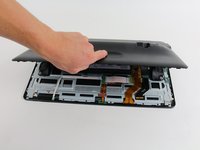
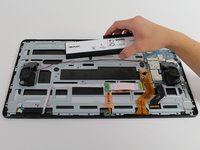
Once a large enough opening is made, pry the entire back panel off with your hand.
-
-
-
-
-
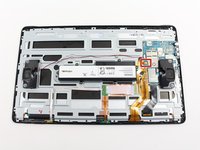
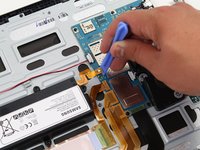
Place the plastic opening tool underneath the blue press-fit connector which is touching the green circuit board at the bottom of the device.
-
Pry upwards with the plastic opening tool to disconnect the press-fit connector.
-
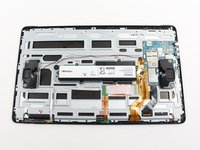
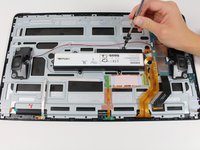
Remove the camera by carefully gripping the press-fit connector and pulling upwards.
-
-











To reassemble your device, follow these instructions in reverse order.
另外一个人完成了本指南。

团队

Cal Poly, Team 4-5, Livingston Fall 2016 Cal Poly, Team 4-5, Livingston Fall 2016 的会员
CPSU-LIVINGSTON-F16S4G5
4 名成员
创作了12篇指南
