简介
Use this guide to replace the battery in your Samsung Galaxy S9 Plus.
Opening the Samsung Galaxy S9 Plus will damage the waterproof seals on the device. If you do not replace the adhesive seals, your phone will function normally, but will lose its water protection.
Before disassembling your phone, discharge the battery below 25%. If your battery is swollen, do not heat your phone. Swollen batteries can be very dangerous, so wear eye protection and exercise due caution, or take it to a professional if you're not sure how to proceed.
You’ll need replacement adhesive to reattach components when reassembling the device.
你所需要的
视频概述
-
-
Switch off your phone.
-
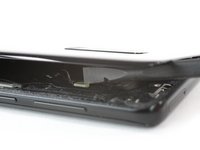
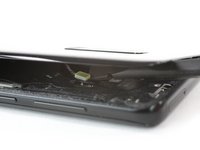
Use an iOpener to loosen the adhesive beneath the rear glass. Apply the iOpener for at least two minutes. You might want to repeat this step several times during the back cover removal.
-
-
-
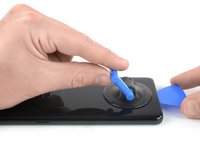
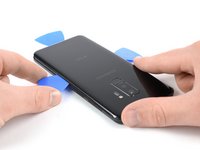
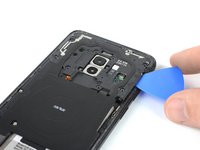
Start to slide the tip of the opening pick from the bottom left corner along the side of the S9 Plus.
-
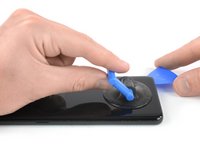
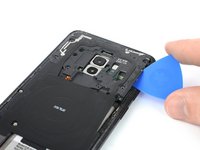
Leave the opening pick in its place after you cut the adhesive half way up the left side of the phone.
-
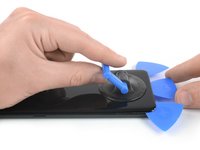
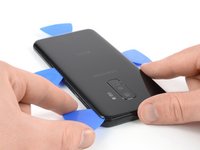
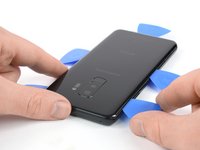
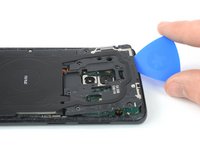
Slide the opening pick from the bottom right corner half way up the frame and leave it there.
-
-
-
-
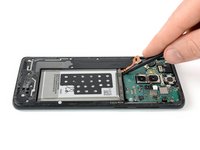
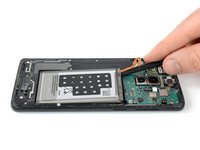
Use the flat end of a spudger to pry up and disconnect the battery flex cable.
-
-
-
Use an iOpener to loosen the adhesive beneath the battery. Apply the iOpener for at least two minutes.
-
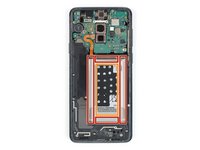
In the following step, only apply the spudger in the areas marked in red, which is where the battery adhesive is located.
-
Avoid this area. There's a gap in the mid-frame right below the battery, and you can accidentally damage the display through it.
-


To reassemble your device, follow these instructions in reverse order.
If possible, turn on your phone and test your repair before installing new adhesive and resealing the phone.
For optimal performance, calibrate your newly installed battery after completing this guide.
Take your e-waste to an R2 or e-Stewards certified recycler.
Repair didn’t go as planned? Check out our Answers community for troubleshooting help.
55等其他人完成本指南。


7条评论
Just be careful to remember to try phone parts (such as, battery recharging OBV, Fingerprint sensor…) before closing with the new cover.
Also remember to attach the Wireless card before doing the battery test otherwise the phone will say that can’t charge because the phone is too cold.
That’s because on the wireless charger module there is the heat sensor.
Missed one of the most important parts: Where and how do you install the adhesive pieces? There are a lot of them and the linked article doesn't even come close to explaining it for this phone.
Good instruction, I was successful replacing the battery however I accidentally damaged the fingerprint scanner cable because the image showed above is mirrored and I sliced too far in on the wrong side.
Also, a brief note on which adhesives can/should be removed before reassembling would be very helpful.
Re-assembly is not as straightforward as using the reverse order as above as you need to remove all the old adhesive and re-apply the adhesive supplied with the kit. It's not obvious where the upper and lower adhesive parts go - the following ifixit youtube is very useful at working out where and how to re-apply the adhesive:
How To Re-Apply Adhesive to Your Samsung Galaxy Phone! - YouTube