当前版本的文档还未经巡查,您可以查看最新的已查核版本。
你所需要的
-
-
这个步骤还没有翻译 帮忙翻译一下
-
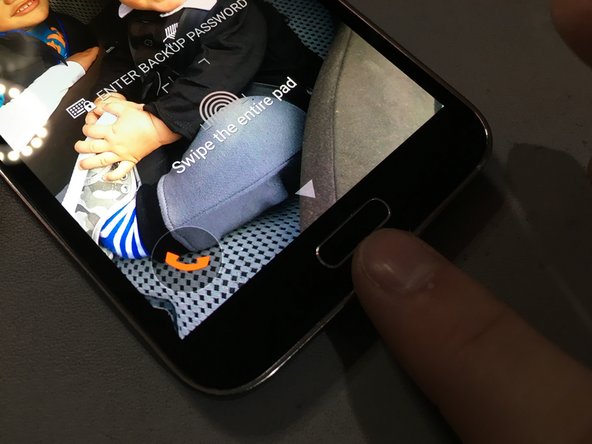
My parts supplier sent me an original Samsung (used) home button, however purchasing a new one I recommend the following links:
-


18等其他人完成本指南。

4条评论
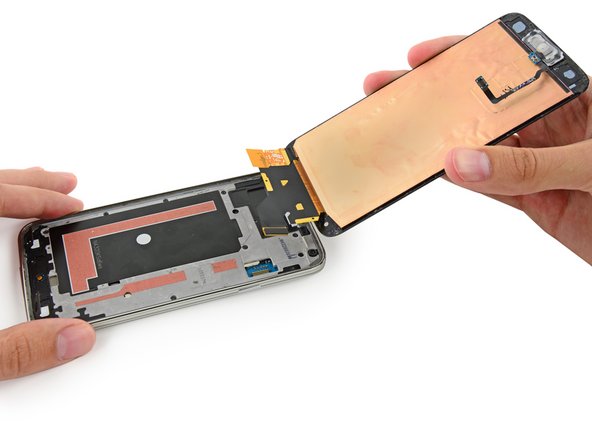
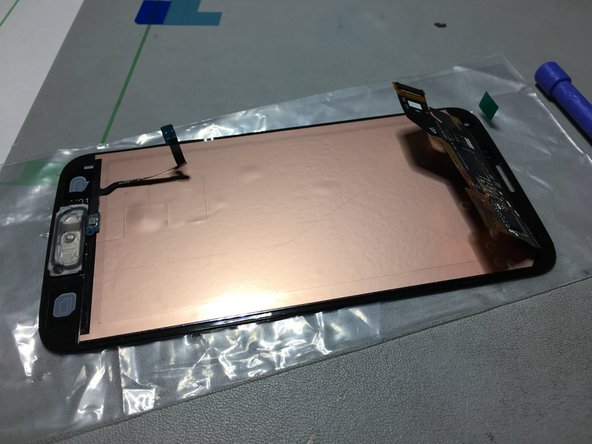
It should already be attached to the LCD, if not then you can purchase the adhesive and attach it to the LCD yourself
I would like to know whether there is a pin-compatible home button to replace the original Galaxy S5 home button to _physically_ get rid of the fingerprint reader unit and solely keep it as a simple and dumb home button.
Thanks in advance.
E.Remarque - 回复