跳转到主内容
加入维修社区 - 创建账户

Samsung Exhibit II 4G Display Assembly Replacement

你所需要的

    1. Samsung Exhibit II 4G Display Assembly Replacement, Battery: 步骤 1 中的图像 1,1
      • Insert plastic opening tool under back cover.

      • Apply pressure on tool while using a downward motion to pop off back cover.

      询问修复机器人

      添加评论

    2. Samsung Exhibit II 4G Display Assembly Replacement: 步骤 2 中的图像 1,1
      • Insert plastic opening tool under battery.

      • Pry battery out.

      询问修复机器人

      添加评论

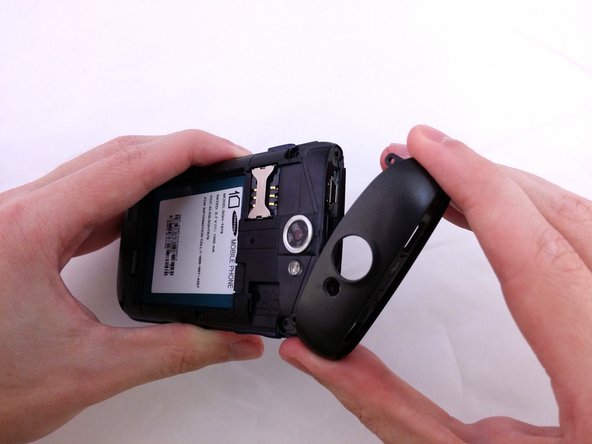
    1. Samsung Exhibit II 4G Display Assembly Replacement, Top Rear Housing Cover: 步骤 3 中的图像 1,1
      • Insert plastic opening tool under back cover.

      • Pry the top cover upward to remove it from the phone.

      询问修复机器人

      添加评论

    2. Samsung Exhibit II 4G Display Assembly Replacement: 步骤 4 中的图像 1,1
      • Remove the top cover.

      询问修复机器人

      添加评论

    3. Samsung Exhibit II 4G Display Assembly Replacement: 步骤 5 中的图像 1,2 Samsung Exhibit II 4G Display Assembly Replacement: 步骤 5 中的图像 2,2
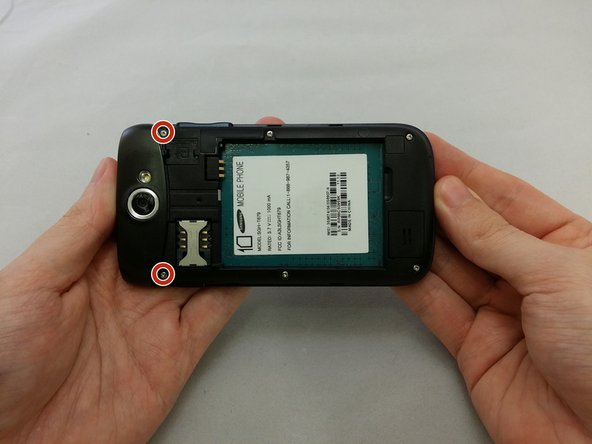
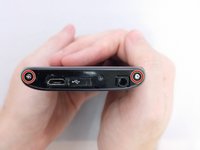
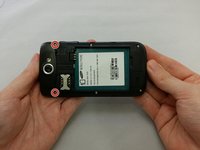
      • Remove the four 3.8mm Phillips #000 screws securing the top cover to the back assembly.

      • Two screws from top and two screws from back.

      询问修复机器人

      添加评论

    4. Samsung Exhibit II 4G Display Assembly Replacement: 步骤 6 中的图像 1,3 Samsung Exhibit II 4G Display Assembly Replacement: 步骤 6 中的图像 2,3 Samsung Exhibit II 4G Display Assembly Replacement: 步骤 6 中的图像 3,3
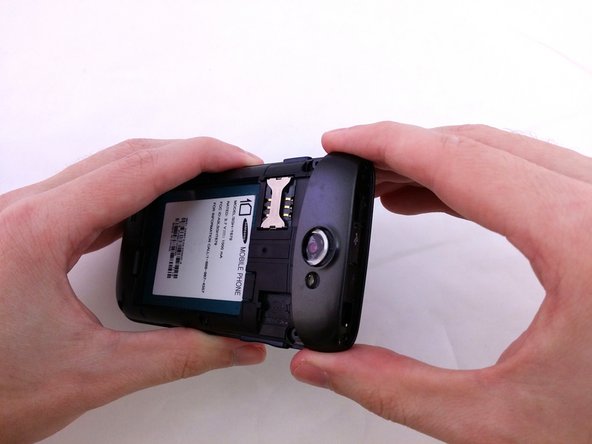
      • Insert plastic opening tool under top cover.

      • Using hand slide top cover away from phone.

      询问修复机器人

      添加评论

    1. Samsung Exhibit II 4G Display Assembly Replacement, Midframe: 步骤 7 中的图像 1,1
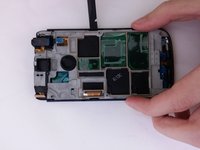
      • Remove the four 3.8mm Phillips #000 screws securing the back assembly to the phone.

      询问修复机器人

      添加评论

    2. Samsung Exhibit II 4G Display Assembly Replacement: 步骤 8 中的图像 1,1
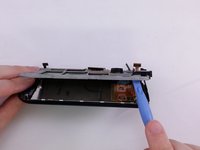
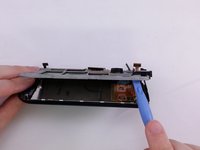
      • Insert plastic opening tool between back assembly and phone.

      • Pry the back assembly away from phone.

      询问修复机器人

      添加评论

    3. Samsung Exhibit II 4G Display Assembly Replacement: 步骤 9 中的图像 1,1
      • With plastic opening tool continue prying around the edge of the back assembly.

      询问修复机器人

      添加评论

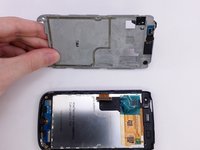
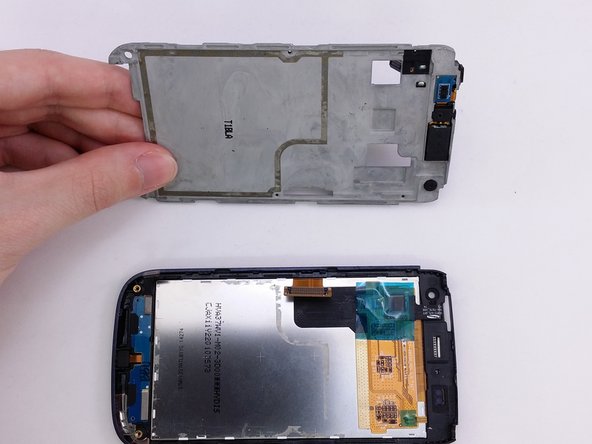
    4. Samsung Exhibit II 4G Display Assembly Replacement: 步骤 10 中的图像 1,1
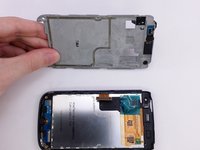
      • Pull back panel assembly away from main body.

      询问修复机器人

      添加评论

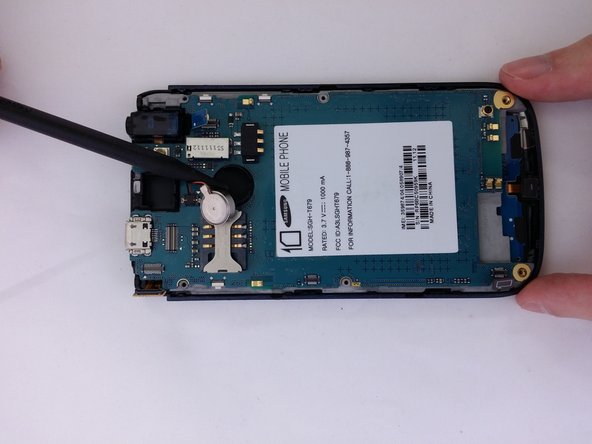
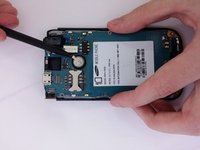
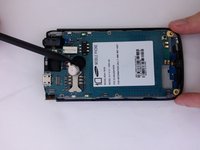
    1. Samsung Exhibit II 4G Display Assembly Replacement, Vibration Motor: 步骤 11 中的图像 1,2 Samsung Exhibit II 4G Display Assembly Replacement, Vibration Motor: 步骤 11 中的图像 2,2
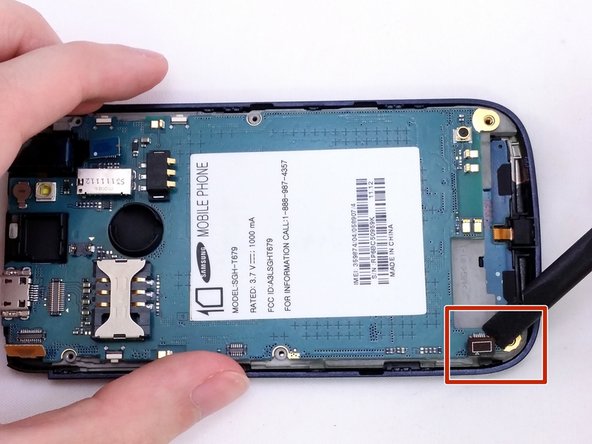
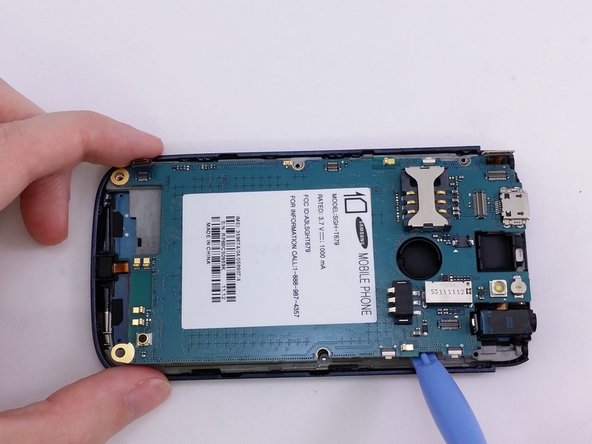
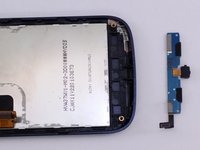
      • Insert the pointed end of a spudger into the gap in the round housing frame.

      • Using spudger to remove vibrator remove from the adhesive.

      询问修复机器人

      添加评论

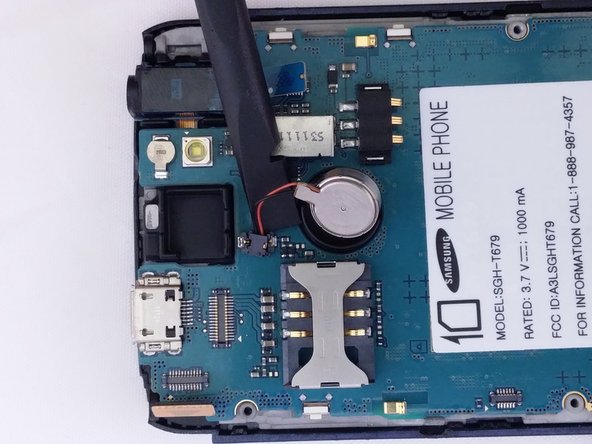
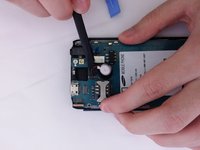
    2. Samsung Exhibit II 4G Display Assembly Replacement: 步骤 12 中的图像 1,2 Samsung Exhibit II 4G Display Assembly Replacement: 步骤 12 中的图像 2,2
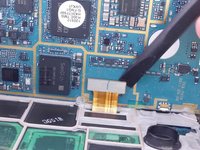
      • Use the flat end of a spudger to remove vibrator cable from motherboard.

      询问修复机器人

      添加评论

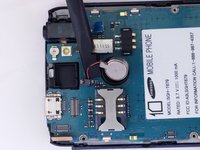
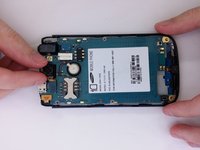
    1. Samsung Exhibit II 4G Display Assembly Replacement, Rear Facing Camera: 步骤 13 中的图像 1,1
      • Use the flat end of a spudger to disconnect the camera assembly cable.

      询问修复机器人

      添加评论

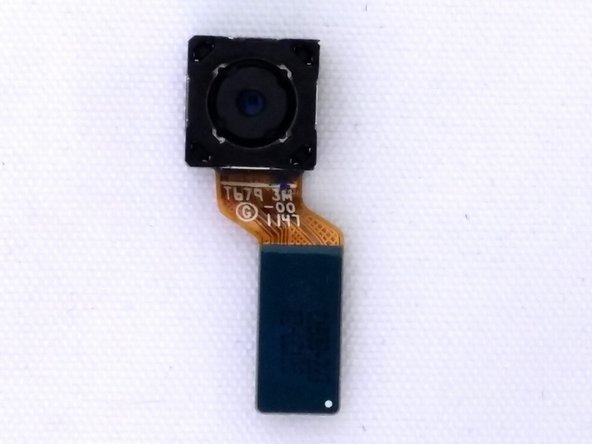
    2. Samsung Exhibit II 4G Display Assembly Replacement: 步骤 14 中的图像 1,2 Samsung Exhibit II 4G Display Assembly Replacement: 步骤 14 中的图像 2,2
      • Remove camera from square housing.

      询问修复机器人

      添加评论

    1. Samsung Exhibit II 4G Display Assembly Replacement, Motherboard: 步骤 15 中的图像 1,3 Samsung Exhibit II 4G Display Assembly Replacement, Motherboard: 步骤 15 中的图像 2,3 Samsung Exhibit II 4G Display Assembly Replacement, Motherboard: 步骤 15 中的图像 3,3
      • Insert the spudger under each corner ribbon cable and lift them out of the way.

      • Use care when lifting the ribbon cables.

      • Insert a plastic pry tool into the gap between motherboard and base of phone

      询问修复机器人

      添加评论

    2. Samsung Exhibit II 4G Display Assembly Replacement: 步骤 16 中的图像 1,3 Samsung Exhibit II 4G Display Assembly Replacement: 步骤 16 中的图像 2,3 Samsung Exhibit II 4G Display Assembly Replacement: 步骤 16 中的图像 3,3
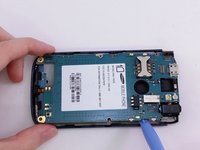
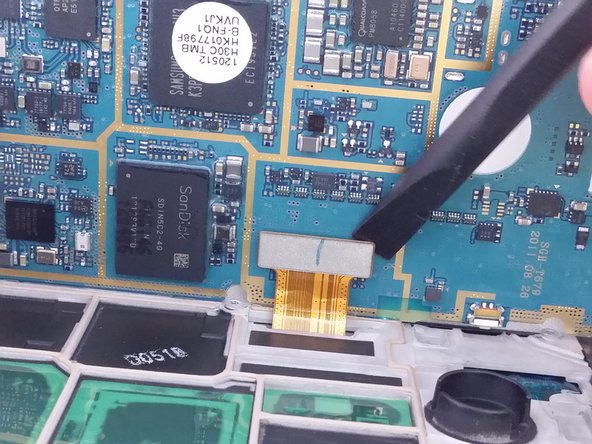
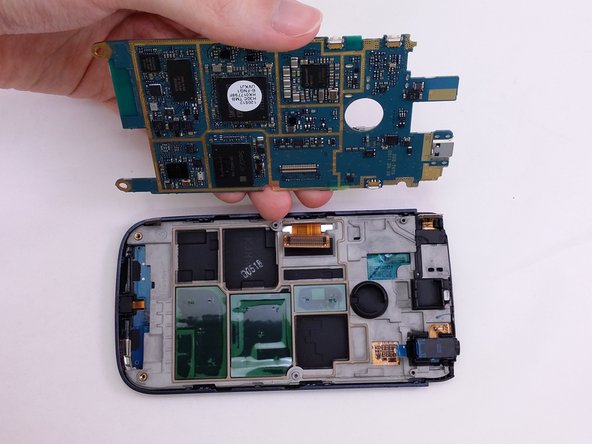
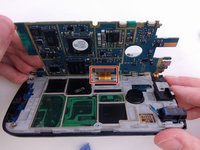
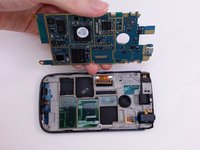
      • Tilt the motherboard up carefully.

      • Be sure not to damage the ribbon cable still connected at the bottom of the motherboard.

      • Use a spudger to pry the connector from the socket on the motherboard.

      • Lift motherboard from frame.

      询问修复机器人

      添加评论

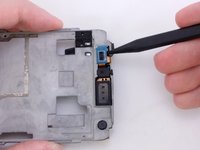
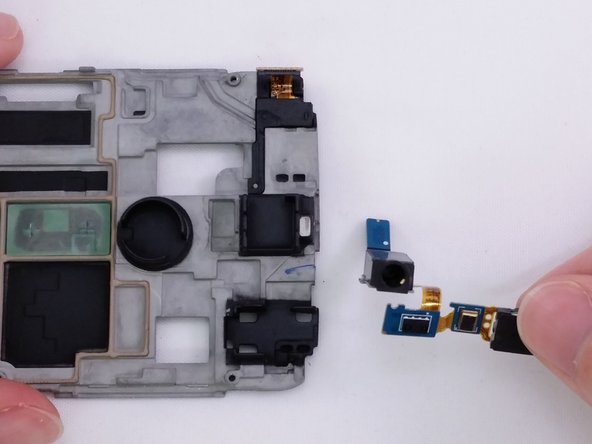
    1. Samsung Exhibit II 4G Display Assembly Replacement, Headphone Jack: 步骤 17 中的图像 1,3 Samsung Exhibit II 4G Display Assembly Replacement, Headphone Jack: 步骤 17 中的图像 2,3 Samsung Exhibit II 4G Display Assembly Replacement, Headphone Jack: 步骤 17 中的图像 3,3
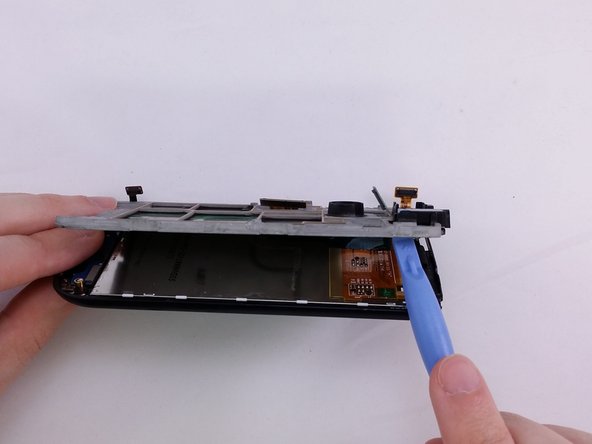
      • Insert flat end of spudger between support panel and front assembly.

      • Using a spudger pry up to create opening to insert plastic opening tool.

      询问修复机器人

      添加评论

    2. Samsung Exhibit II 4G Display Assembly Replacement: 步骤 18 中的图像 1,2 Samsung Exhibit II 4G Display Assembly Replacement: 步骤 18 中的图像 2,2
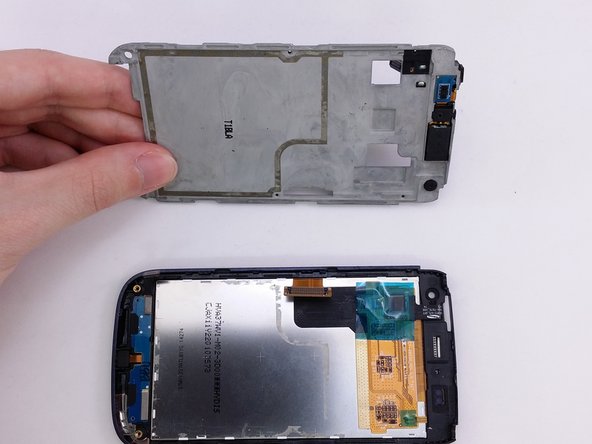
      • Insert a plactic opening tool in opening.

      • Use plastic opening tool to pry around the edge of support panel to free it from front assembly.

      询问修复机器人

      添加评论

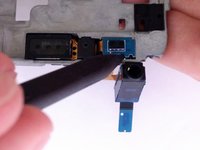
    3. Samsung Exhibit II 4G Display Assembly Replacement: 步骤 19 中的图像 1,3 Samsung Exhibit II 4G Display Assembly Replacement: 步骤 19 中的图像 2,3 Samsung Exhibit II 4G Display Assembly Replacement: 步骤 19 中的图像 3,3
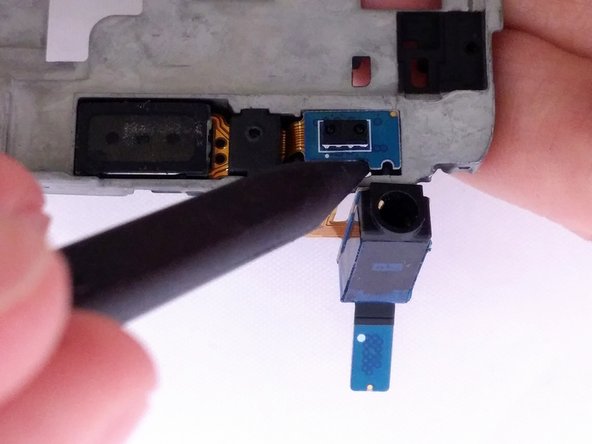
      • Insert the pointed end of a spudger into gap.

      • Lift spudger away from support plate to remove headphone component.

      询问修复机器人

      添加评论

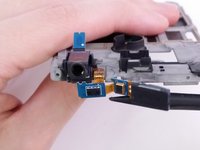
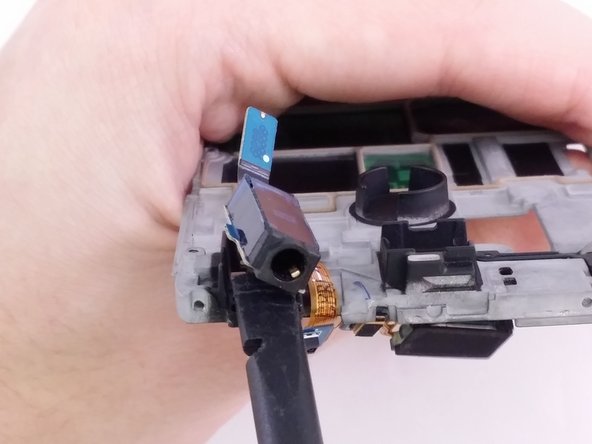
    4. Samsung Exhibit II 4G Display Assembly Replacement: 步骤 20 中的图像 1,3 Samsung Exhibit II 4G Display Assembly Replacement: 步骤 20 中的图像 2,3 Samsung Exhibit II 4G Display Assembly Replacement: 步骤 20 中的图像 3,3
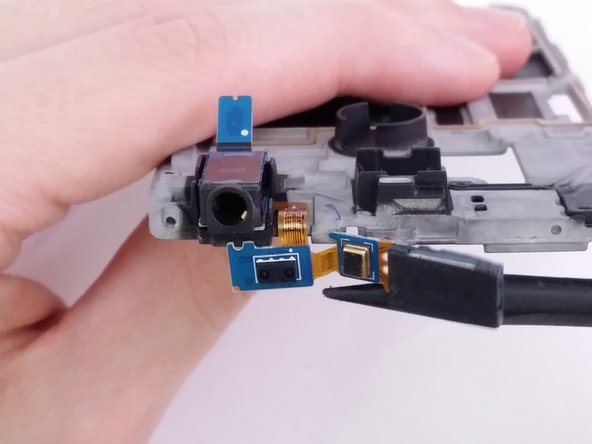
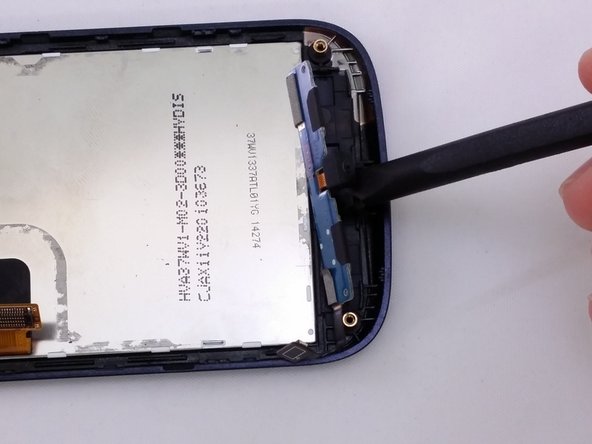
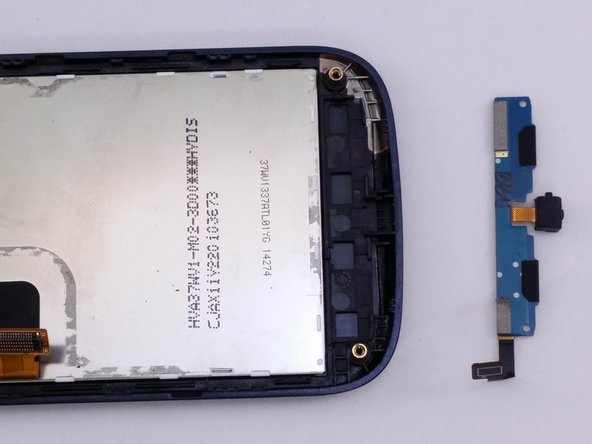
      • Use the flat end of the spudger to remove headphone jack component from rectangular housing.

      询问修复机器人

      添加评论

    1. Samsung Exhibit II 4G Display Assembly Replacement, Display Assembly: 步骤 21 中的图像 1,3 Samsung Exhibit II 4G Display Assembly Replacement, Display Assembly: 步骤 21 中的图像 2,3 Samsung Exhibit II 4G Display Assembly Replacement, Display Assembly: 步骤 21 中的图像 3,3
      • The the flat end of a spudger between componet and frame.

      • Use the the spudger to lift the componet from the frame.

      询问修复机器人

      添加评论

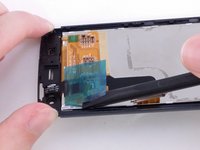
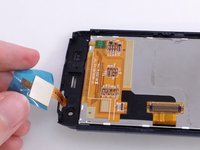
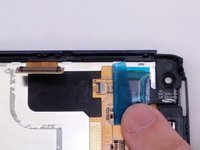
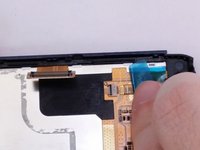
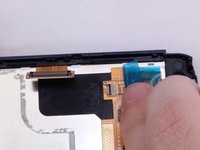
    2. Samsung Exhibit II 4G Display Assembly Replacement: 步骤 22 中的图像 1,3 Samsung Exhibit II 4G Display Assembly Replacement: 步骤 22 中的图像 2,3 Samsung Exhibit II 4G Display Assembly Replacement: 步骤 22 中的图像 3,3
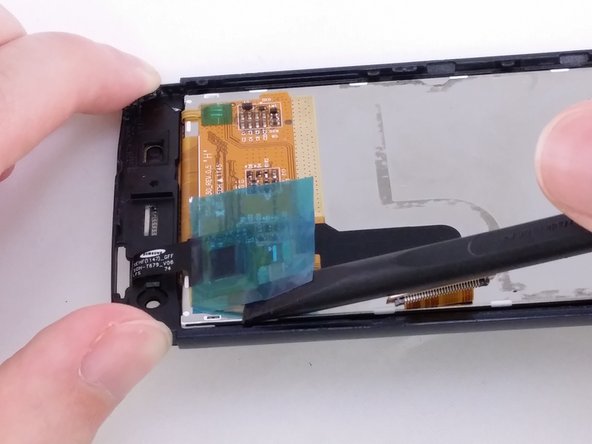
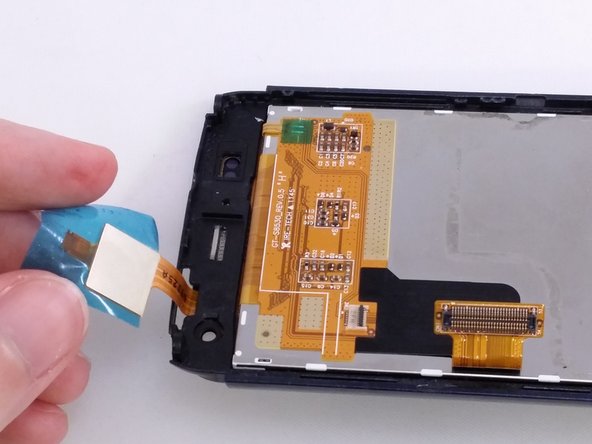
      • Insert the spudger between blue flim and the back of the LCD.

      • Using the spudger lift blue film away from LCD.

      询问修复机器人

      添加评论

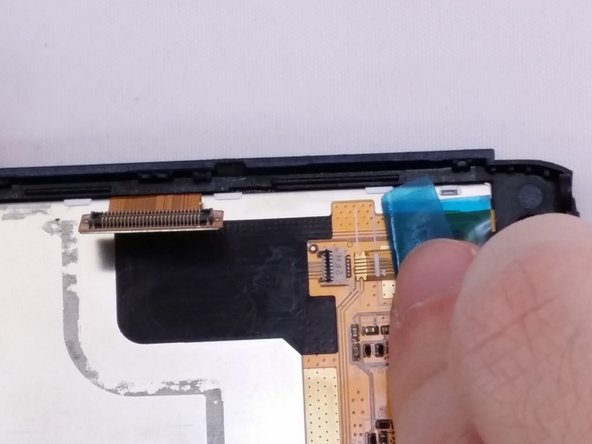
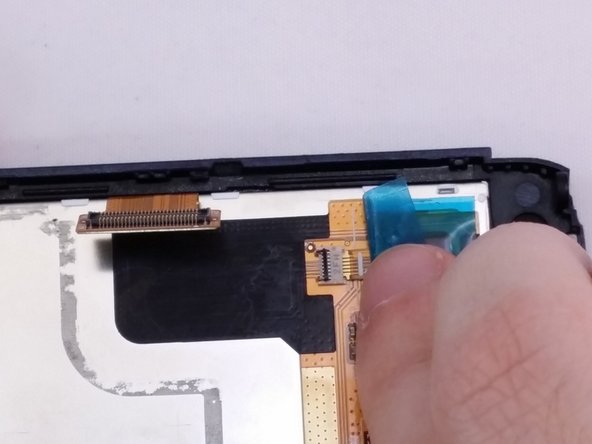
    3. Samsung Exhibit II 4G Display Assembly Replacement: 步骤 23 中的图像 1,3 Samsung Exhibit II 4G Display Assembly Replacement: 步骤 23 中的图像 2,3 Samsung Exhibit II 4G Display Assembly Replacement: 步骤 23 中的图像 3,3
      • Notice ribbon cable slides under the tan square component.

      询问修复机器人

      添加评论

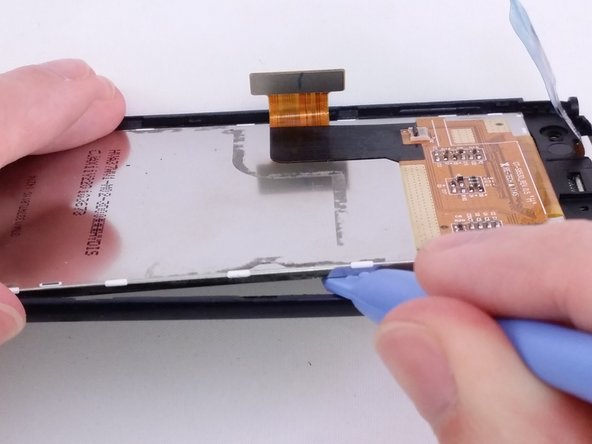
    4. Samsung Exhibit II 4G Display Assembly Replacement: 步骤 24 中的图像 1,3 Samsung Exhibit II 4G Display Assembly Replacement: 步骤 24 中的图像 2,3 Samsung Exhibit II 4G Display Assembly Replacement: 步骤 24 中的图像 3,3
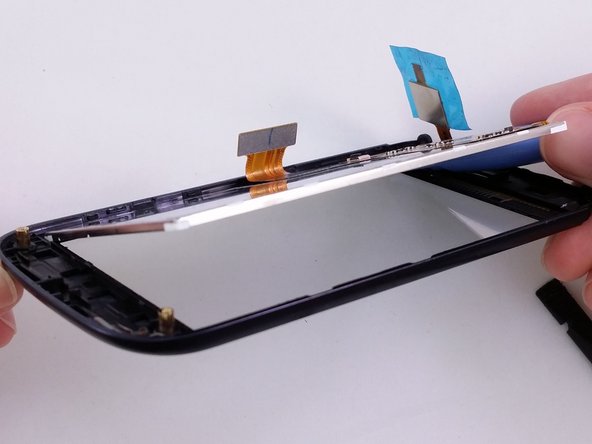
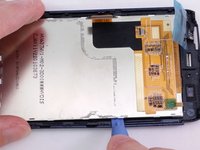
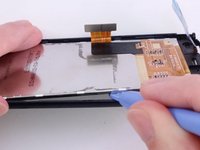
      • Insert a plastic opening tool between LCD and Digitizer screen.

      • Use plastic opening tool to pry and lift the LCD from the glass screen.

      • Adhesive material around edge of LCD.

      询问修复机器人

      添加评论

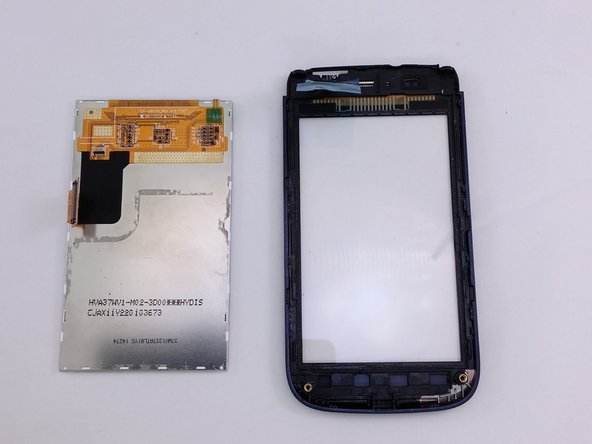
    5. Samsung Exhibit II 4G Display Assembly Replacement: 步骤 25 中的图像 1,2 Samsung Exhibit II 4G Display Assembly Replacement: 步骤 25 中的图像 2,2
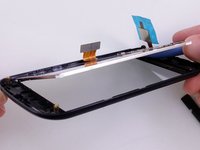
      • Lift LCD away from digitizer screen.

      询问修复机器人

      添加评论

结论

To reassemble your device, follow these instructions in reverse order.

取消:我没有完成这个指南。

3等其他人完成本指南。

David R

于07/20/15注册

1,152 声望

创作了9篇指南

0指南评论

添加评论

浏览统计数据:

过去 24 小时: 1

过去 7 天: 3

过去 30 天: 17

总计 1,109