简介
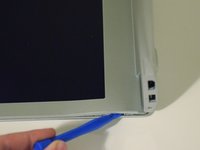
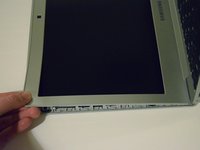
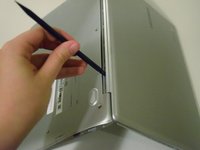
You may need to perform this replacement if your Chromebook 2 has a faulty screen, resulting in display issues. Ensure your device is powered off before beginning this replacement.
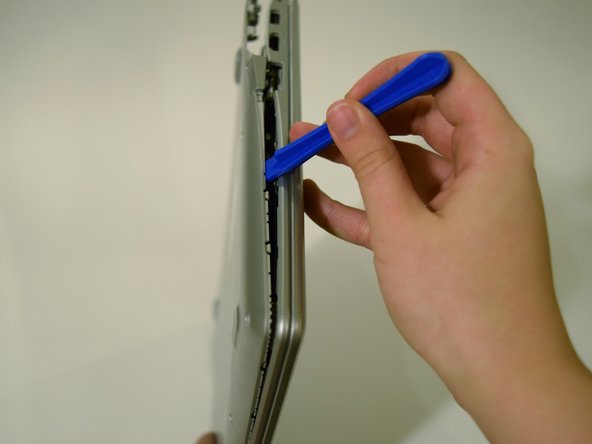
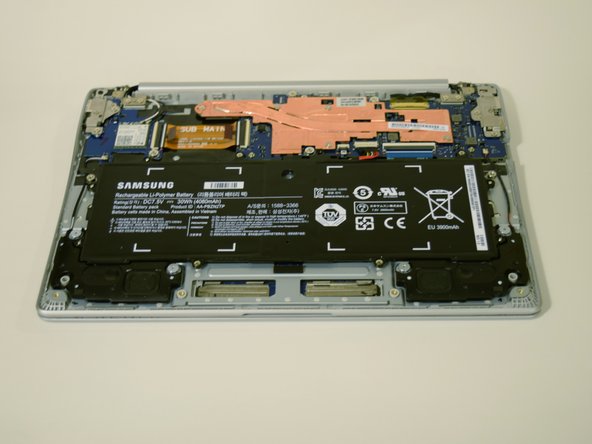
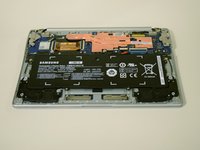
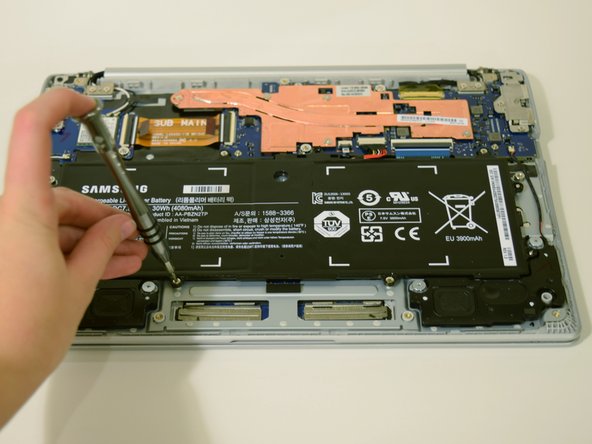
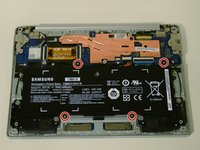
In order to reduce shock hazard during this replacement, the steps to remove the battery are included as a prerequisite.
你所需要的
-
-
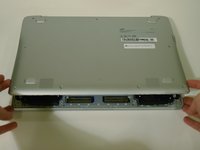
Make sure your Chromebook is turned off before you begin.
-
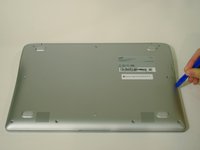
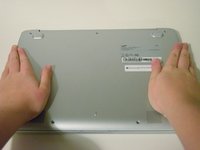
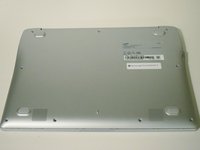
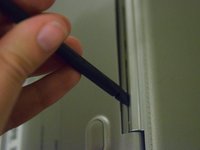
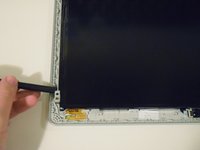
Set the labtop face down on a flat surface.
 询问修复机器人
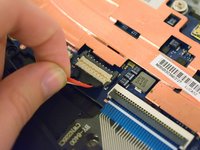
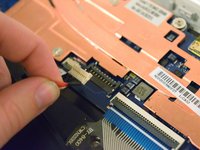
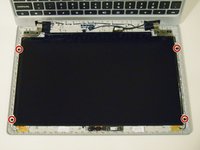
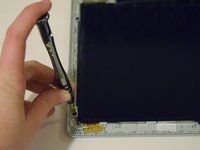
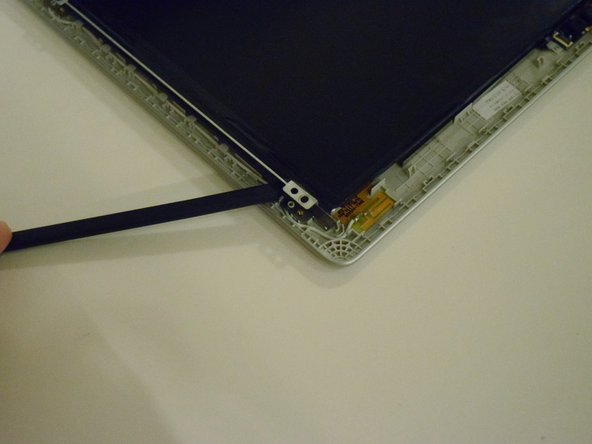
-
-


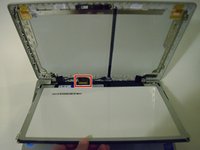

To reassemble your device, follow these instructions in reverse order.
12等其他人完成本指南。
团队

UW Tacoma, Team 1-3, Rose Winter 2016 UW Tacoma, Team 1-3, Rose Winter 2016 的会员
UWT-ROSE-W16S1G3
4 名成员
创作了4篇指南