跳转到主内容

Samsung Brightside Logic board Replacement

你所需要的

  1. Samsung Brightside Logic board Replacement, Logic board: 步骤 1 中的图像 1,3 Samsung Brightside Logic board Replacement, Logic board: 步骤 1 中的图像 2,3 Samsung Brightside Logic board Replacement, Logic board: 步骤 1 中的图像 3,3
    • Here is the Samsung SCH-U380 Brightside

    • Turn it over to gain access to the battery.

    • Remove the backcover by simply pulling it off the phone from the top down

  2. Samsung Brightside Logic board Replacement: 步骤 2 中的图像 1,3 Samsung Brightside Logic board Replacement: 步骤 2 中的图像 2,3 Samsung Brightside Logic board Replacement: 步骤 2 中的图像 3,3
    • Remove the battery

    • Remove the six Phillips screws from the back frame

    • All six screws are identical M1.5X3

  3. Samsung Brightside Logic board Replacement: 步骤 3 中的图像 1,3 Samsung Brightside Logic board Replacement: 步骤 3 中的图像 2,3 Samsung Brightside Logic board Replacement: 步骤 3 中的图像 3,3
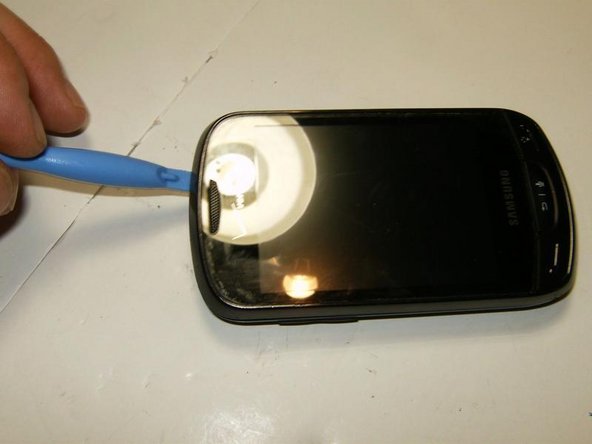
    • Use a plastic opening tool or similar tool to separate the top from the bottom frame. Applying slight pressure in a downwards direction will disengage the plastic clips

    • Continue to slide the tool along the slot until you feel the plastic locks disengage

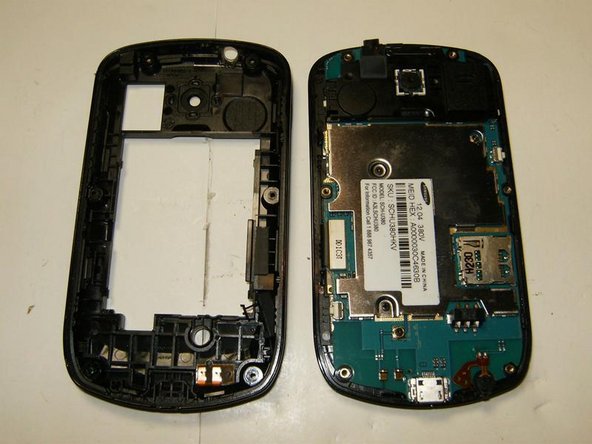
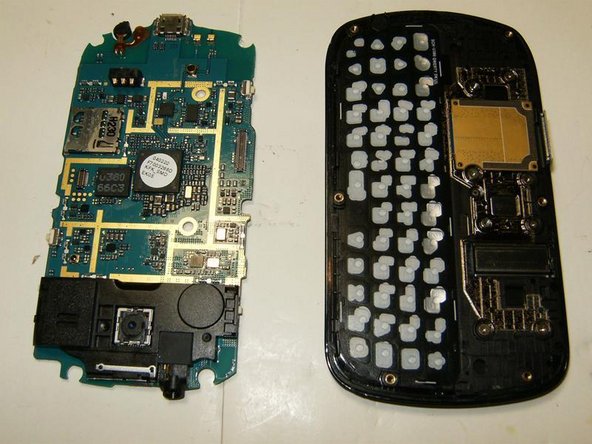
    • Once all locks have released, the bottom frame can simply be removed.

  4. Samsung Brightside Logic board Replacement: 步骤 4 中的图像 1,3 Samsung Brightside Logic board Replacement: 步骤 4 中的图像 2,3 Samsung Brightside Logic board Replacement: 步骤 4 中的图像 3,3
    • Remove the two Phillips screws from the EMI shield.

    • Both screws are identical M1.5X2

    • Remove the EMI shield

  5. Samsung Brightside Logic board Replacement: 步骤 5 中的图像 1,2 Samsung Brightside Logic board Replacement: 步骤 5 中的图像 2,2
    • Detach the LCD connector.

    • Remove the logic board

结论

To reassemble your device, follow these instructions in reverse order.

另外一个人完成了本指南。

oldturkey03

于09/29/10注册

778,207 声望

创作了118篇指南

团队

Global Fixers Global Fixers 的会员

Community

31 名成员

创作了520篇指南

0条评论

添加评论

浏览统计数据:

过去 24 小时: 0

过去 7 天: 1

过去 30 天: 4

总计 1,510