简介
This is a guide designed for replacing a broken direction switch in a RIDGID X4 18V Litium-Ion Impact Driver. This direction switch is imperative to the functionality of the driver. The direction switch determines whether the driver is going to rotate clockwise or counterclockwise.
你所需要的
-
-
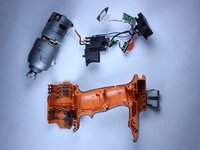
Use the flat side of a metal spudger to peel the black rubber cover off of the casing.
-
Rotate the casing until it fits onto the housing with no gaps between it and the clear cover.
 询问修复机器人
-
-
-
-
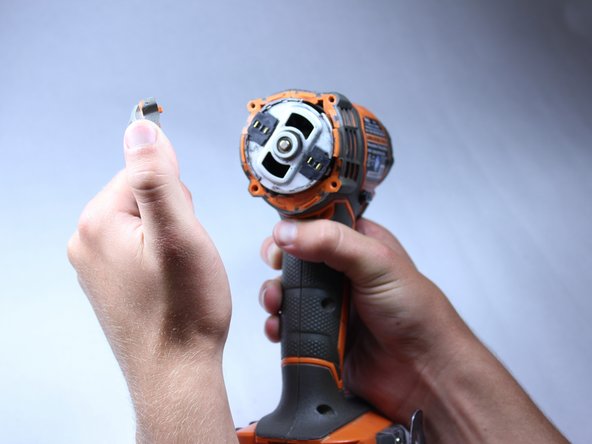
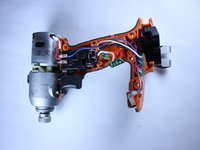
Remove the broken direction switch.
-
Replace the broken direction switch with a functional switch.
-


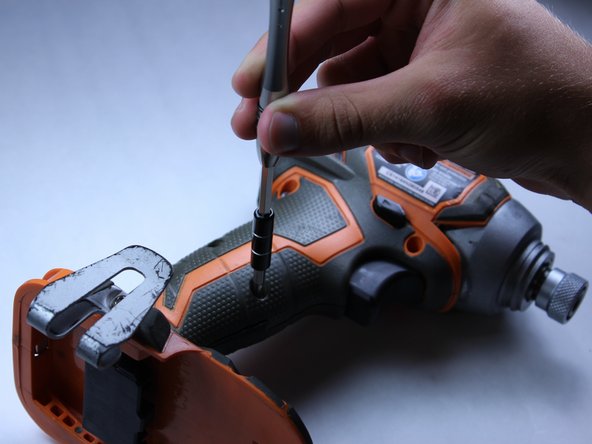
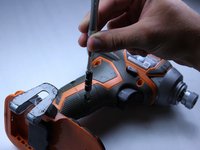


To reassemble your device, follow these instructions in reverse order.
2等其他人完成本指南。
团队

Cal Poly, Team 15-5, Amido Spring 2015 Cal Poly, Team 15-5, Amido Spring 2015 的会员
CPSU-AMIDO-S15S15G5
4 名成员
创作了12篇指南