简介
Use this guide to remove and replace the glued-in battery from your 12-inch MacBook with Retina Display. This is best done with the help of an iFixit battery replacement kit; the liquid adhesive remover in your kit will dissolve the adhesive securing the battery, allowing you to remove it with ease.
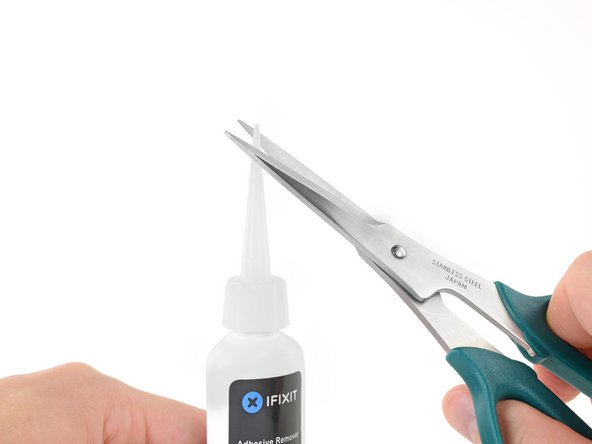
iFixit adhesive remover is flammable. Perform this procedure in a well-ventilated area. Do not smoke or work near an open flame during this procedure.
For your safety, drain your MacBook's battery before you begin this procedure. A charged lithium-ion battery can create a dangerous and uncontrollable fire if accidentally punctured.
The MacBook's battery contacts are located under the logic board, and this guide recommends removing the logic board completely for battery replacement. While it's possible to remove the logic board screws and simply tip the board up slightly to remove the battery, it's very difficult to install a new battery correctly with the logic board still in place.
Note: The solvent used to dissolve the battery adhesive can damage and/or discolor certain plastics. Take care where you apply the solvent.
你所需要的
-
-
-
Power on your Mac and launch Terminal.
-
Copy and paste the following command (or type it exactly) into Terminal:
-
sudo nvram AutoBoot=%00
-
Press [return]. If prompted, enter your administrator password and press [return] again. Note: Your return key may also be labeled ⏎ or "enter."
-
sudo nvram AutoBoot=%03
 询问修复机器人
-
-
-
-
在这个步骤中使用的工具:Magnetic Project Mat$19.95
-
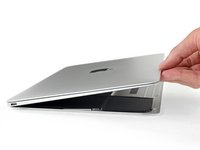
Remove the following eight screws securing the lower case:
-
Two 1.8 mm P5 Pentalobe screws
-
Four 2.9 mm P5 Pentalobe screws
-
Two 6.1 mm P5 Pentalobe screws
-
-
-
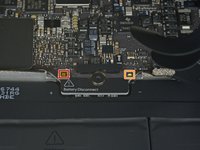
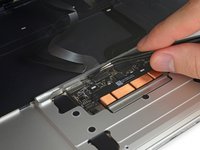
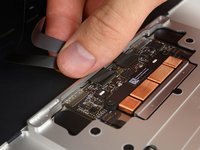
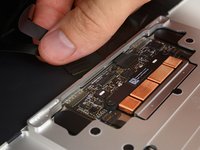
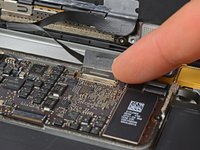
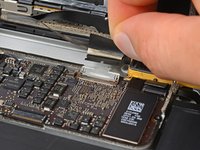
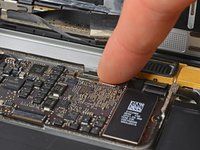
Use the flat end of a spudger to press and hold the small gold 'battery disconnect' button.
-
If the power LED is lit up, continue holding the button until the LED goes dark, and then release. This may take up to 10 seconds.
-
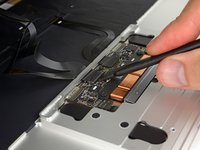
If the LED does not light, release the button after 5-10 seconds. Press and hold it again for 5-10 seconds, and release. Finally, press and hold it a third time for 5-10 seconds, and release.
-
-
-
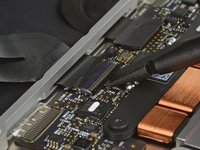
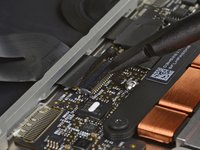
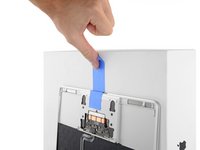
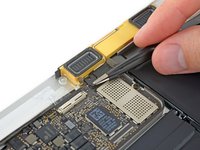
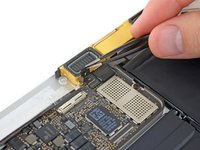
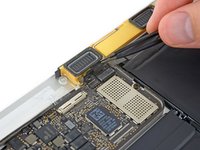
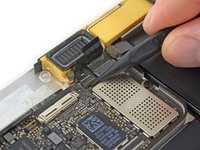
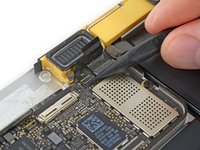
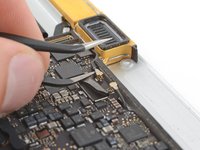
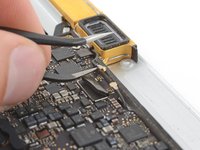
Use a spudger to carefully flip up the retaining flap on the trackpad cable ZIF connector.
-
-
-
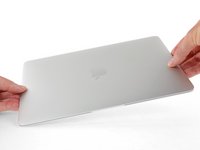
Carefully close the MacBook and flip it over once again, so that the Apple logo faces up.
-
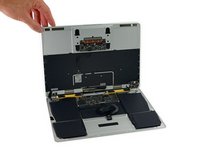
Lifting from the front edge, raise the upper case/display assembly to about a 90° angle, and prop it up against something sturdy so you don't have to hold it.
-
Add a piece of tape near the track pad to secure the upper case and prevent accidental movement.
-
-
在这个步骤中使用的工具:Battery Blocker$5.95
-
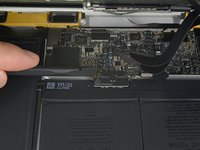
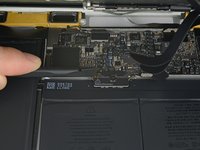
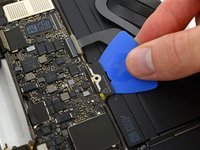
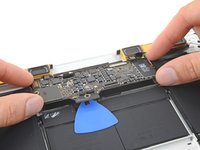
As an added precaution, you may physically disconnect the battery by inserting a battery isolation pick between the logic board and the battery connector.
-
-
-
-
-
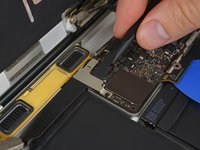
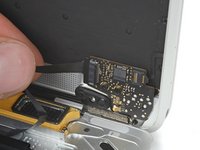
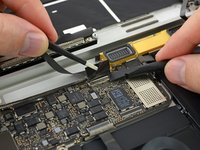
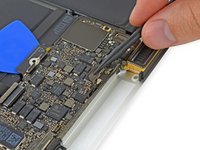
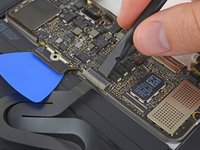
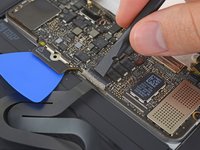
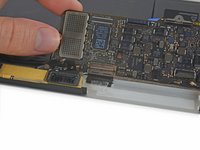
Remove the two screws securing the USB-C port cable bracket:
-
1.1 mm Phillips #00 screw
-
3.5 mm T5 Torx screw
-
-
-
-
-
在这个步骤中使用的工具:Tweezers$4.99
-
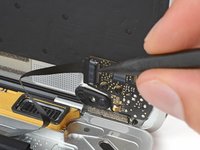
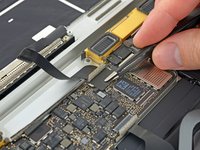
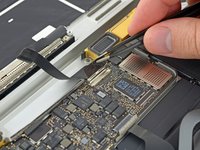
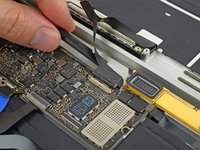
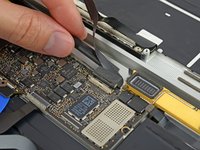
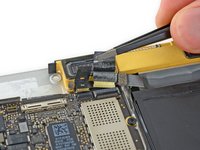
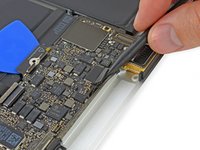
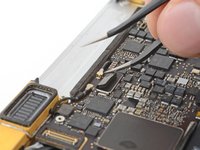
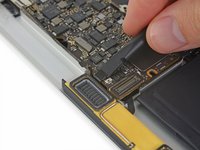
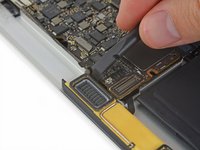
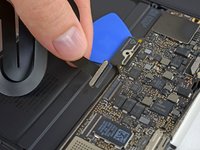
Use tweezers to peel back the tape covering the display cable connector.
-
-
-
-
在这个步骤中使用的工具:Tweezers$4.99
-
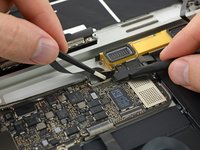
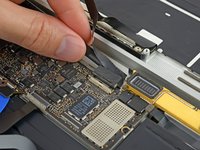
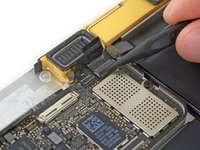
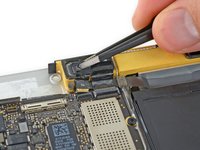
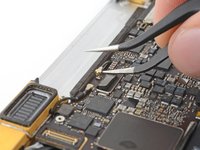
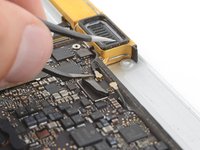
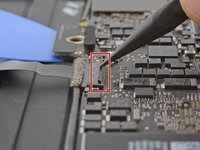
Use tweezers to peel up the tape covering the two ZIF connectors—one for the right speaker cable, and one for the audio jack board cable.
-
-
-
-
-
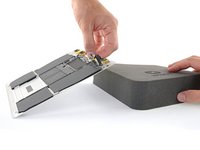
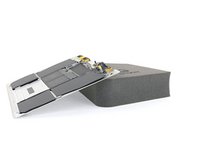
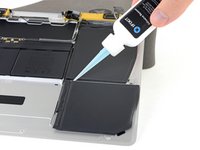
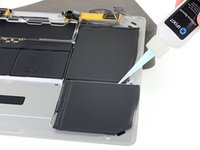
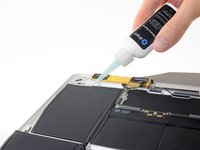
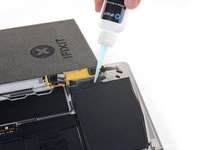
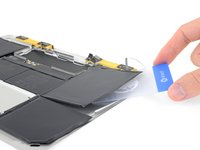
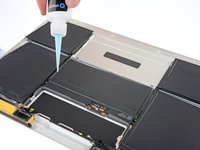
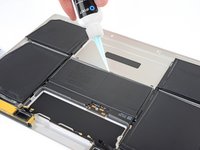
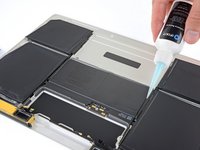
Lift the back edge of the lower case assembly and prop it up at an angle using a book or foam block.
-
-
在这个步骤中使用的工具:Plastic Cards$2.99
-
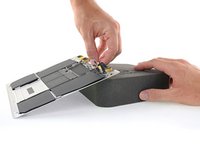
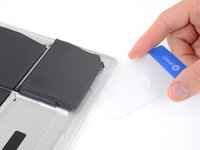
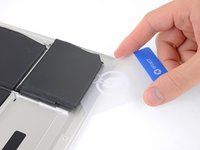
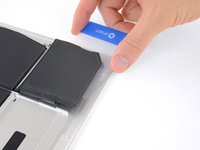
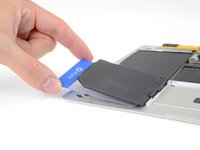
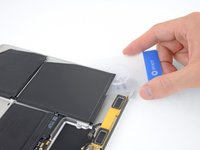
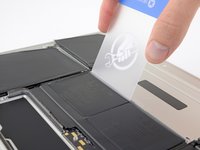
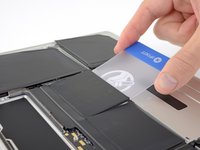
After 2-3 minutes, slide one corner of a plastic card underneath the battery cell.
-
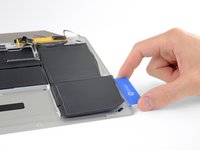
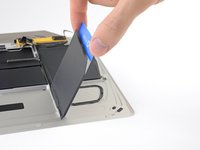
Slide the card farther underneath the battery cell to separate it from the adhesive securing it to the case.
-
-
在这个步骤中使用的工具:Tweezers$4.99
-
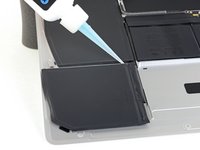
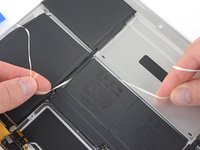
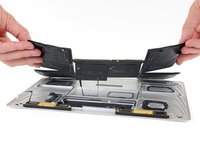
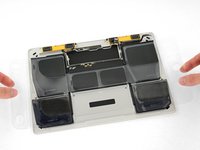
Remove the battery by lifting it away from the speaker and logic board area.
-
Peel off larger pieces of adhesive using tweezers or gloved fingers.
-
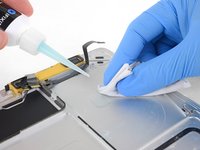
Scrape away any remaining adhesive with a plastic tool, and clean the underlying areas with adhesive remover or isopropyl alcohol. Wipe in one direction, not back and forth, until all the adhesive residue is gone.
-
-
在这个步骤中使用的工具:Tesa 61395 Tape$25.95
-
Test your new battery's fit and alignment carefully before installing it.
-
Your replacement battery may come affixed to a thick plastic top liner to help keep the individual cells in position as you install it. Don't remove this liner until after the battery is installed.
-
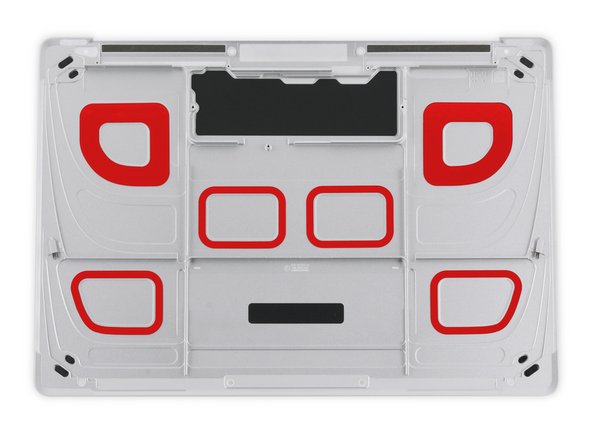
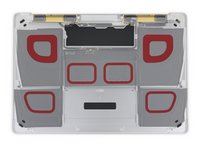
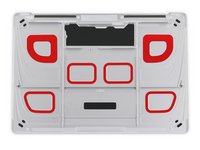
If your battery came with adhesive pre-installed on the bottom, peel away the bottom plastic liners to expose the adhesive. If your battery did not come with adhesive, apply a thin double-sided adhesive tape such as Tesa 61395 to the lower case in the areas marked in red.
-
Carefully position the battery and set it into place. Press and hold each cell firmly for 5-10 seconds to secure it to the lower case. Afterward, peel off the plastic top liner along with any foam padding.
-
-


For optimal performance, calibrate your newly installed battery after completing this guide.
To reassemble your device, follow these instructions in reverse order.
If you notice any unusual behavior or problems after installing your new battery, you may need to reset your MacBook's SMC.
Take your e-waste to an R2 or e-Stewards certified recycler.
Repair didn’t go as planned? Check out our Answers community for troubleshooting help.
40等其他人完成本指南。


20指南评论
Do you think you could do two things to make your remarkable step-by-step guides even better:
• Having the ability to click in check-boxes for each step, it would also trigger a color-scheme (done / to be done) and a completion percentage display.
• Having the ability to display the various steps of the reversed order instructions to re-assemble the device, (it would feel much more helpful and safe to be able to follow the instructions displayed this way).
Thanks for your consideration.
OK…. So Ill qualify this with saying I was an apple tech for an independent company for about two years, and I now do it independently for my own company..
Did this in 20 minutes with my 9 year old holding parts so I can skip 14-33 as mentioned on the 2015 repair guide. Used a metal splurgier I got from newer tech long ago and my wife hairdryer. Its not as bad as some comments make it seem. I had set aside 1-2 hours but now I can enjoy my Friday bonus time and use my laptop away from a power cable. Good luck.
Hi axl1972,
I installed, followed all directions but it’s not charging?