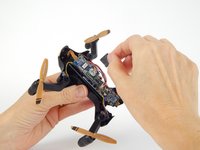
跳转到主内容

Protocol Vento Front Camera Replacement

你所需要的

  1. Protocol Vento Front Camera Replacement, Battery: 步骤 1 中的图像 1,1
    • Grasp the tail end of the drone where the lip of the battery protrudes.

  2. Protocol Vento Front Camera Replacement: 步骤 2 中的图像 1,1
    • Pull away from the drone to remove the battery.

    • Do not attempt any repairs or replacements before removing the battery from the drone.

  3. Protocol Vento Front Camera Replacement, Transmitter Board: 步骤 3 中的图像 1,1
    • To get into the drone, twelve total screws need to be removed:

    • Ten 5.7mm Phillips #000 screws from the bottom of the drone body.

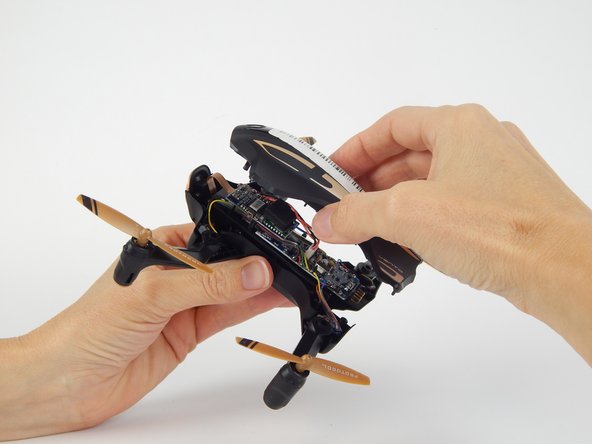
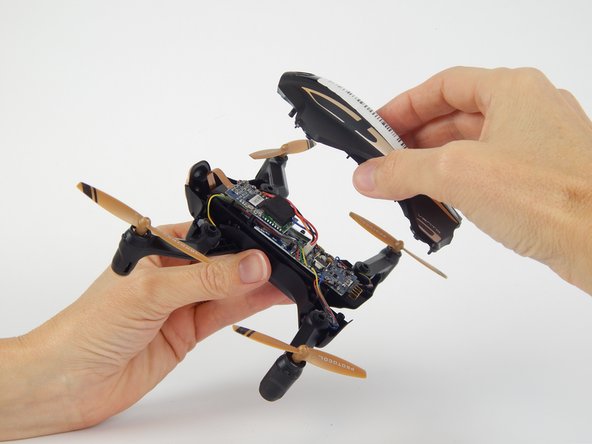
    • Two 4.5mm Phillips #000 screws at the front of the drone.

    • It is not necessary to remove the four screws on the arms of the drone.

  4. Protocol Vento Front Camera Replacement: 步骤 4 中的图像 1,3 Protocol Vento Front Camera Replacement: 步骤 4 中的图像 2,3 Protocol Vento Front Camera Replacement: 步骤 4 中的图像 3,3
    • Flip the drone over and lift off the top plastic shell of the drone.

  5. Protocol Vento Front Camera Replacement: 步骤 5 中的图像 1,2 Protocol Vento Front Camera Replacement: 步骤 5 中的图像 2,2
    • Remove the foam adhesive pad located on the Wi-Fi transmitter board.

  6. Protocol Vento Front Camera Replacement: 步骤 6 中的图像 1,2 Protocol Vento Front Camera Replacement: 步骤 6 中的图像 2,2
    • Pry the gold Wi-Fi antenna connector, located under the previously removed foam pad, away from the Wi-Fi transmitter board to disconnect it.

    • Be sure to only apply force to the gold connector and not the black wire attached to it, as the connection between the two is very fragile.

  7. Protocol Vento Front Camera Replacement: 步骤 7 中的图像 1,1
    • Remove the two 3.8mm Phillips #000 screws from the Wi-Fi transmitter board.

    • Be careful with the delicate ribbon cable attached to the camera.

  8. Protocol Vento Front Camera Replacement: 步骤 8 中的图像 1,1
    • Disconnect the white clip that connects the four colored wires (black, orange, red, blue) to the motherboard.

    • Be sure to pull only on the white clip, as to avoid damaging the wires.

  9. Protocol Vento Front Camera Replacement: 步骤 9 中的图像 1,2 Protocol Vento Front Camera Replacement: 步骤 9 中的图像 2,2
    • Gently pull the black wedge away from the main board until it shifts to a stop. You will feel it slide out, then stop.

    • The black insert acts as a wedge to keep the ribbon cable attached to the board. The wedge needs to be jostled loose before the cable can be removed.

    • Lightly pull the ribbon cable away from the connector.

  10. Protocol Vento Front Camera Replacement, Front Camera: 步骤 10 中的图像 1,1
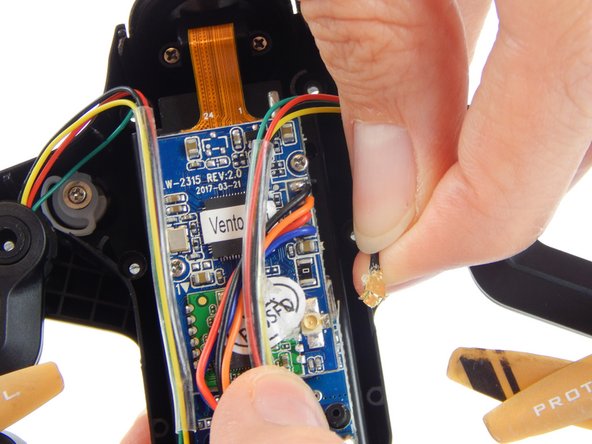
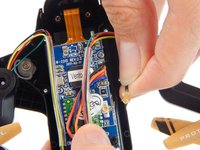
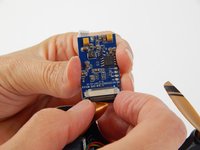
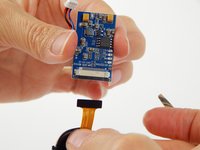
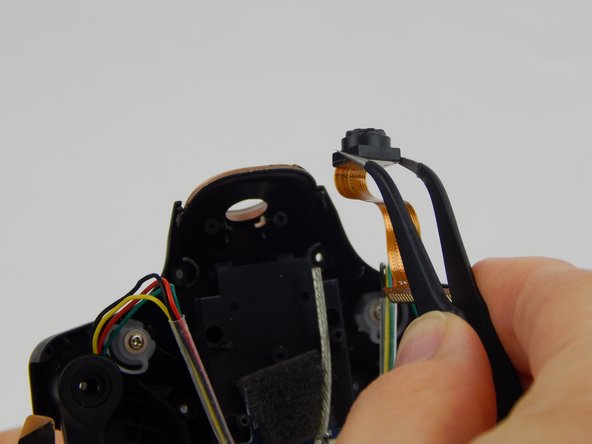
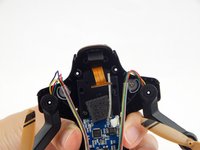
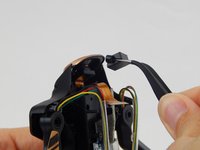
    • Remove the two 4.9mm Phillips #000 screws securing the camera to the front of the drone body.

  11. Protocol Vento Front Camera Replacement: 步骤 11 中的图像 1,3 Protocol Vento Front Camera Replacement: 步骤 11 中的图像 2,3 Protocol Vento Front Camera Replacement: 步骤 11 中的图像 3,3
    • Lift the camera holder and the camera up and away from the drone.

结论

To reassemble your device, follow these instructions in reverse order.

3等其他人完成本指南。

团队

USF Tampa, Team S1-G2, Leahy Spring 2018 USF Tampa, Team S1-G2, Leahy Spring 2018 的会员

USFT-LEAHY-S18S1G2

4 名成员

创作了6篇指南

0条评论

添加评论

浏览统计数据:

过去 24 小时: 0

过去 7 天: 0

过去 30 天: 1

总计 364