跳转到主内容
加入维修社区 - 创建账户

Protocol Galileo Top Shell Replacement

你所需要的

    1. Protocol Galileo Top Shell Replacement, Battery: 步骤 1 中的图像 1,1
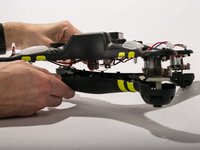
      • Find door on the underside of drone. Open the door.

      询问修复机器人
      添加评论

    2. Protocol Galileo Top Shell Replacement: 步骤 2 中的图像 1,2 Protocol Galileo Top Shell Replacement: 步骤 2 中的图像 2,2
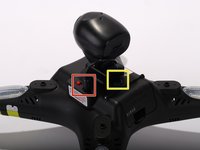
      • Carefully pull out battery, pulling out wires first.

      询问修复机器人
      添加评论

    3. Protocol Galileo Top Shell Replacement: 步骤 3 中的图像 1,1
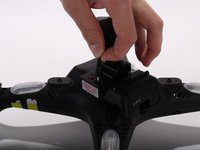
      • Disconnect the connecter.

      • When reconnecting, remember to match up the black wire with the black wire and the red with red.

      询问修复机器人
      添加评论

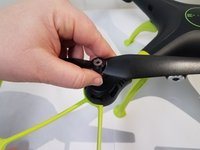
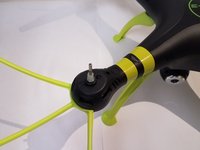
    1. Protocol Galileo Top Shell Replacement, Propeller: 步骤 4 中的图像 1,2 Protocol Galileo Top Shell Replacement, Propeller: 步骤 4 中的图像 2,2
      在这个步骤中使用的工具:
      Heavy-Duty Spudger
      $4.99
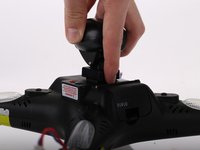
      • Use the heavy duty spudger tool to pry off metal caps by pushing the spudger up into the cap.

      询问修复机器人

      添加评论

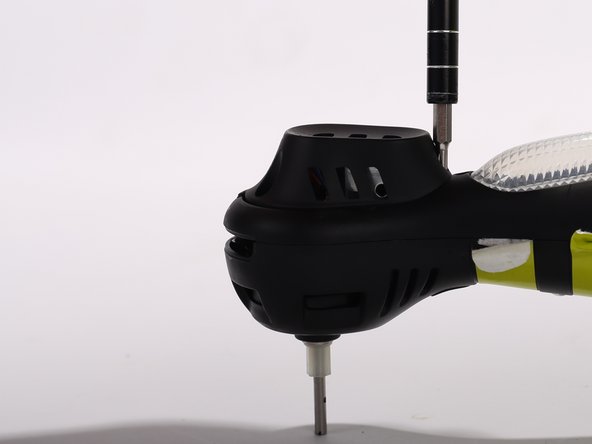
    2. Protocol Galileo Top Shell Replacement: 步骤 5 中的图像 1,1
      • Twist the white spindle sleeve counter clockwise to align locking pin inside with the opening.

      询问修复机器人
      添加评论

    3. Protocol Galileo Top Shell Replacement: 步骤 6 中的图像 1,1
      在这个步骤中使用的工具:
      Tweezers
      $4.99
      询问修复机器人
      添加评论

    4. Protocol Galileo Top Shell Replacement: 步骤 7 中的图像 1,1
      • Pull off white spindle sleeve.

      • Take note of which side of the spindle sleeve is the top.

      询问修复机器人
      添加评论

    5. Protocol Galileo Top Shell Replacement: 步骤 8 中的图像 1,2 Protocol Galileo Top Shell Replacement: 步骤 8 中的图像 2,2
      • Pull off propeller.

      询问修复机器人

      添加评论

    1. Protocol Galileo Top Shell Replacement, Top Shell: 步骤 9 中的图像 1,3 Protocol Galileo Top Shell Replacement, Top Shell: 步骤 9 中的图像 2,3 Protocol Galileo Top Shell Replacement, Top Shell: 步骤 9 中的图像 3,3
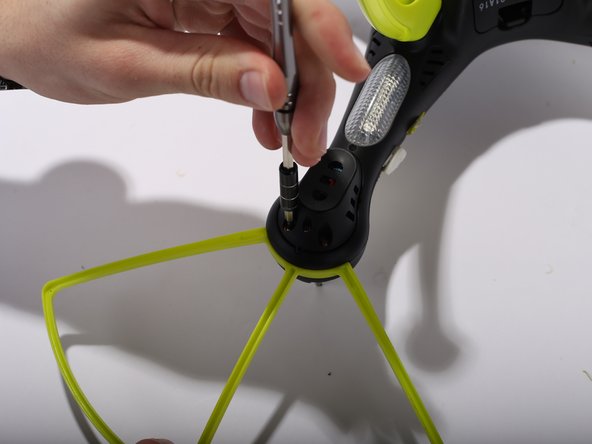
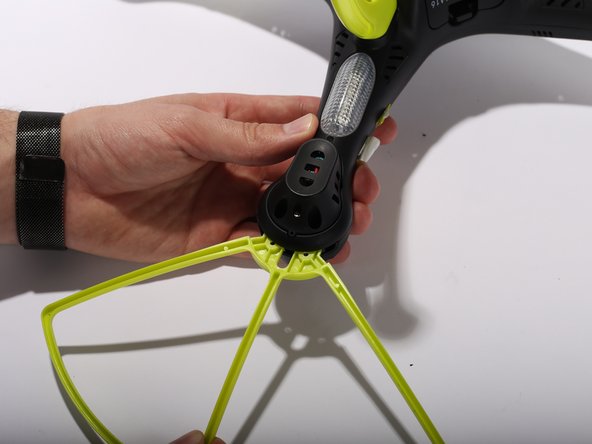
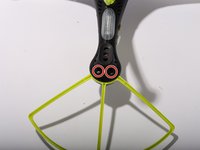
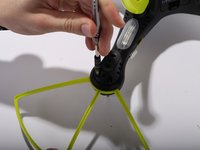
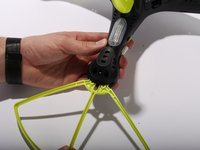
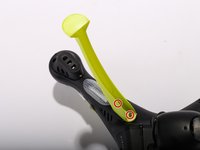
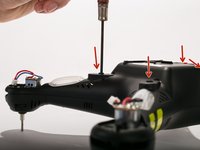
      • Remove Blade Guards by unscrewing two 13 millimeter screws using Philips #0. Pull out the guards. Repeat the steps for the other three corners.

      询问修复机器人

      添加评论

    2. Protocol Galileo Top Shell Replacement: 步骤 10 中的图像 1,2 Protocol Galileo Top Shell Replacement: 步骤 10 中的图像 2,2
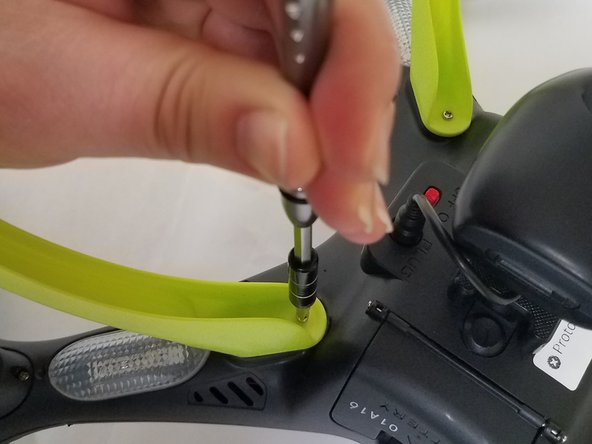
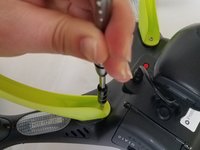
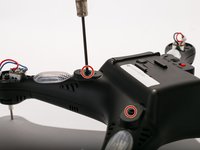
      • Unscrew two 9 mm screws located inside the legs. Repeat the same procedure for the other three legs

      询问修复机器人

      添加评论

    3. Protocol Galileo Top Shell Replacement: 步骤 11 中的图像 1,3 Protocol Galileo Top Shell Replacement: 步骤 11 中的图像 2,3 Protocol Galileo Top Shell Replacement: 步骤 11 中的图像 3,3
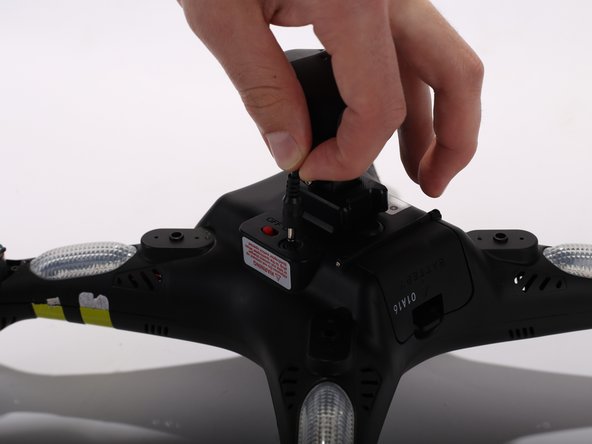
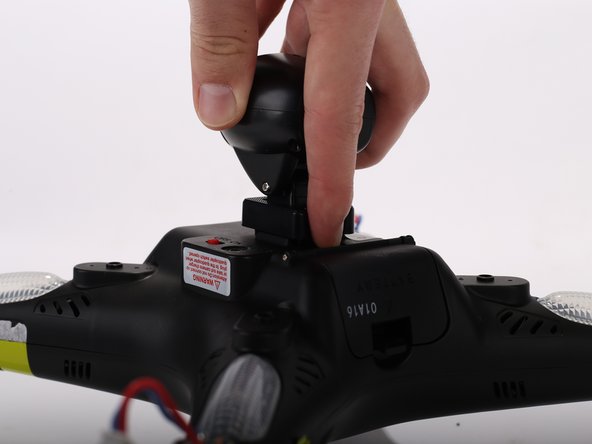
      • Unplug the camera wire.

      • Press the hold release button and slide out the camera module away from the button.

      询问修复机器人

      添加评论

    4. Protocol Galileo Top Shell Replacement: 步骤 12 中的图像 1,2 Protocol Galileo Top Shell Replacement: 步骤 12 中的图像 2,2
      • Remove the motor protection cover by unscrewing two 9 mm screws using Philips #0. When the screws are off, use your fingers to pull the motor protection cover off. Repeat the procedure for the other three arms.

      询问修复机器人

      添加评论

    5. Protocol Galileo Top Shell Replacement: 步骤 13 中的图像 1,3 Protocol Galileo Top Shell Replacement: 步骤 13 中的图像 2,3 Protocol Galileo Top Shell Replacement: 步骤 13 中的图像 3,3
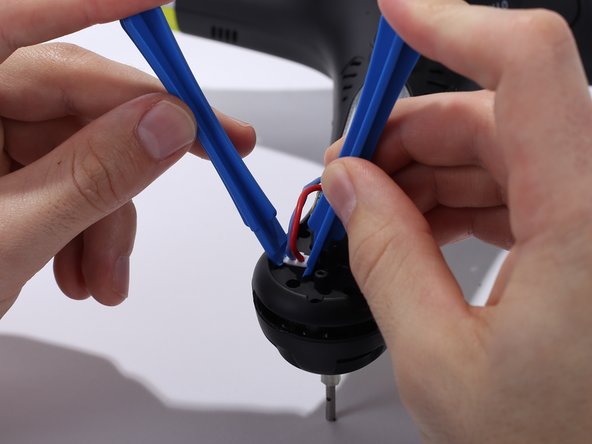
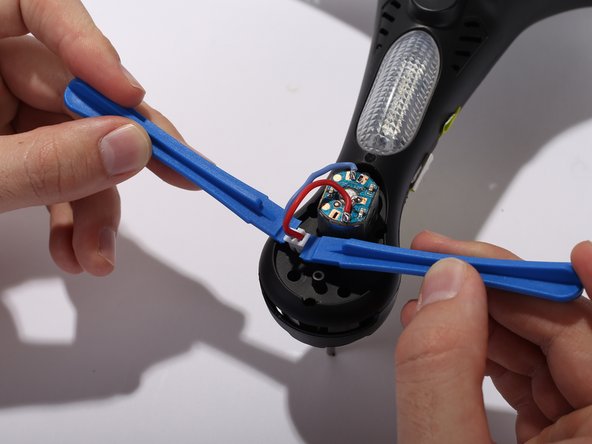
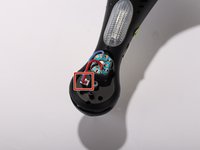
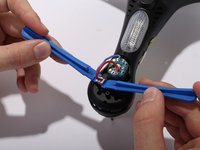
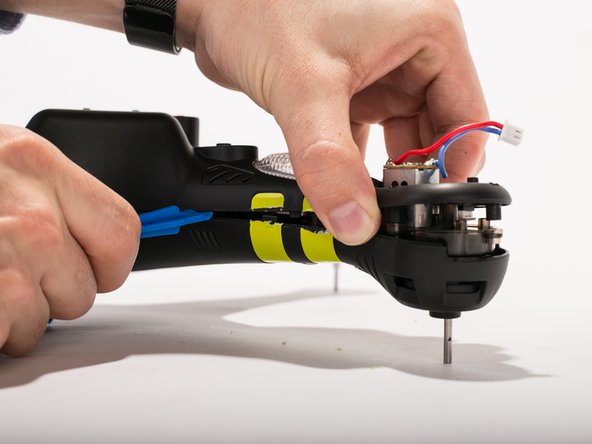
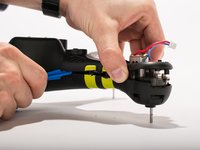
      • Unclip the motor cable from the shells housing using two pry tools. Repeat the same procedure for the other three arms.

      询问修复机器人

      添加评论

    6. Protocol Galileo Top Shell Replacement: 步骤 14 中的图像 1,1
      • Remove 3 9mm screws around the motor housing. Repeat the steps for the three other arms.

      询问修复机器人

      添加评论

    7. Protocol Galileo Top Shell Replacement: 步骤 15 中的图像 1,2 Protocol Galileo Top Shell Replacement: 步骤 15 中的图像 2,2
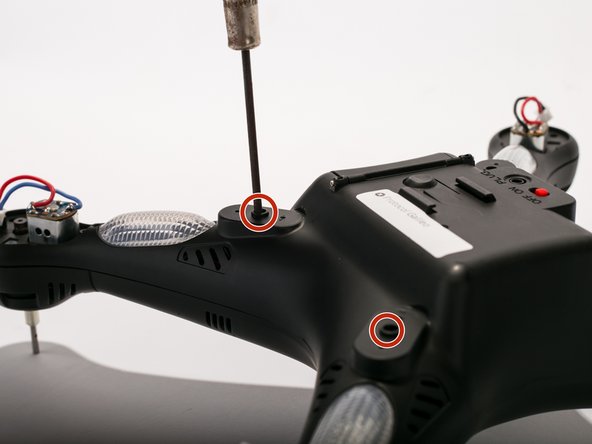
      • Remove four 9 mm screws located where the legs originally are placed. (Use a thin head screwdriver)

      询问修复机器人

      添加评论

    8. Protocol Galileo Top Shell Replacement: 步骤 16 中的图像 1,3 Protocol Galileo Top Shell Replacement: 步骤 16 中的图像 2,3 Protocol Galileo Top Shell Replacement: 步骤 16 中的图像 3,3
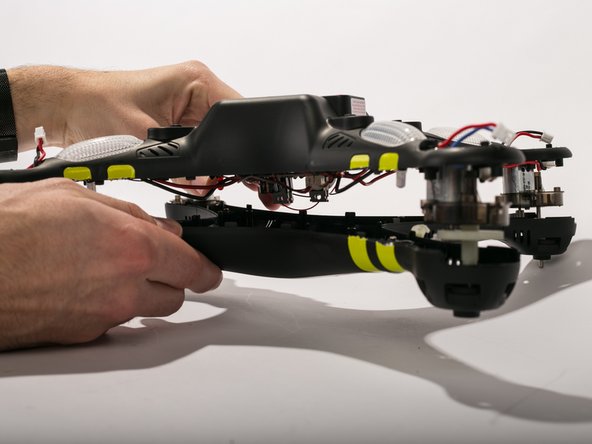
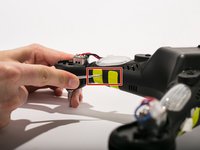
      • Cut the yellow strips using a scalpel. Pry open the casing using pry tools working gently around the corners.

      询问修复机器人

      添加评论

结论

To reassemble your device, follow these instructions in reverse order.

取消:我没有完成这个指南。

Thomas Ramey

于02/03/17注册

301 声望

创作了3篇指南

团队

UW Tacoma, Team 2-3, Rose Winter 2017 UW Tacoma, Team 2-3, Rose Winter 2017 的会员

UWT-ROSE-W17S2G3

4 名成员

创作了5篇指南

0指南评论

添加评论

浏览统计数据:

过去 24 小时: 2

过去 7 天: 3

过去 30 天: 17

总计 355