简介
Use this guide to replace the vibration motors of a Power A Spectra Infinity Enhanced Xbox controller.
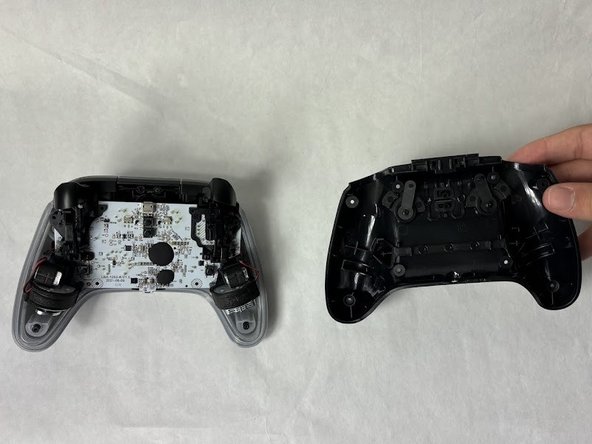
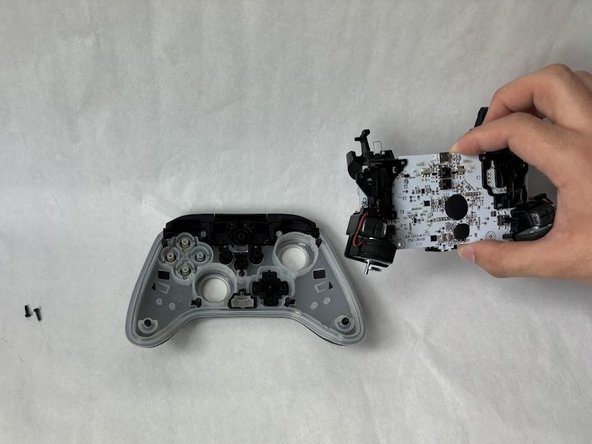
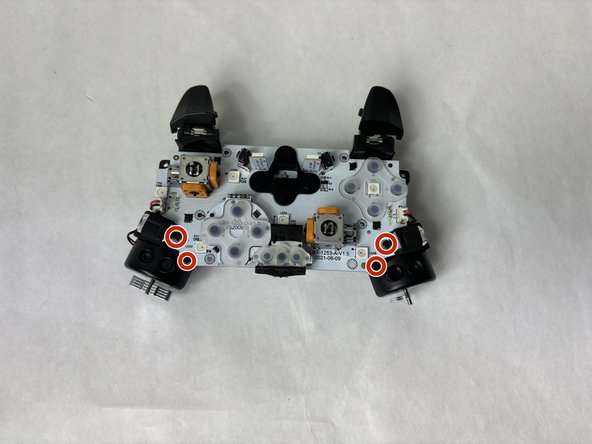
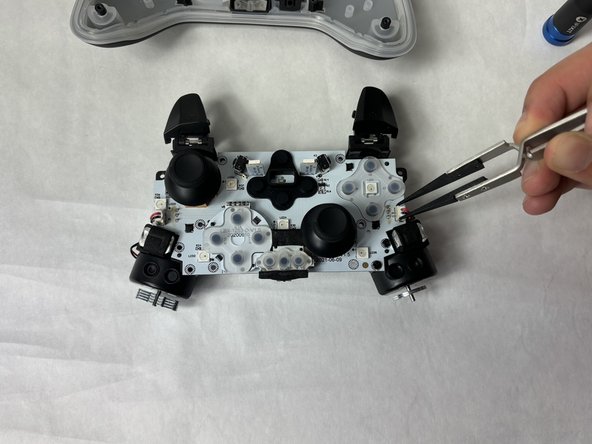
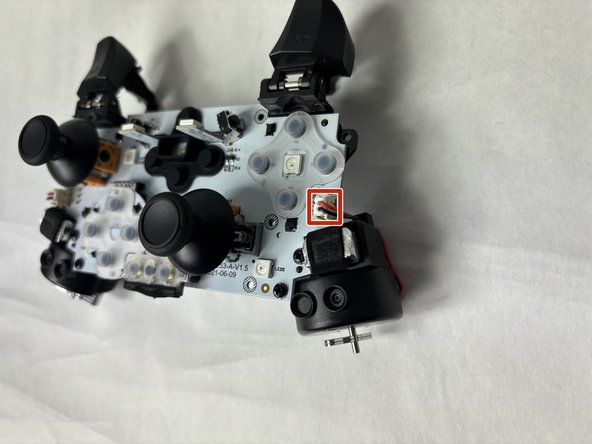
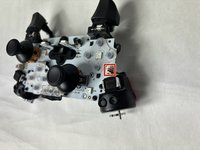
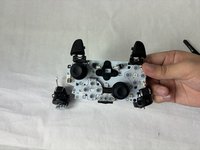
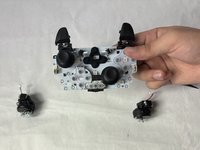
The vibration motors may need to be replaced if they no longer vibrate when plugged in and taking part in a game that supports vibrating feedback. Please ensure that the controller is not plugged before taking it apart.
你所需要的


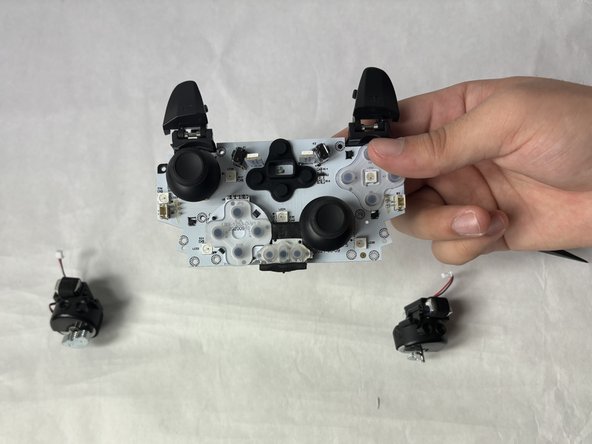
To reassemble your device, follow these instructions in reverse order.
2等其他人完成本指南。

团队

UMass Dartmouth, Team 6-5, Botvin Spring 2024 UMass Dartmouth, Team 6-5, Botvin Spring 2024 的会员
UMASSD-BOTVIN-S24S6G5
3 名成员
创作了6篇指南