简介
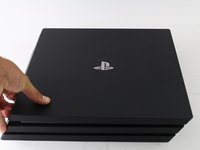
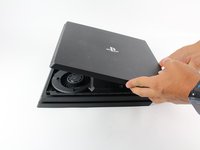
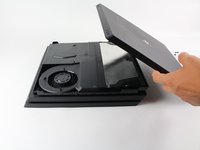
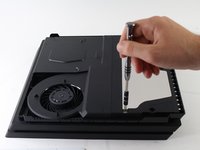
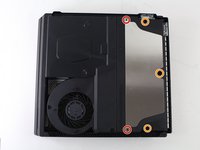
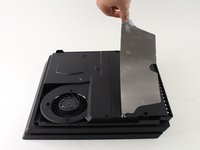
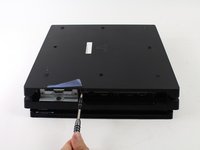
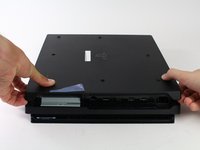
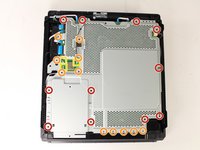
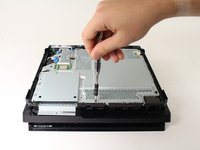
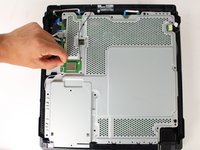
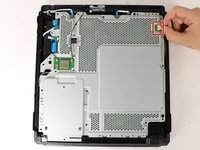
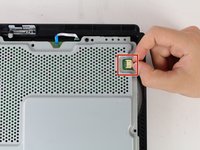
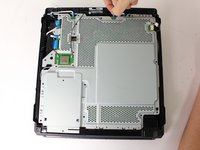
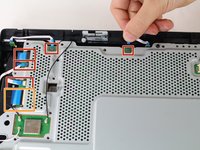
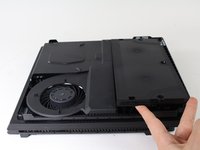
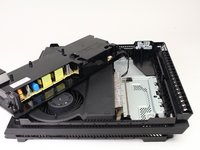
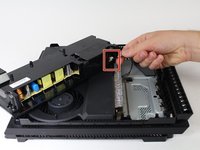
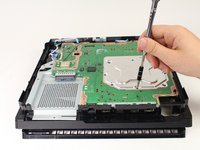
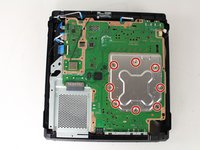
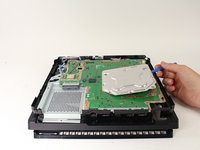
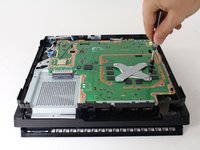
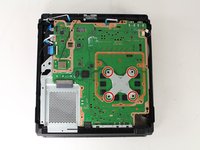
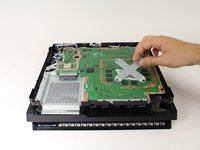
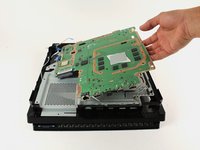
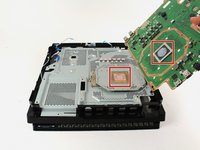
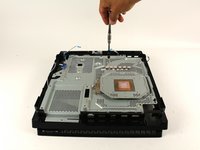
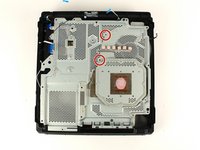
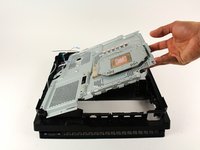
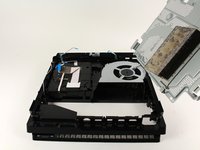
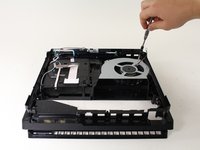
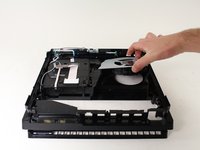
本指南展示从 PlayStation 4 Pro 上移除风扇的必要步骤。这里有几个必要的步骤来完成此事,以及一些回导致保修失效的拆解。移除风扇需要拆解大部分 PS4 Pro。
你所需要的


要重新组装设备,请按相反的顺序操作。
126等其他人完成本指南。

团队

Cal Poly, Team S21-G5, Livingston Spring 2017 Cal Poly, Team S21-G5, Livingston Spring 2017 的会员
CPSU-LIVINGSTON-S17S21G5
4 名成员
创作了49篇指南
15指南评论
Danke für die Anleitung. hat alles super geklappt. Bloß beim letzten Schritt ist die Schraube vom Lüfter nicht oben links sondern unten rechts. Mfg
Camorrista31 - 回复 分享
Thanks for the guide. Very comprehensive.
I’m clueless with electronics but my PS4 was on its death throes with overheating. I read this guide and watched the video (coffee break included) and got to work. The only trouble I had was that my husband (he’s a good guy normally) decided to help and used too big pliers and broke the connector between the power supply and PS4. Ok, so 5 days wait for replacement. I replaced the fan, thermal paste, and pads and put it back together (shaking like a leaf in a hurricane). It’s quiet and works thanks to ifixit.com. Thank you so much!
This was super helpful! For the power supply, I was trying to pull at the socket the cable was plugged into (same color plastic). I think it would have worked better just wiggling the cable.
Also, T8 worked fine, but putting it back together, I noticed T9 was better fit, so if you have a T9, use that instead. After cleaning and repasting, it’s so much quieter. Thanks!