简介
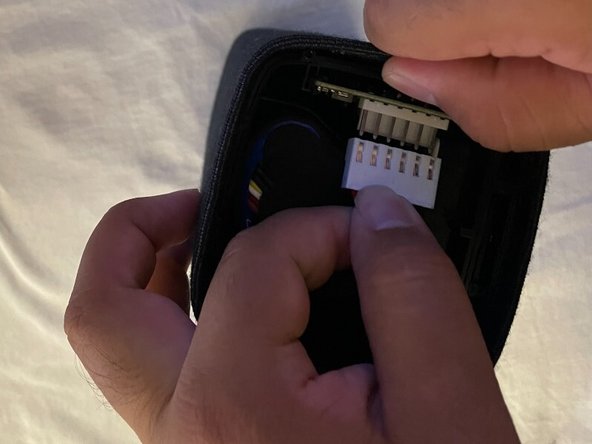
This guide provides detailed instructions on how to remove and replace the battery from your Philips TAS7505 Speaker. It is vital to understand that this procedure requires you to detach the outside shell of the speaker, which may not reattach well. Proceed with caution.
Replacing worn-out batteries is crucial to maintaining the longevity of your speaker. By replacing the battery, you can ensure that the speaker continues to function optimally and extends its lifespan. If you do not mind minor cosmetic changes to your speaker, this procedure should not cause any issues.
你所需要的
-
-
-
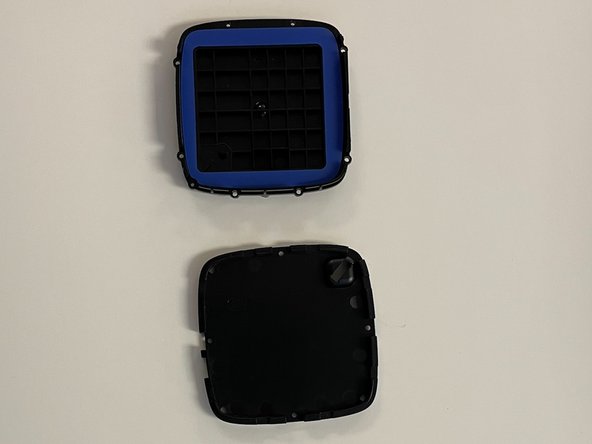
Remove the rubber dampener from the bottom of the speaker using your opening tool.
 询问修复机器人
-
-
-



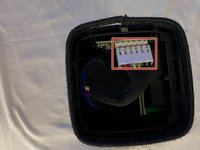
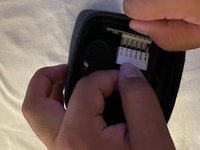

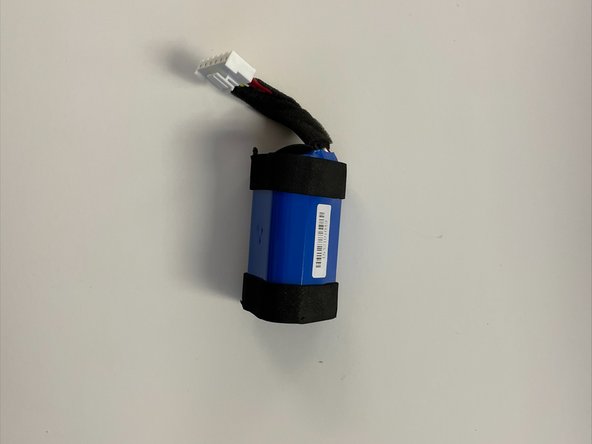
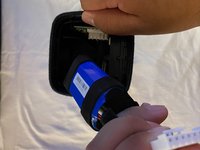
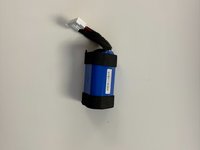
To reassemble your device, follow these instructions in reverse order.
另外一个人完成了本指南。

团队

CSU Los Angeles, Team 5-2, Adachi Fall 2022 CSU Los Angeles, Team 5-2, Adachi Fall 2022 的会员
CSULA-ADACHI-F22S5G2
5 名成员
创作了10篇指南
