跳转到主内容
加入维修社区 - 创建账户

你所需要的

本篇指南是分解流程而非维修指南。 如果您要维修您的Philips Hue Bridge Pro,应参考我们的维修指南

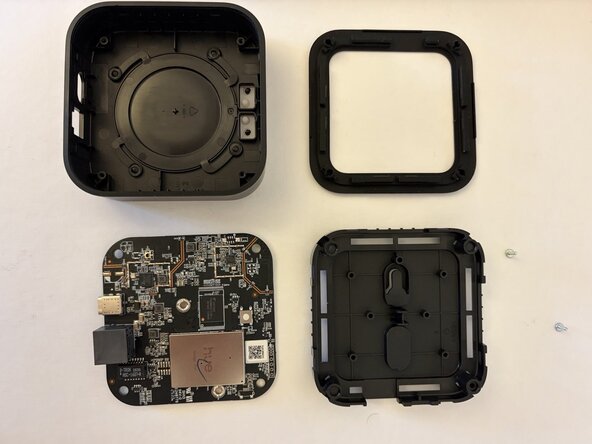
    1. Philips Hue Bridge Pro, Philips Hue Bridge Pro: 步骤 1 中的图像 1,1
      • 1. 用指甲撬开底部的橡胶(不要使用尖锐的工具)。

      • 2. 拆下角落里的两颗螺丝。

      • 3. 提起底板并拆下。

      • 4. 轻轻将主板向上翻转以便操作。安全且简单。

      询问修复机器人

      添加评论

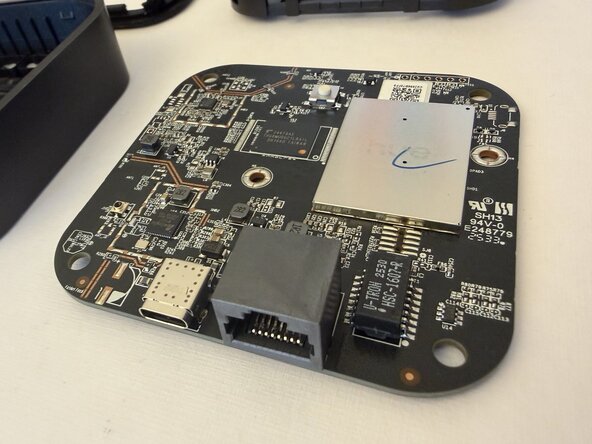
    2. Philips Hue Bridge Pro: 步骤 2 中的图像 1,1
      • 在此处插入说明。

      询问修复机器人

      添加评论

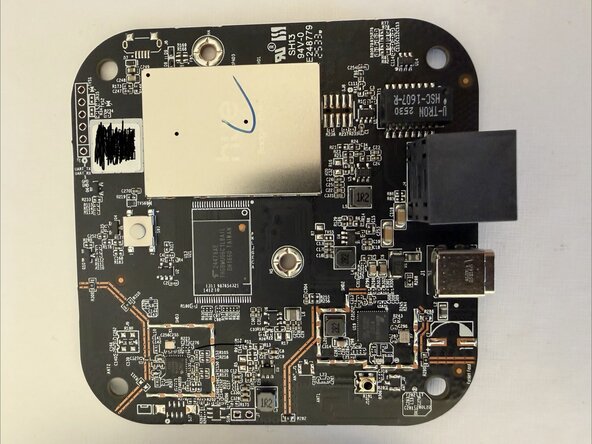
    3. Philips Hue Bridge Pro: 步骤 3 中的图像 1,1
      • .

      询问修复机器人

      添加评论

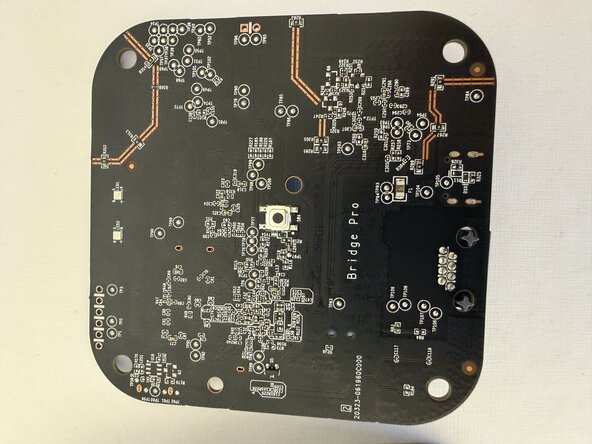
    4. Philips Hue Bridge Pro: 步骤 4 中的图像 1,1
      • 在此处插入说明。

      询问修复机器人

      添加评论

      • 在此处插入说明。

      询问修复机器人

      添加评论

fussi37

于11/04/25注册

121 声望

撰写一个指南

3指南评论

Thanks for the teardown. So does it have a Thread radio, or not?

Mike - 回复 分享

I dont know.

fussi37 - 回复 分享

Maybe could you include a more detailed photo of the black square chips near ANT1 and ANT2? If it were possible to read the chip markings, it might solve the mystery :)

Mike - 回复 分享

添加评论

浏览统计数据:

过去 24 小时: 5

过去 7 天: 19

过去 30 天: 167

总计 889