跳转到主内容
加入维修社区 - 创建账户

Petnet SmartFeeder SF10E 12 Pin Connector Replacement

你所需要的

    1. Petnet SmartFeeder SF10E 12 Pin Connector Replacement, 12 Pin Connector: 步骤 1 中的图像 1,3 Petnet SmartFeeder SF10E 12 Pin Connector Replacement, 12 Pin Connector: 步骤 1 中的图像 2,3 Petnet SmartFeeder SF10E 12 Pin Connector Replacement, 12 Pin Connector: 步骤 1 中的图像 3,3
      • Eject the SmartBowl by pressing the button located at the front of the SmartFeeder base.

      询问修复机器人

      添加评论

    2. Petnet SmartFeeder SF10E 12 Pin Connector Replacement: 步骤 2 中的图像 1,3 Petnet SmartFeeder SF10E 12 Pin Connector Replacement: 步骤 2 中的图像 2,3 Petnet SmartFeeder SF10E 12 Pin Connector Replacement: 步骤 2 中的图像 3,3
      • Remove the food tub by twisting it counter-clockwise with both hands and lifting it up.

      询问修复机器人

      添加评论

    3. Petnet SmartFeeder SF10E 12 Pin Connector Replacement: 步骤 3 中的图像 1,1
      • Remove the black plastic gasket from the top of the SmartFeeder by placing your fingers on the side of it and lifting up.

      • It should come off easily.

      询问修复机器人

      添加评论

    4. Petnet SmartFeeder SF10E 12 Pin Connector Replacement: 步骤 4 中的图像 1,1
      • Flip over the SmartFeeder by using both hands.

      • Partially open the outer case of the SmartFeeder by wedging an iFixit Opening Tool on each side.

      询问修复机器人

      添加评论

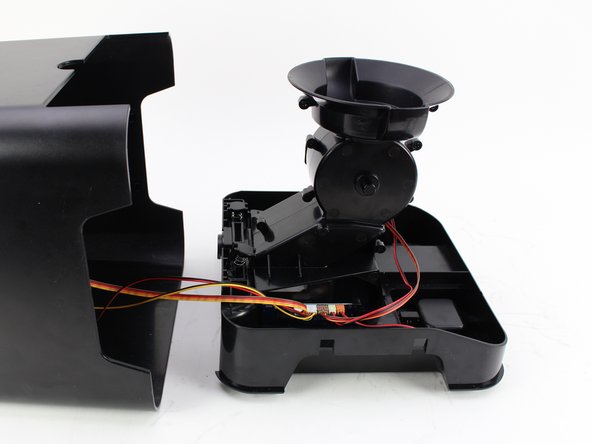
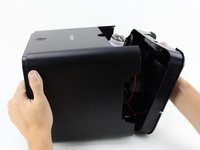
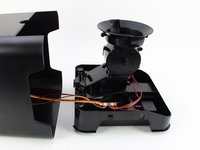
    5. Petnet SmartFeeder SF10E 12 Pin Connector Replacement: 步骤 5 中的图像 1,2 Petnet SmartFeeder SF10E 12 Pin Connector Replacement: 步骤 5 中的图像 2,2
      • Turn the SmartFeeder on its side and with one hand on the base, carefully pull out the central section.

      • Place the bottom piece of the device right-side up.

      询问修复机器人

      添加评论

    6. Petnet SmartFeeder SF10E 12 Pin Connector Replacement: 步骤 6 中的图像 1,2 Petnet SmartFeeder SF10E 12 Pin Connector Replacement: 步骤 6 中的图像 2,2
      • Remove one 10 mm screw by using the Phillips #1 screwdriver.

      • Remove the plastic retaining piece for the daughterboard by pulling it out with one hand.

      询问修复机器人

      添加评论

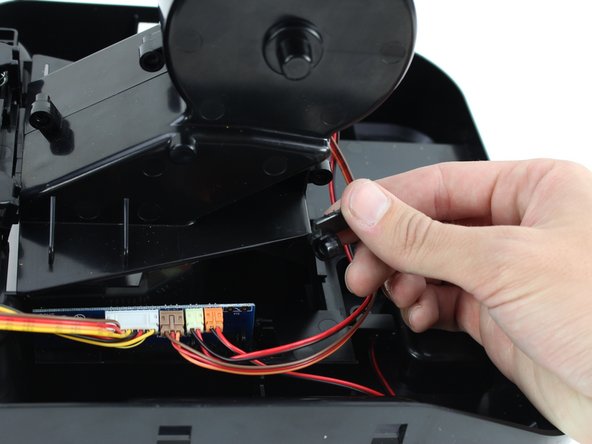
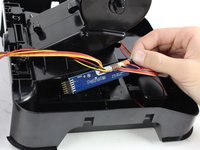
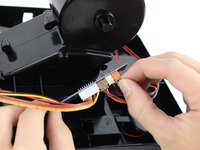
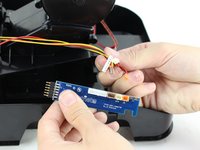
    7. Petnet SmartFeeder SF10E 12 Pin Connector Replacement: 步骤 7 中的图像 1,3 Petnet SmartFeeder SF10E 12 Pin Connector Replacement: 步骤 7 中的图像 2,3 Petnet SmartFeeder SF10E 12 Pin Connector Replacement: 步骤 7 中的图像 3,3
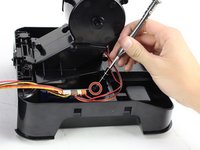
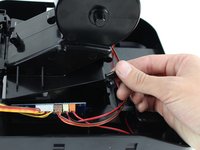
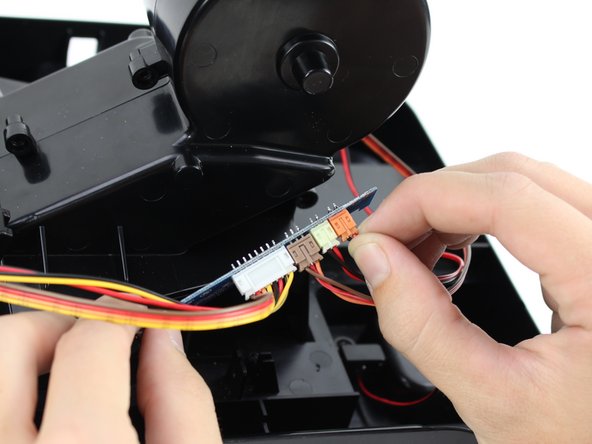
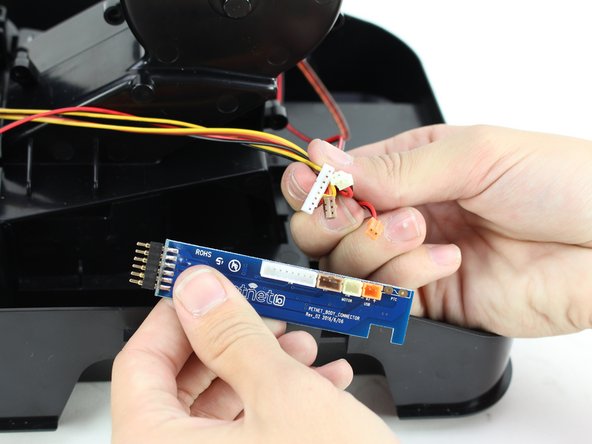
      • Pull the daughterboard out of the device and remove the three-prong connectors by using your hands.

      • Hold onto the sockets on the motherboard or you could accidentally pull off the entire assembly.

      询问修复机器人

      添加评论

结论

To reassemble your device, follow these instructions in reverse order.

取消:我没有完成这个指南。

Ashley Kim

于10/08/18注册

187 声望

撰写一个指南

团队

Cal Poly, Team S13-G7, White Fall 2018 Cal Poly, Team S13-G7, White Fall 2018 的会员

CPSU-WHITE-F18S13G7

4 名成员

创作了5篇指南

0指南评论

添加评论

浏览统计数据:

过去 24 小时: 0

过去 7 天: 5

过去 30 天: 24

总计 618