跳转到主内容
加入维修社区 - 创建账户

Orbic Wonder Screen Replacement

你所需要的

    1. Orbic Wonder Screen Replacement, Battery: 步骤 1 中的图像 1,3 Orbic Wonder Screen Replacement, Battery: 步骤 1 中的图像 2,3 Orbic Wonder Screen Replacement, Battery: 步骤 1 中的图像 3,3
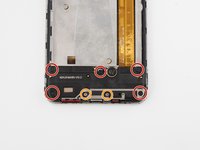
      • Remove two 2mm TR9 Torx screws from the bottoms of the device.

      询问修复机器人
      添加评论

    2. Orbic Wonder Screen Replacement: 步骤 2 中的图像 1,3 Orbic Wonder Screen Replacement: 步骤 2 中的图像 2,3 Orbic Wonder Screen Replacement: 步骤 2 中的图像 3,3
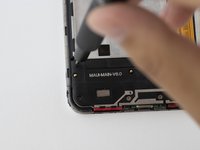
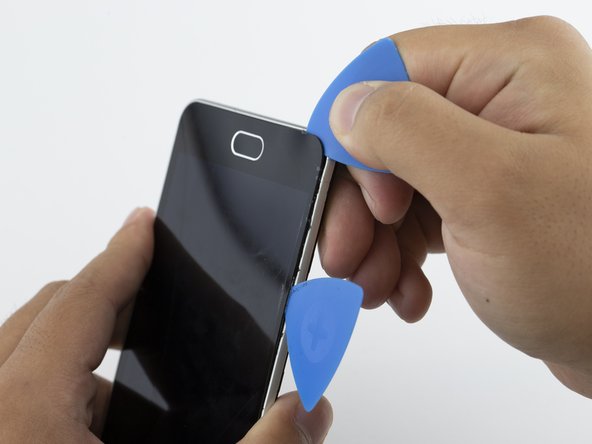
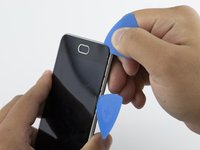
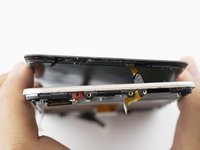
      • There is a border between the black phone backing and the silver screen.

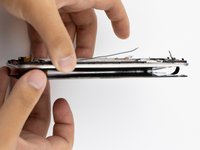
      • Place the Jimmy in this border, and cautiously torque it back and forth to part the two halves.

      • When the halves are parted correctly, the gap should look like this.

      • Be careful to avoid damaging any connecting circuitry between the two halves.

      询问修复机器人

      添加评论

    3. Orbic Wonder Screen Replacement: 步骤 3 中的图像 1,3 Orbic Wonder Screen Replacement: 步骤 3 中的图像 2,3 Orbic Wonder Screen Replacement: 步骤 3 中的图像 3,3
      在这个步骤中使用的工具:
      Anti-Static Wrist Strap
      $7.95
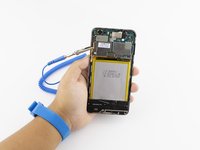
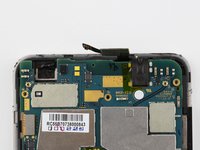
      • Before continuing, tighten the anti-static wrist strap around your wrist and connect the alligator clips to a metal portion of the phone.

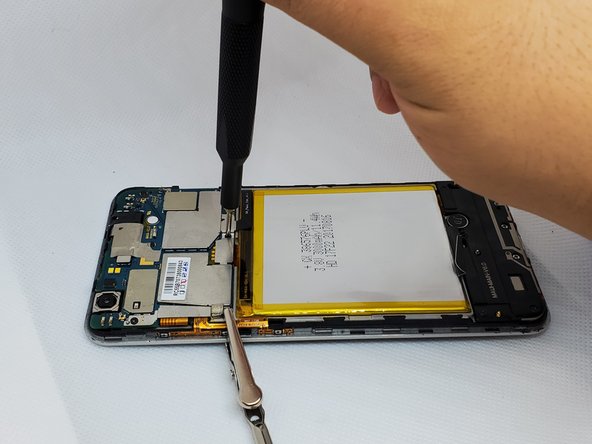
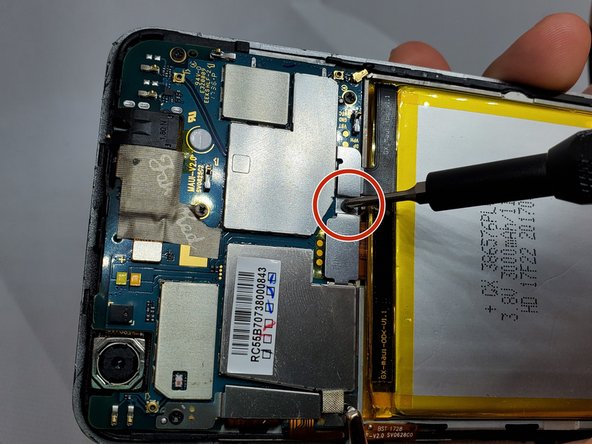
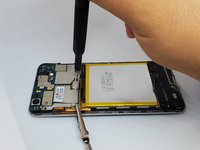
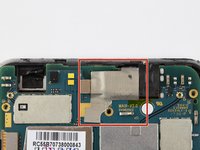
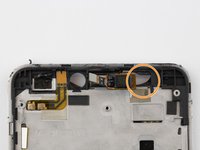
      • On the upper right side, there is a black ribbon cable in the shape of an “L”. Remove the single 1 mm Phillips #000 screw on the left side of the ribbon cable.

      询问修复机器人
      添加评论

    4. Orbic Wonder Screen Replacement: 步骤 4 中的图像 1,3 Orbic Wonder Screen Replacement: 步骤 4 中的图像 2,3 Orbic Wonder Screen Replacement: 步骤 4 中的图像 3,3
      在这个步骤中使用的工具:
      Tweezers
      $3.99
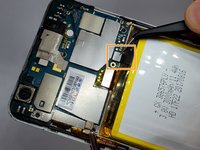
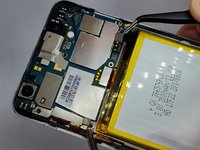
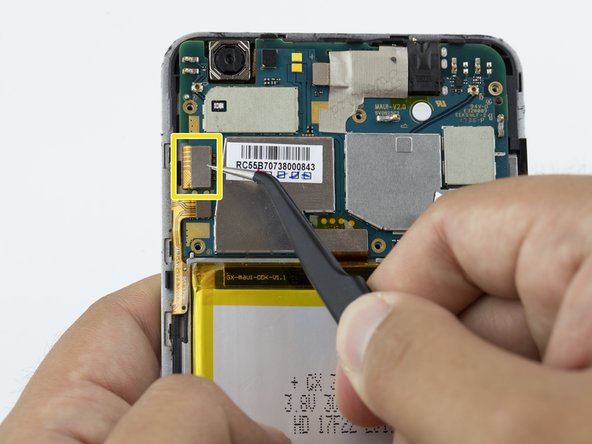
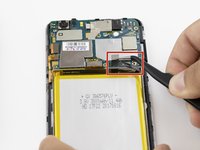
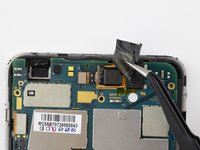
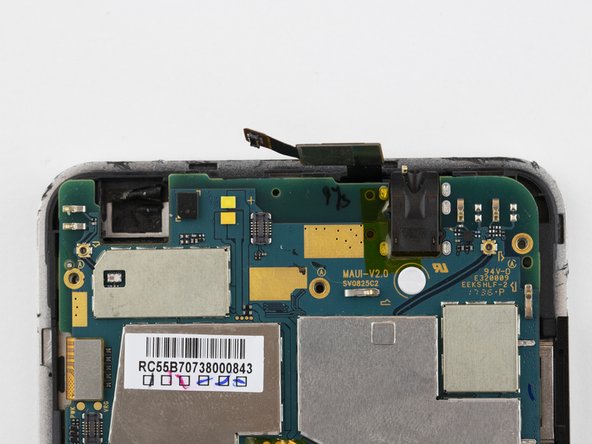
      • Use a pair of angled tweezers to carefully remove the metal casing of the ribbon cable.

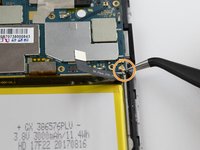
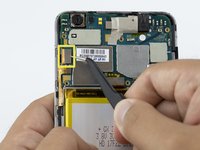
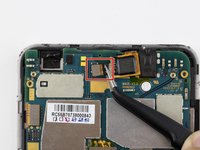
      • Use a pair of angled tweezers to detach the black ribbon cable. This is done to unplug the battery.

      询问修复机器人
      添加评论

    5. Orbic Wonder Screen Replacement: 步骤 5 中的图像 1,3 Orbic Wonder Screen Replacement: 步骤 5 中的图像 2,3 Orbic Wonder Screen Replacement: 步骤 5 中的图像 3,3
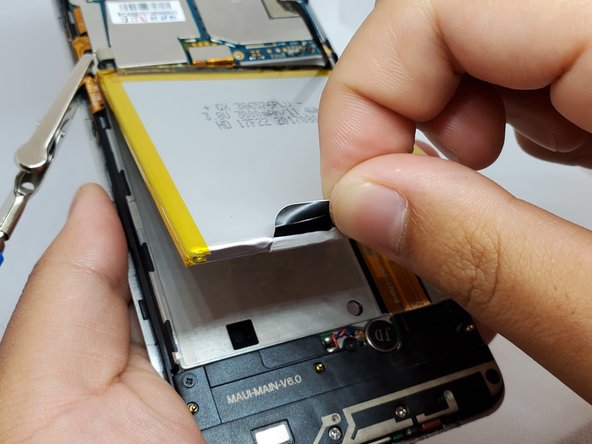
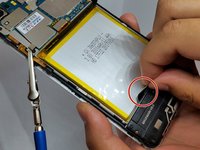
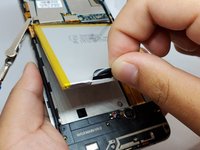
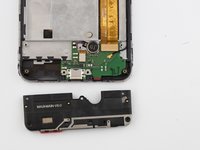
      • There is a black flap on the bottom of the battery.

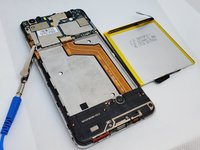
      • Using your fingers, pinch this flap and carefully pull the battery up and out of the phone.

      询问修复机器人
      添加评论

    1. Orbic Wonder Screen Replacement, Speaker: 步骤 6 中的图像 1,3 Orbic Wonder Screen Replacement, Speaker: 步骤 6 中的图像 2,3 Orbic Wonder Screen Replacement, Speaker: 步骤 6 中的图像 3,3
      在这个步骤中使用的工具:
      Anti-Static Wrist Strap
      $7.95
      • Remove the anti-static wrist strap.

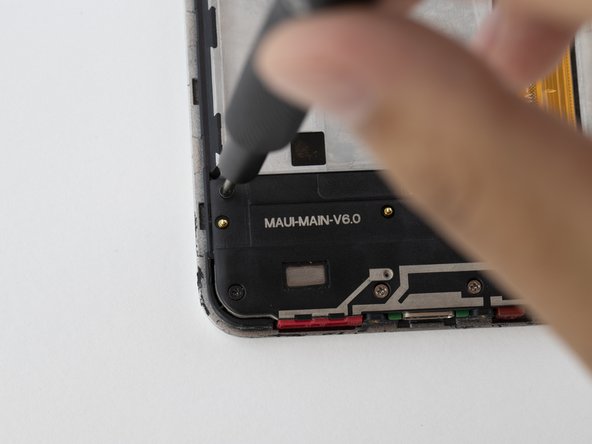
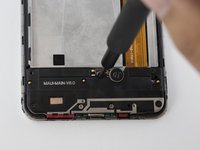
      • Use the Phillips #000 screwdriver to remove the five black 2 mm screws.

      • Use the Phillips #000 screwdriver to remove the two grey 2 mm screws.

      询问修复机器人

      添加评论

    2. Orbic Wonder Screen Replacement: 步骤 7 中的图像 1,2 Orbic Wonder Screen Replacement: 步骤 7 中的图像 2,2
      在这个步骤中使用的工具:
      Tweezers
      $3.99
      询问修复机器人
      添加评论

    1. Orbic Wonder Screen Replacement, Charging Port Circuit Board: 步骤 8 中的图像 1,3 Orbic Wonder Screen Replacement, Charging Port Circuit Board: 步骤 8 中的图像 2,3 Orbic Wonder Screen Replacement, Charging Port Circuit Board: 步骤 8 中的图像 3,3
      在这个步骤中使用的工具:
      Tweezers
      $3.99
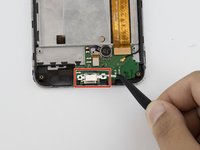
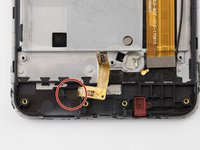
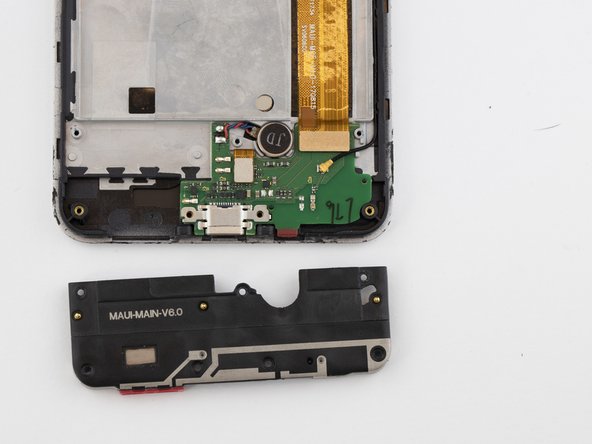
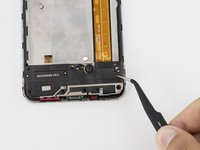
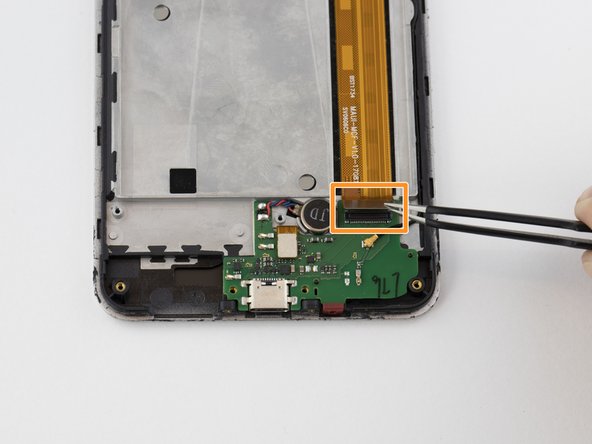
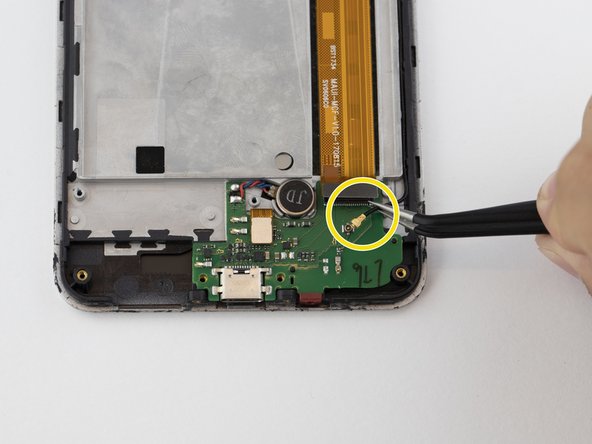
      • Detach the metal casing at the bottom of the phone.

      • Unplug the cable connector.

      • Use a pair of angled tweezers to unplug the black wire.

      询问修复机器人
      添加评论

    2. Orbic Wonder Screen Replacement: 步骤 9 中的图像 1,3 Orbic Wonder Screen Replacement: 步骤 9 中的图像 2,3 Orbic Wonder Screen Replacement: 步骤 9 中的图像 3,3
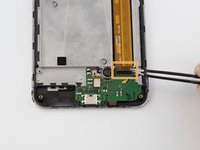
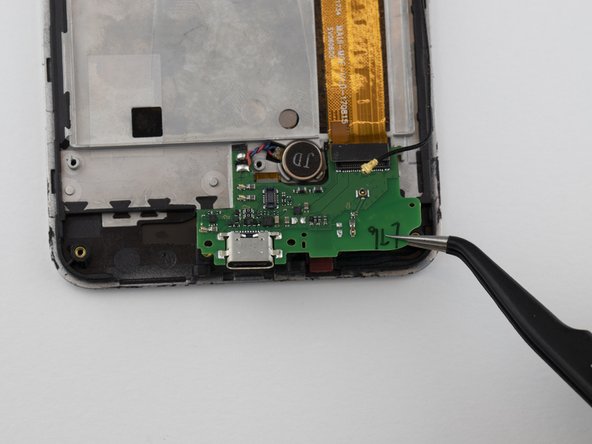
      • Using a pair of angled tweezers, disconnect the connector chip.

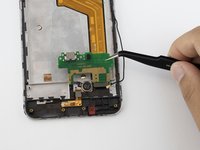
      • With the angled tweezers, gently lift (but do not remove) the green circuit board from the phone.

      询问修复机器人
      添加评论

    3. Orbic Wonder Screen Replacement: 步骤 10 中的图像 1,2 Orbic Wonder Screen Replacement: 步骤 10 中的图像 2,2
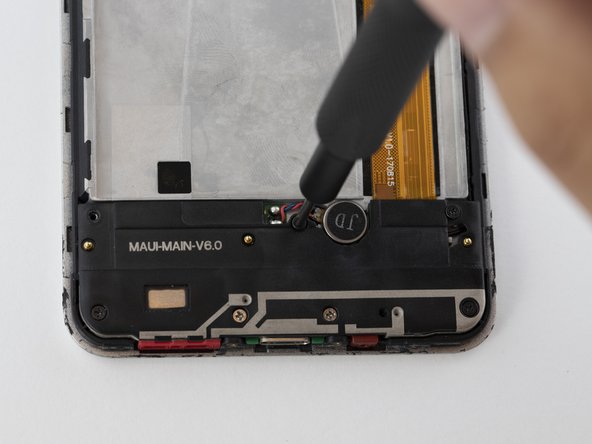
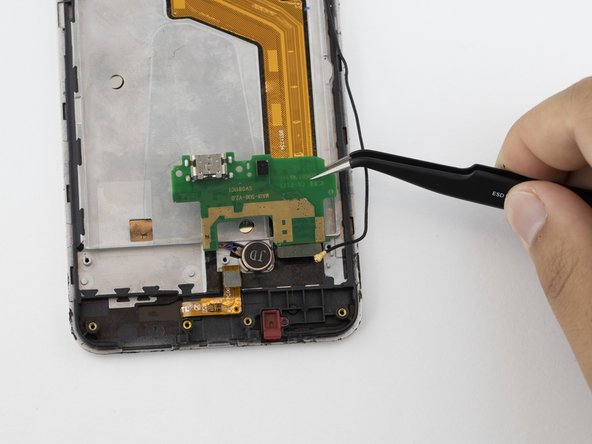
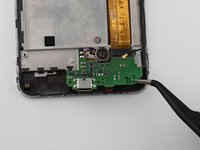
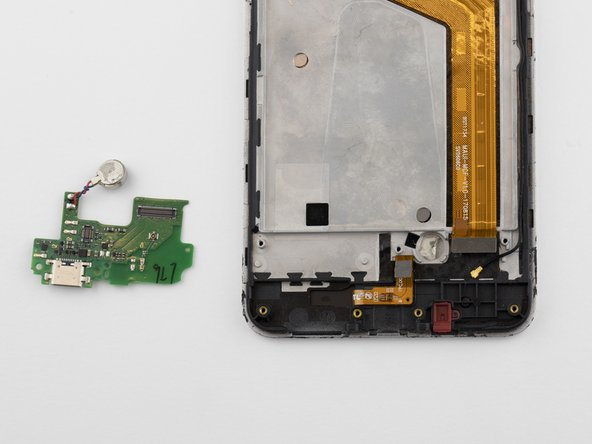
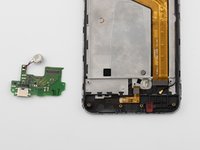
      • Using a pair of angled tweezers, disconnect the attachment to the microphone labeled "JD," and completely remove the circuit board.

      询问修复机器人
      添加评论

    1. Orbic Wonder Screen Replacement, Screen: 步骤 11 中的图像 1,2 Orbic Wonder Screen Replacement, Screen: 步骤 11 中的图像 2,2
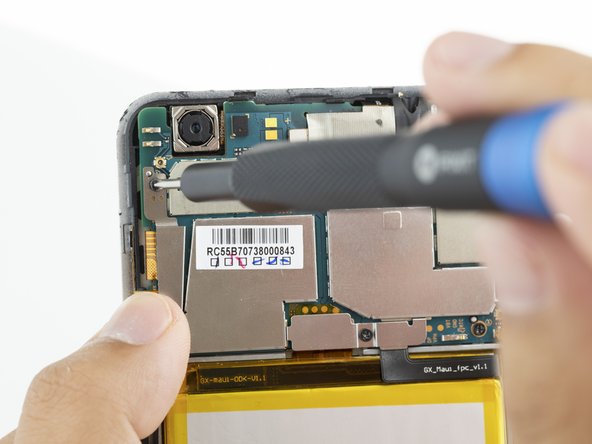
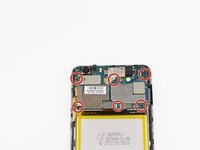
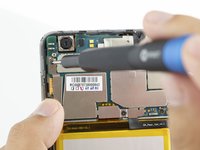
      • Remove the six 2mm Phillips #000 screws from the motherboard.

      询问修复机器人
      添加评论

    2. Orbic Wonder Screen Replacement: 步骤 12 中的图像 1,2 Orbic Wonder Screen Replacement: 步骤 12 中的图像 2,2
      在这个步骤中使用的工具:
      Tweezers
      $4.99
      • Use a pair of tweezers to remove the leftmost metal protector.

      • Repeat this process for the other metal protector directly above the battery.

      询问修复机器人
      添加评论

    3. Orbic Wonder Screen Replacement: 步骤 13 中的图像 1,3 Orbic Wonder Screen Replacement: 步骤 13 中的图像 2,3 Orbic Wonder Screen Replacement: 步骤 13 中的图像 3,3
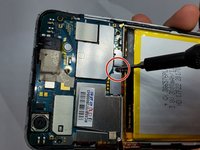
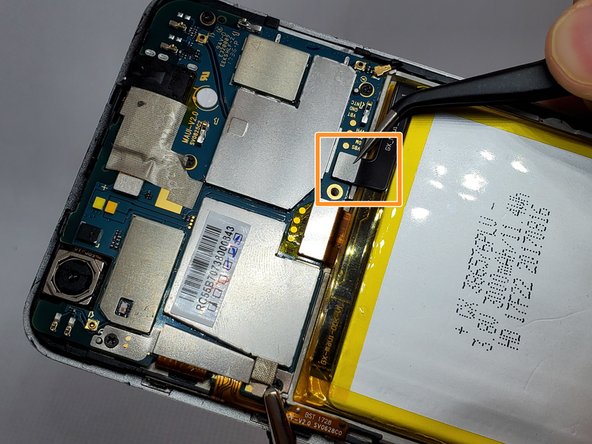
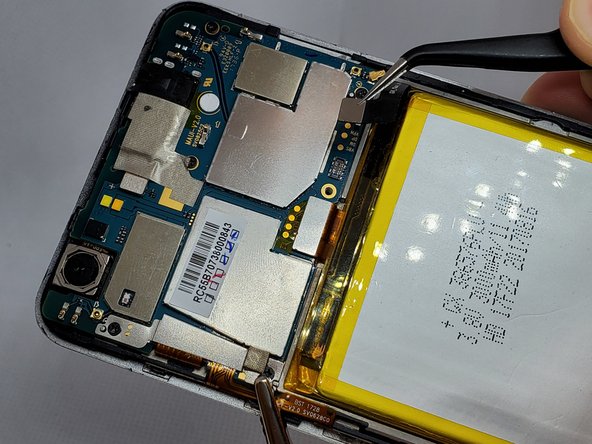
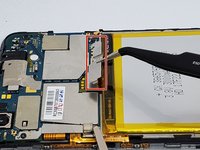
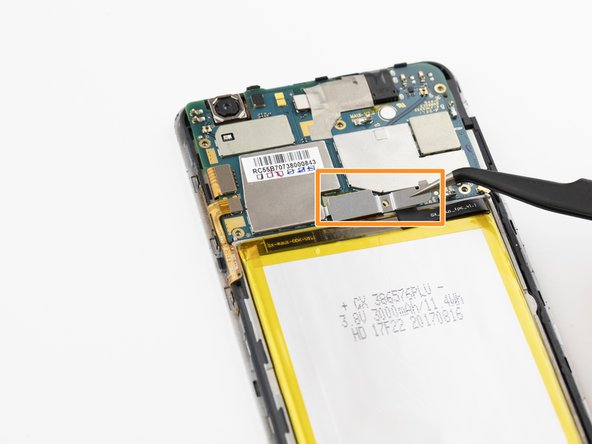
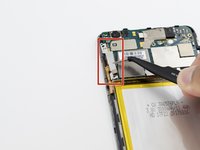
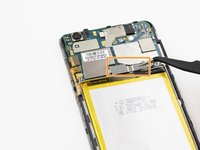
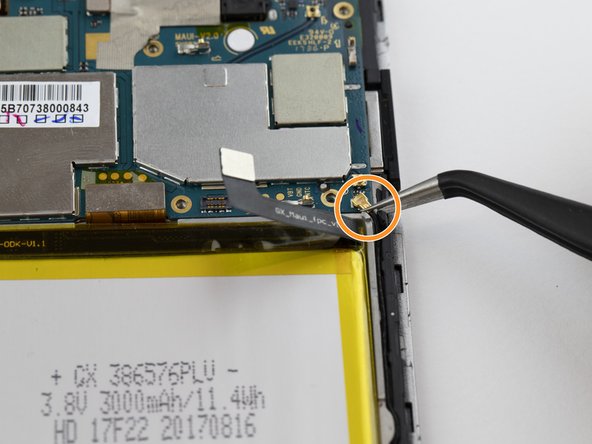
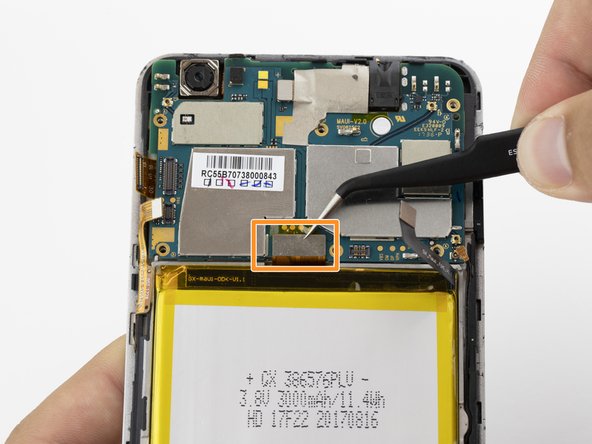
      • Disconnect the "L" shaped plug connecting the battery to the circuit board.

      • Carefully disconnect the small gold connecting wire.

      • Disconnect the rectangular piece.

      • Each of these steps are very delicate. Use a pair of tweezers to avoid causing damage.

      询问修复机器人
      添加评论

    4. Orbic Wonder Screen Replacement: 步骤 14 中的图像 1,2 Orbic Wonder Screen Replacement: 步骤 14 中的图像 2,2
      • Unplug the power button connector.

      • Unplug the circuit connector above the battery.

      • These are very delicate and important connections. Be sure to use a pair of tweezers to avoid causing damage.

      询问修复机器人

      添加评论

    5. Orbic Wonder Screen Replacement: 步骤 15 中的图像 1,2 Orbic Wonder Screen Replacement: 步骤 15 中的图像 2,2
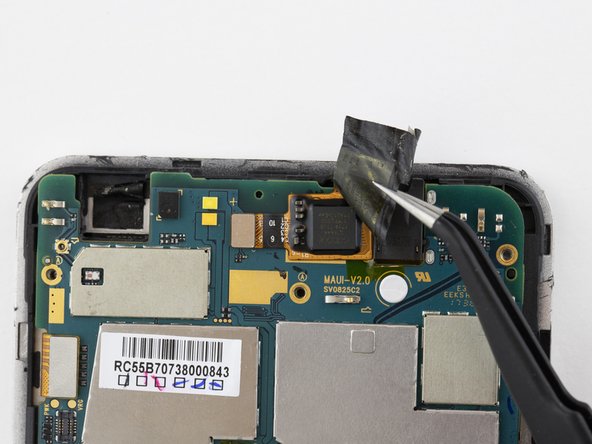
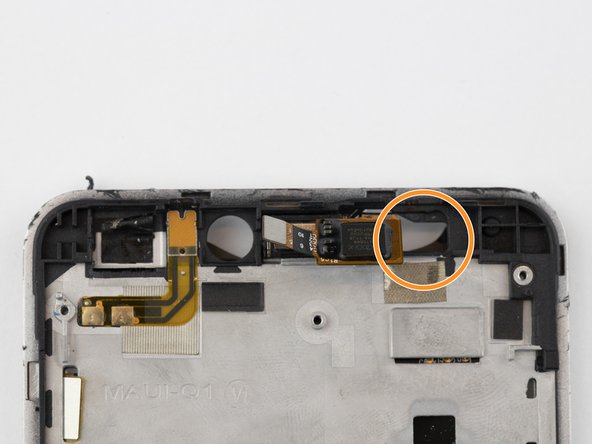
      • Carefully remove the protective sticker. This will expose the camera and its connector.

      询问修复机器人

      添加评论

    6. Orbic Wonder Screen Replacement: 步骤 16 中的图像 1,2 Orbic Wonder Screen Replacement: 步骤 16 中的图像 2,2
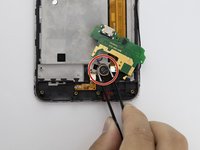
      • Disconnect the camera connector.

      添加评论

    7. Orbic Wonder Screen Replacement: 步骤 17 中的图像 1,1
      • The circuit board should now be loose. Disconnect it, and remove it from the phone housing.

      询问修复机器人

      添加评论

    8. Orbic Wonder Screen Replacement: 步骤 18 中的图像 1,3 Orbic Wonder Screen Replacement: 步骤 18 中的图像 2,3 Orbic Wonder Screen Replacement: 步骤 18 中的图像 3,3
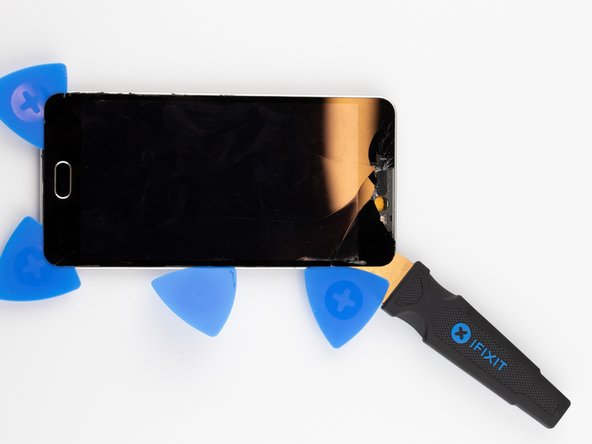
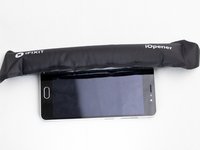
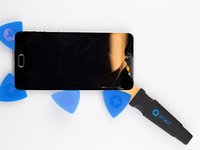
      • Using the iOpener, heat the screen's edges to loosen the adhesive holding the screen in place.

      • This will make the phone very warm. Gloves may be necessary depending on the level of heat required.

      • Using the Jimmy and opening picks, gently pry the screen from the phone housing.

      询问修复机器人

      添加评论

    9. Orbic Wonder Screen Replacement: 步骤 19 中的图像 1,2 Orbic Wonder Screen Replacement: 步骤 19 中的图像 2,2
      • Push the gold lower screen connector wire through the hole.

      • Do the same to the gold upper screen connector wire.

      询问修复机器人

      添加评论

    10. Orbic Wonder Screen Replacement: 步骤 20 中的图像 1,3 Orbic Wonder Screen Replacement: 步骤 20 中的图像 2,3 Orbic Wonder Screen Replacement: 步骤 20 中的图像 3,3
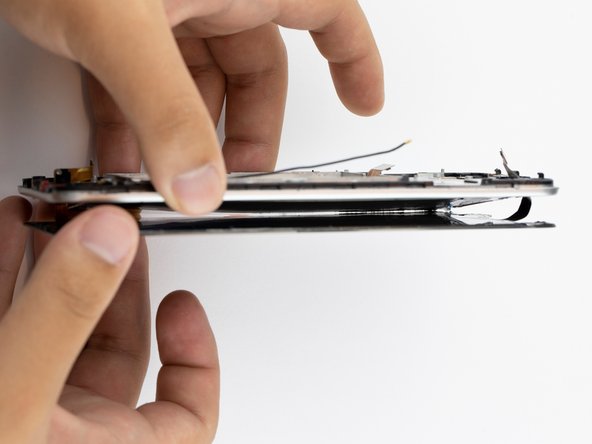
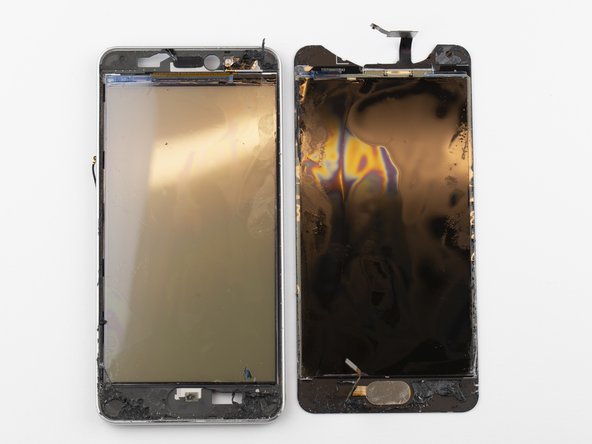
      • Using your hands, separate the screen from the rest of the phone, ensuring that the connector wires go through the openings without ripping.

      • The screen is completely detached from the rest of the phone.

      询问修复机器人

      添加评论

结论

To reassemble your device, follow these instructions in reverse order.

取消:我没有完成这个指南。

另外一个人完成了本指南。

3指南评论

how can and or can I swap media files from orbic wonder “with damaged screen “ to a gaxalxy a01

Ron Harrell - 回复 分享

My orbic was over amped.7 volts burned something out.it turns on but nothing works.and the screen is light grey.how do i repair this plz thank you. 209crazo

209 Crazo - 回复 分享

I need orbic lcd

Gzn Khan - 回复 分享

添加评论

浏览统计数据:

过去 24 小时: 1

过去 7 天: 9

过去 30 天: 46

总计 4,153