跳转到主内容
加入维修社区 - 创建账户

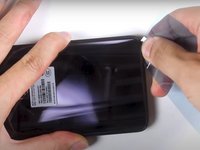
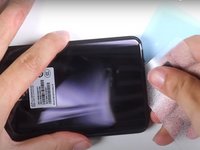
OnePlus 7 Pro Screen Replacement

你所需要的

视频概述

OnePlus 7 Pro Screen Replacement

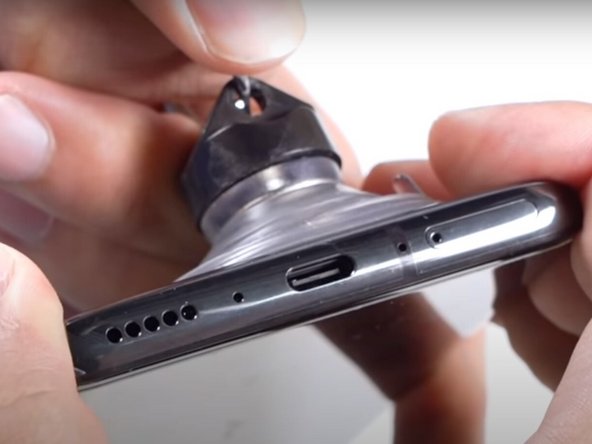
    1. OnePlus 7 Pro Screen Replacement, OnePlus 7 Pro Screen Replacement: 步骤 1 中的图像 1,3 OnePlus 7 Pro Screen Replacement, OnePlus 7 Pro Screen Replacement: 步骤 1 中的图像 2,3 OnePlus 7 Pro Screen Replacement, OnePlus 7 Pro Screen Replacement: 步骤 1 中的图像 3,3
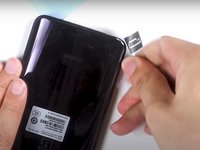
      • Insert and gently push the SIM card ejector tool (or an unfolded paperclip) into the small hole on the left side of the top edge of the phone.

      • Press gently to eject the SIM tray.

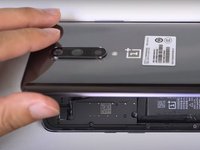
      • Remove the SIM card tray from the device.

      • To reinsert the SIM card tray, orient the SIM card with the gold contacts facing up and the notch to the bottom right. Reinsert the SIM card by pressing the card gently into the SIM tray slot.

      询问修复机器人

      添加评论

    2. OnePlus 7 Pro Screen Replacement: 步骤 2 中的图像 1,2 OnePlus 7 Pro Screen Replacement: 步骤 2 中的图像 2,2
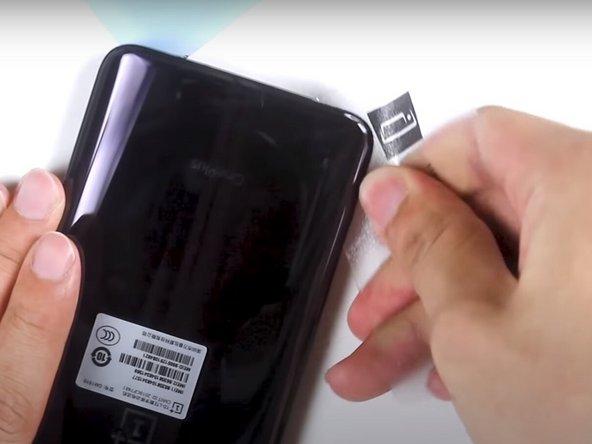
      • Use a heat gun to lightly heat the edges of the back to soften the adhesive that connects the back cover to the rest of the frame.

      • Using a heat gun, hair dryer, or hot plate will make the metal frame rather hot to the touch, so handle it with care.

      • Be careful not to overheat the device –the OLED display, battery and other internal parts can be damaged by excessive heat. Approximately one minute should be enough to soften the adhesive.

      • An iFixit iOpener, hairdryer, or hot plate can also be used to heat the edges. See the iOpener Heating guide for instructions on using the iOpener.

      询问修复机器人

      添加评论

    3. OnePlus 7 Pro Screen Replacement: 步骤 3 中的图像 1,3 OnePlus 7 Pro Screen Replacement: 步骤 3 中的图像 2,3 OnePlus 7 Pro Screen Replacement: 步骤 3 中的图像 3,3
      在这个步骤中使用的工具:
      Plastic Cards
      $2.99
      • Apply a suction cup to the lower portion of the phone's backing and pull firmly to create a crack between the back cover and the rest of the phone.

      • Insert a Jimmy tool, opening pick, or plastic card under the edge of the back cover.

      询问修复机器人

      添加评论

    4. OnePlus 7 Pro Screen Replacement: 步骤 4 中的图像 1,3 OnePlus 7 Pro Screen Replacement: 步骤 4 中的图像 2,3 OnePlus 7 Pro Screen Replacement: 步骤 4 中的图像 3,3
      • Use a plastic card or Jimmy tool to slice around the phone's seam, cutting through the adhesive.

      询问修复机器人

      添加评论

    5. OnePlus 7 Pro Screen Replacement: 步骤 5 中的图像 1,2 OnePlus 7 Pro Screen Replacement: 步骤 5 中的图像 2,2
      • Remove the phone's back cover.

      • If you have replacement adhesive strips, remove any remaining adhesive from the device frame using the Jimmy tool.

      询问修复机器人

      添加评论

    6. OnePlus 7 Pro Screen Replacement: 步骤 6 中的图像 1,3 OnePlus 7 Pro Screen Replacement: 步骤 6 中的图像 2,3 OnePlus 7 Pro Screen Replacement: 步骤 6 中的图像 3,3
      在这个步骤中使用的工具:
      Tweezers
      $4.99
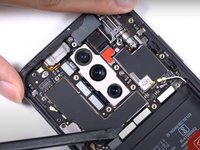
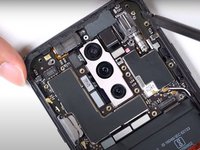
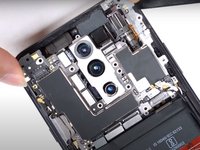
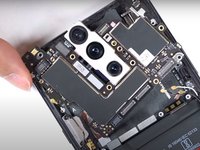
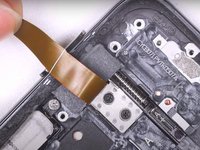
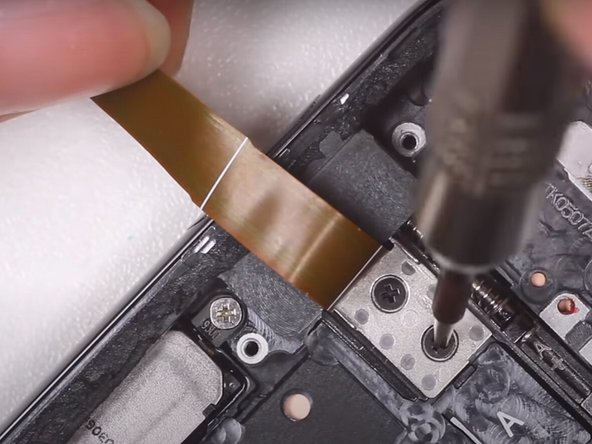
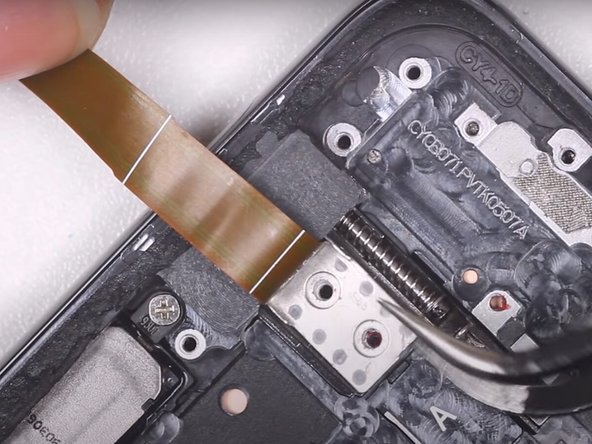
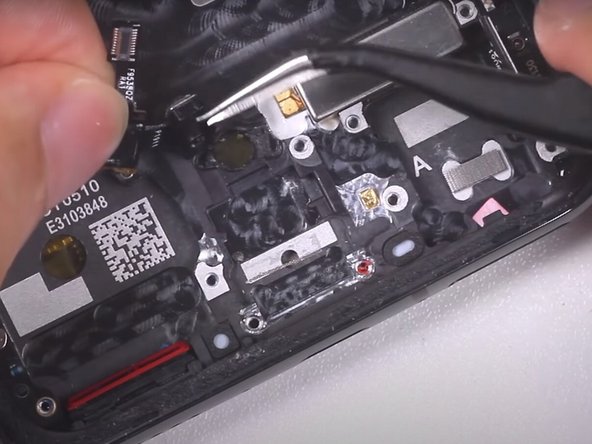
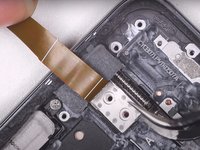
      • Use a pair of tweezers to lift up the piece of black tape covering the laser autofocus and flash flex cable.

      • Use a pair of tweezers to lift and remove the covering on the laser autofocus and flash flex cable.

      询问修复机器人

      添加评论

    7. OnePlus 7 Pro Screen Replacement: 步骤 7 中的图像 1,1
      • Use the flat end of a spudger to disconnect the laser autofocus and flash flex cable.

      询问修复机器人

      添加评论

    8. OnePlus 7 Pro Screen Replacement: 步骤 8 中的图像 1,1
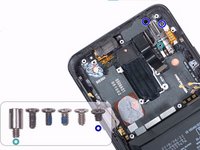
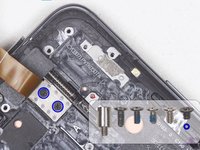
      • Use a Phillips #000 screwdriver to remove the fourteen screws from the plastic motherboard cover.

      添加评论

    9. OnePlus 7 Pro Screen Replacement: 步骤 9 中的图像 1,2 OnePlus 7 Pro Screen Replacement: 步骤 9 中的图像 2,2
      • Use the flat end of a spudger to lift up the plastic motherboard cover.

      • Remove the plastic motherboard cover.

      询问修复机器人

      添加评论

    10. OnePlus 7 Pro Screen Replacement: 步骤 10 中的图像 1,1
      • Use the flat end of a spudger to disconnect the power flex cable.

      询问修复机器人

      添加评论

    11. OnePlus 7 Pro Screen Replacement: 步骤 11 中的图像 1,3 OnePlus 7 Pro Screen Replacement: 步骤 11 中的图像 2,3 OnePlus 7 Pro Screen Replacement: 步骤 11 中的图像 3,3
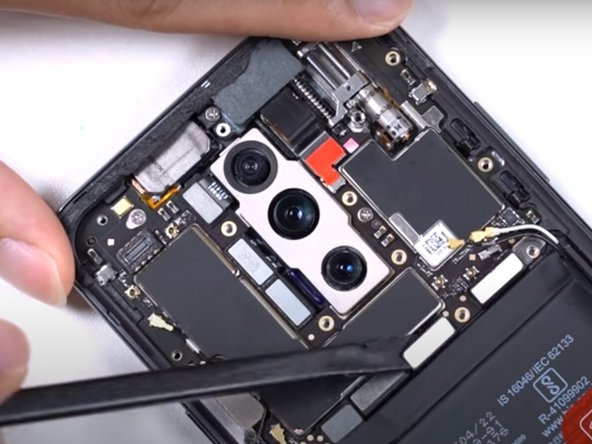
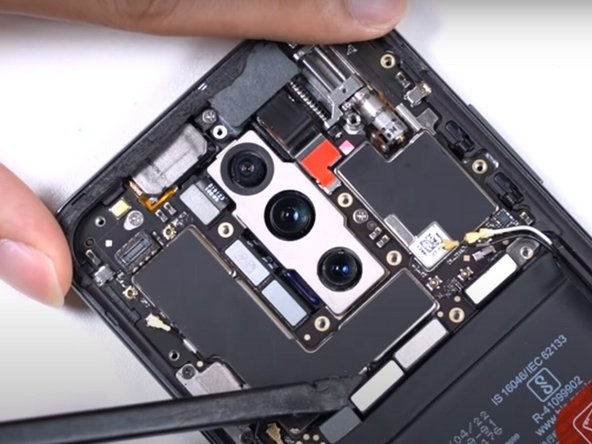
      • Use the flat end of a spudger to disconnect the longer black coaxial cable.

      • Use the flat end of a spudger to disconnect the white coaxial cable.

      • Use the flat end of a spudger to disconnect the shorter black coaxial cable.

      询问修复机器人

      添加评论

    12. OnePlus 7 Pro Screen Replacement: 步骤 12 中的图像 1,3 OnePlus 7 Pro Screen Replacement: 步骤 12 中的图像 2,3 OnePlus 7 Pro Screen Replacement: 步骤 12 中的图像 3,3
      • Use the flat end of a spudger to disconnect the display and touch flex cable, main flex cable, and USB port cable.

      询问修复机器人

      添加评论

    13. OnePlus 7 Pro Screen Replacement: 步骤 13 中的图像 1,1
      • Use the flat end of a spudger to disconnect the black cable on the left-hand side of the phone.

      询问修复机器人

      添加评论

    14. OnePlus 7 Pro Screen Replacement: 步骤 14 中的图像 1,3 OnePlus 7 Pro Screen Replacement: 步骤 14 中的图像 2,3 OnePlus 7 Pro Screen Replacement: 步骤 14 中的图像 3,3
      • Use the flat end of a spudger to pry up the long black cable on the left-hand side of the phone.

      • Use the flat end of a spudger to disconnect the end of the long black cable.

      询问修复机器人

      添加评论

    15. OnePlus 7 Pro Screen Replacement: 步骤 15 中的图像 1,3 OnePlus 7 Pro Screen Replacement: 步骤 15 中的图像 2,3 OnePlus 7 Pro Screen Replacement: 步骤 15 中的图像 3,3
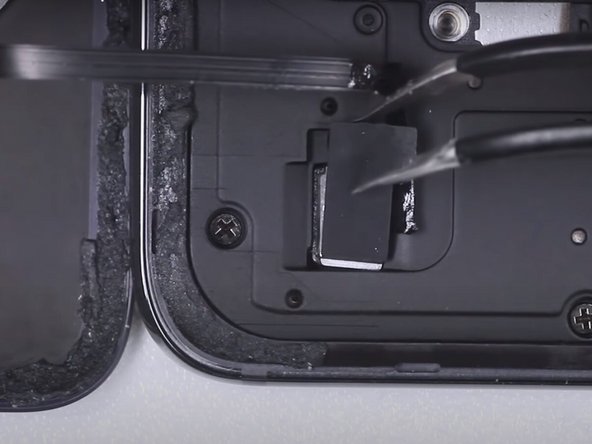
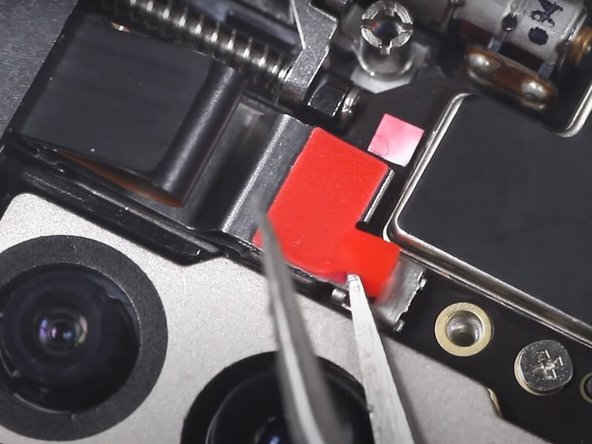
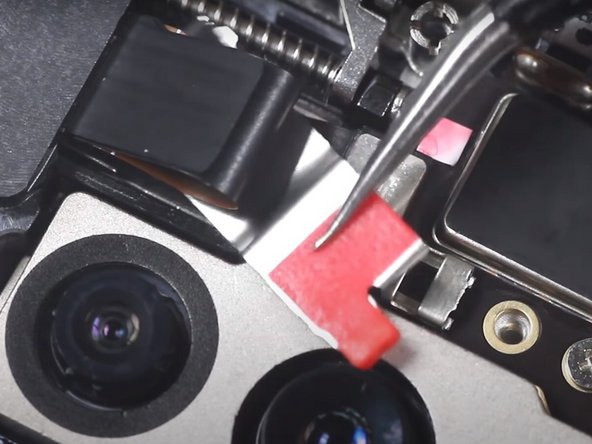
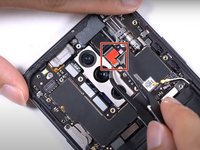
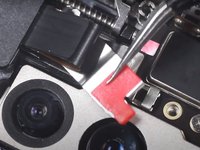
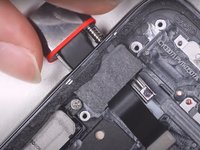
      • Use a pair of tweezers to pry up the red plastic tab.

      • Use a pair of tweezers to remove the assembly connected to the red plastic tab.

      询问修复机器人

      添加评论

    16. OnePlus 7 Pro Screen Replacement: 步骤 16 中的图像 1,1
      • Use the flat end of a spudger to disconnect the connector that was underneath the red plastic tab.

      询问修复机器人

      添加评论

    17. OnePlus 7 Pro Screen Replacement: 步骤 17 中的图像 1,2 OnePlus 7 Pro Screen Replacement: 步骤 17 中的图像 2,2
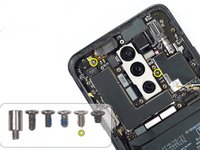
      • Use a Phillips #000 screwdriver to remove the remaining two screws securing the motherboard.

      添加评论

    18. OnePlus 7 Pro Screen Replacement: 步骤 18 中的图像 1,3 OnePlus 7 Pro Screen Replacement: 步骤 18 中的图像 2,3 OnePlus 7 Pro Screen Replacement: 步骤 18 中的图像 3,3
      • Use the flat end of a spudger to lift up the phone's motherboard.

      • Remove the motherboard.

      询问修复机器人

      添加评论

    19. OnePlus 7 Pro Screen Replacement: 步骤 19 中的图像 1,2 OnePlus 7 Pro Screen Replacement: 步骤 19 中的图像 2,2
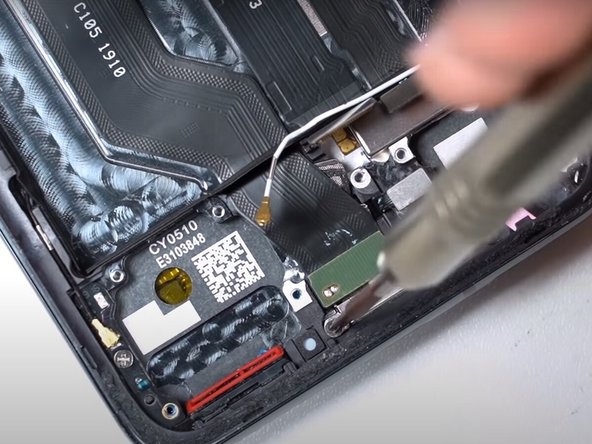
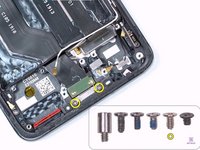
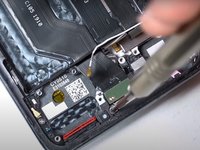
      • Use a Phillips #000 screwdriver to remove two short screws.

      • Use a Phillips #000 screwdriver to remove one screw.

      询问修复机器人

      添加评论

    20. OnePlus 7 Pro Screen Replacement: 步骤 20 中的图像 1,3 OnePlus 7 Pro Screen Replacement: 步骤 20 中的图像 2,3 OnePlus 7 Pro Screen Replacement: 步骤 20 中的图像 3,3
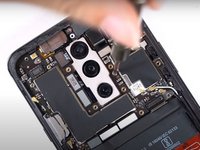
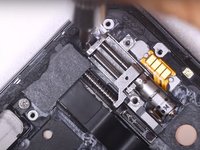
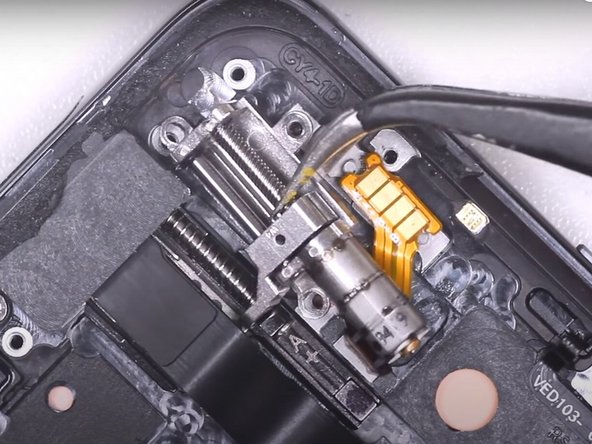
      • Use a pair of tweezers to remove the camera elevator assembly.

      询问修复机器人

      添加评论

    21. OnePlus 7 Pro Screen Replacement: 步骤 21 中的图像 1,3 OnePlus 7 Pro Screen Replacement: 步骤 21 中的图像 2,3 OnePlus 7 Pro Screen Replacement: 步骤 21 中的图像 3,3
      • Lift up the large flex cable with your fingers.

      • Use a pair of tweezers to remove the black plastic screw covering.

      询问修复机器人

      添加评论

    22. OnePlus 7 Pro Screen Replacement: 步骤 22 中的图像 1,3 OnePlus 7 Pro Screen Replacement: 步骤 22 中的图像 2,3 OnePlus 7 Pro Screen Replacement: 步骤 22 中的图像 3,3
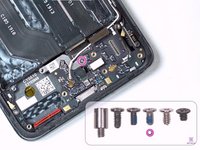
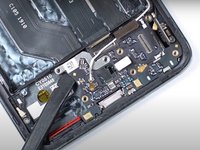
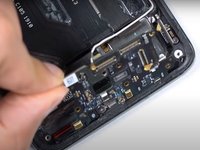
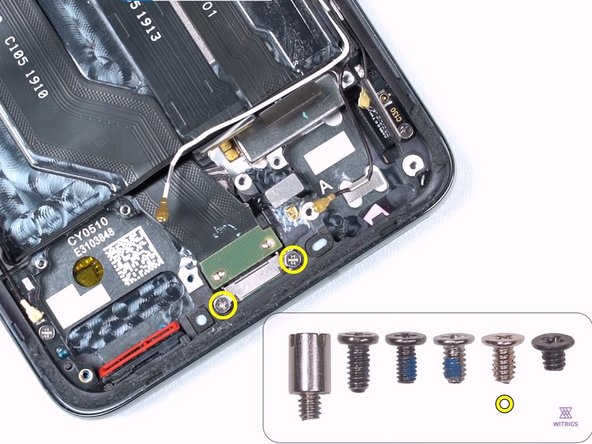
      • Use a Phillips #000 screwdriver to remove two small screws from the metal covering.

      • Remove the metal covering.

      询问修复机器人

      添加评论

    23. OnePlus 7 Pro Screen Replacement: 步骤 23 中的图像 1,3 OnePlus 7 Pro Screen Replacement: 步骤 23 中的图像 2,3 OnePlus 7 Pro Screen Replacement: 步骤 23 中的图像 3,3
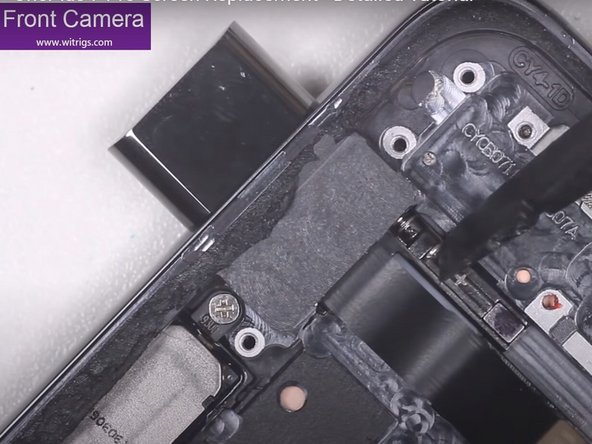
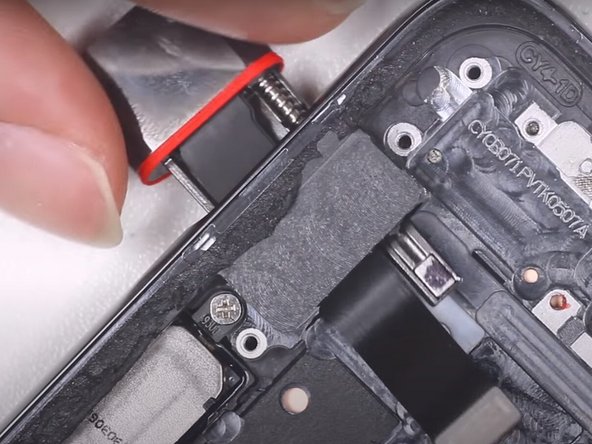
      • Use the flat end of a spudger or your fingers to gently remove the front camera assembly.

      询问修复机器人

      添加评论

    24. OnePlus 7 Pro Screen Replacement: 步骤 24 中的图像 1,2 OnePlus 7 Pro Screen Replacement: 步骤 24 中的图像 2,2
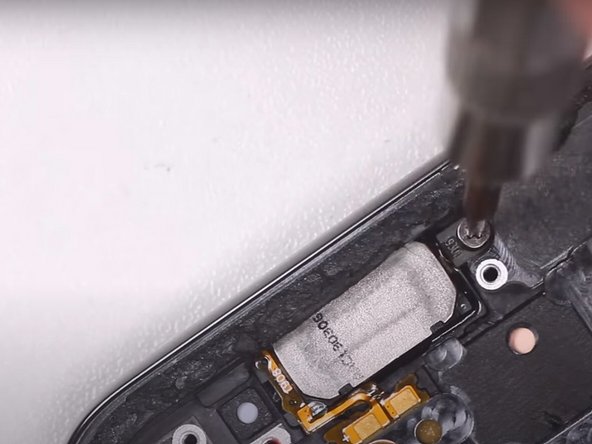
      • Use a Phillips #000 screwdriver to remove one screw in the upper left-hand corner.

      询问修复机器人

      添加评论

    25. OnePlus 7 Pro Screen Replacement: 步骤 25 中的图像 1,3 OnePlus 7 Pro Screen Replacement: 步骤 25 中的图像 2,3 OnePlus 7 Pro Screen Replacement: 步骤 25 中的图像 3,3
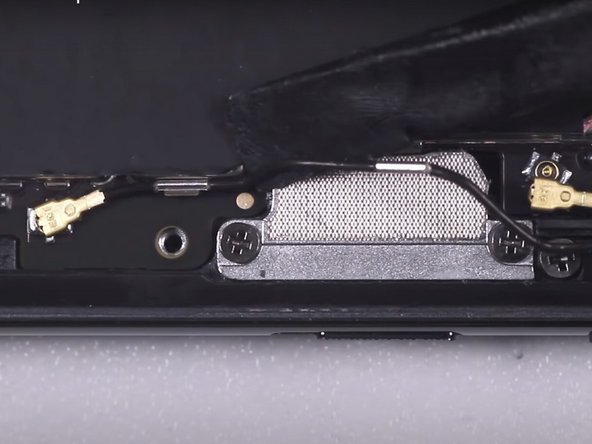
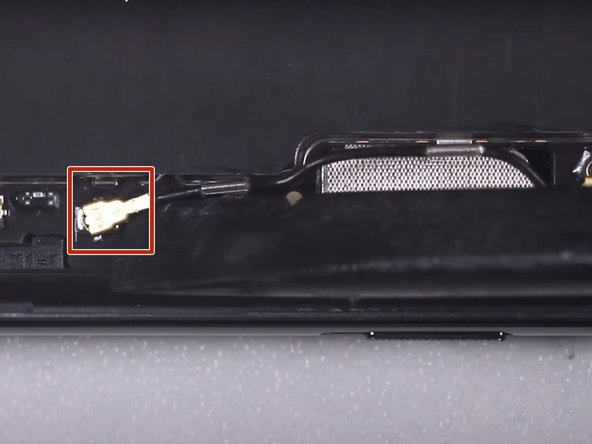
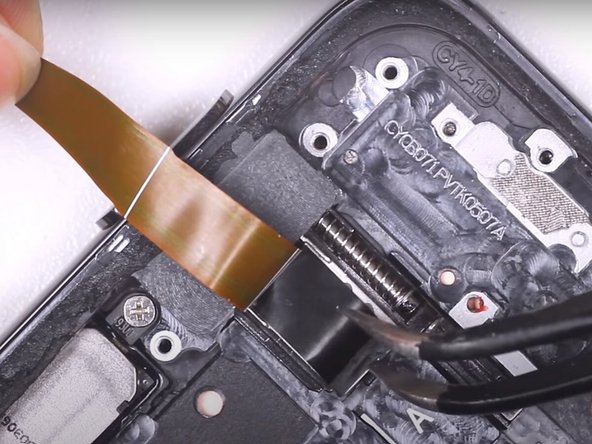
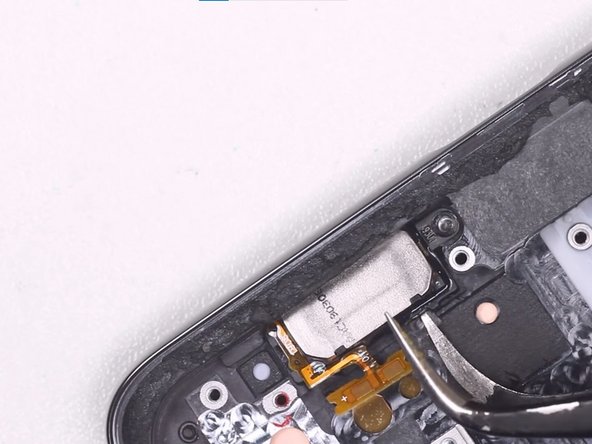
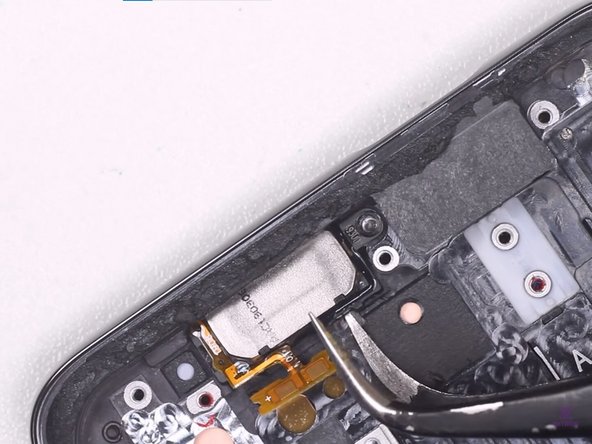
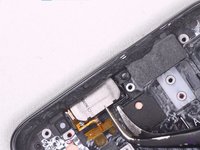
      • Use a pair of tweezers to disconnect the earpiece's yellow flex cable.

      • Use a pair of tweezers to remove the earpice.

      询问修复机器人

      添加评论

    26. OnePlus 7 Pro Screen Replacement: 步骤 26 中的图像 1,2 OnePlus 7 Pro Screen Replacement: 步骤 26 中的图像 2,2
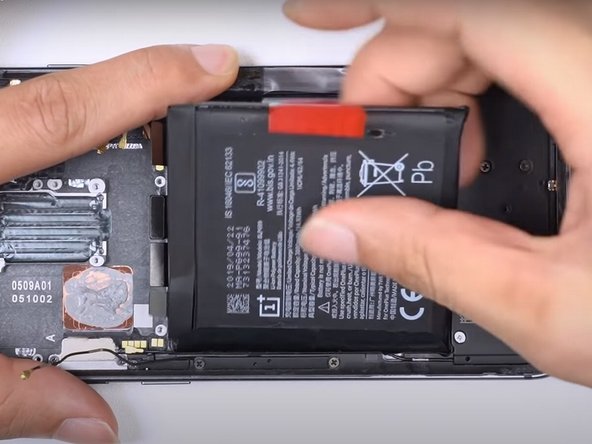
      • Use your fingers to pull on the red sticker labelled 'Pull Up From This Side.'

      • Remove the battery.

      询问修复机器人

      添加评论

    27. OnePlus 7 Pro Screen Replacement: 步骤 27 中的图像 1,3 OnePlus 7 Pro Screen Replacement: 步骤 27 中的图像 2,3 OnePlus 7 Pro Screen Replacement: 步骤 27 中的图像 3,3
      • Use your fingers to grab the black tab and remove the plastic that was underneath the battery.

      询问修复机器人

      添加评论

    28. OnePlus 7 Pro Screen Replacement: 步骤 28 中的图像 1,2 OnePlus 7 Pro Screen Replacement: 步骤 28 中的图像 2,2
      • Use a Phillips #000 screwdriver to remove eight screws from the bottom panel.

      • Use the flat end of a spudger to pry up the bottom cover.

      • Remove the bottom cover.

      询问修复机器人

      添加评论

    29. OnePlus 7 Pro Screen Replacement: 步骤 29 中的图像 1,1
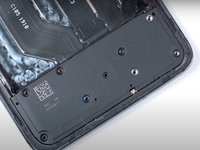
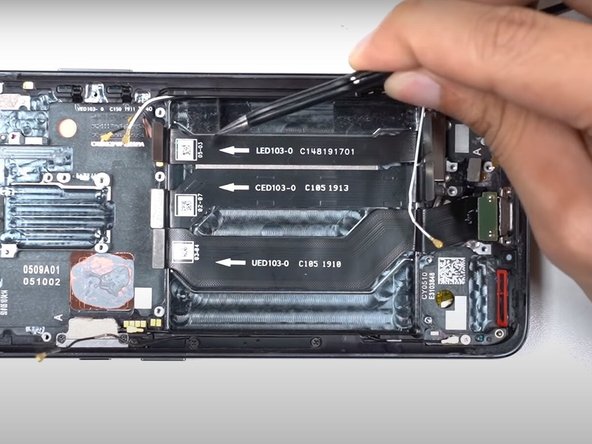
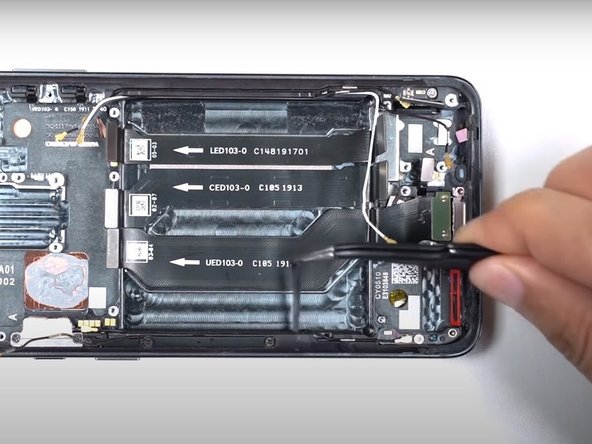
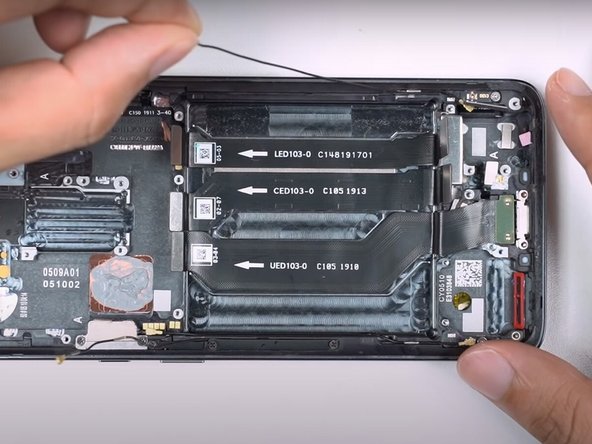
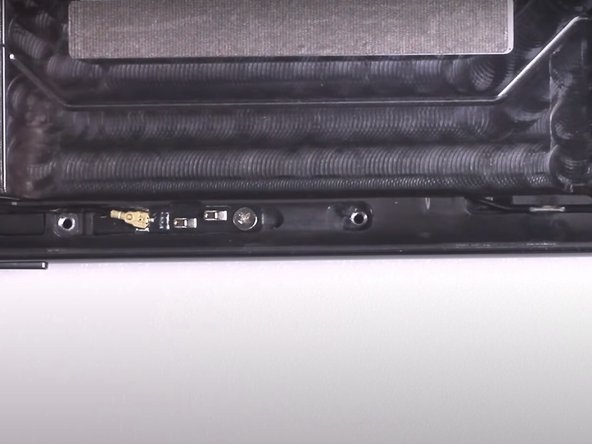
      • Use the flat end of a spudger to disconnect the fingerprint sensor, the LED flex cable, the CED flex cable, and the display and touch flex cable.

      添加评论

    30. OnePlus 7 Pro Screen Replacement: 步骤 30 中的图像 1,3 OnePlus 7 Pro Screen Replacement: 步骤 30 中的图像 2,3 OnePlus 7 Pro Screen Replacement: 步骤 30 中的图像 3,3
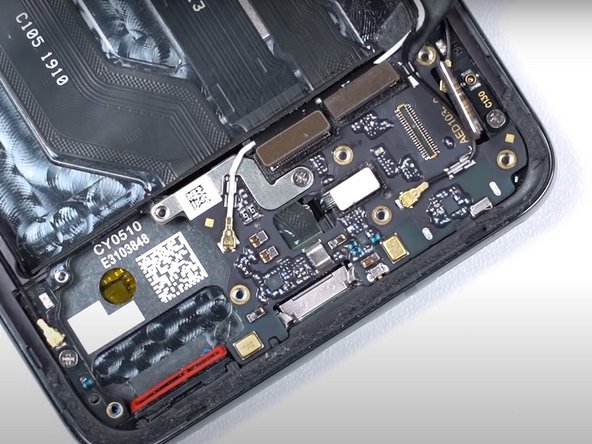
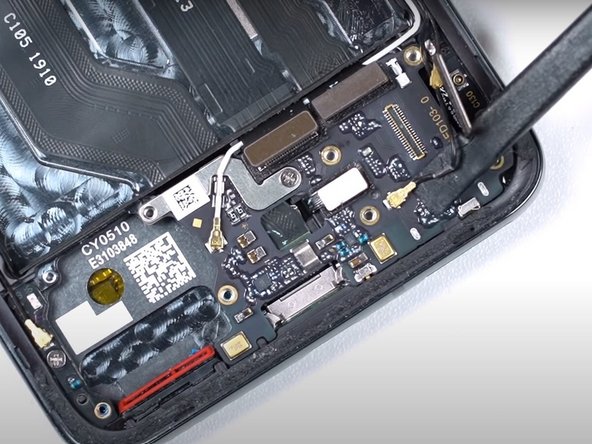
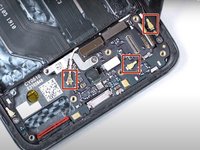
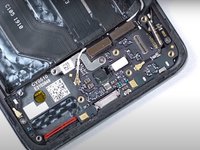
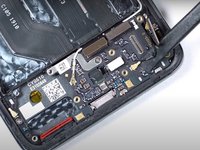
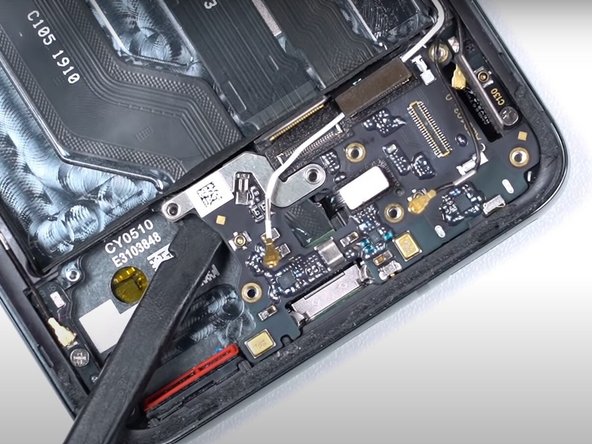
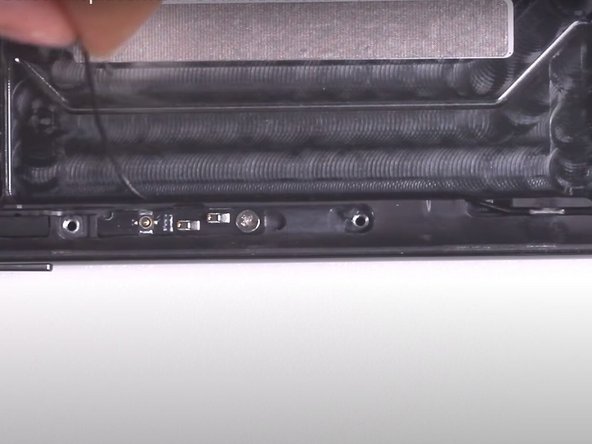
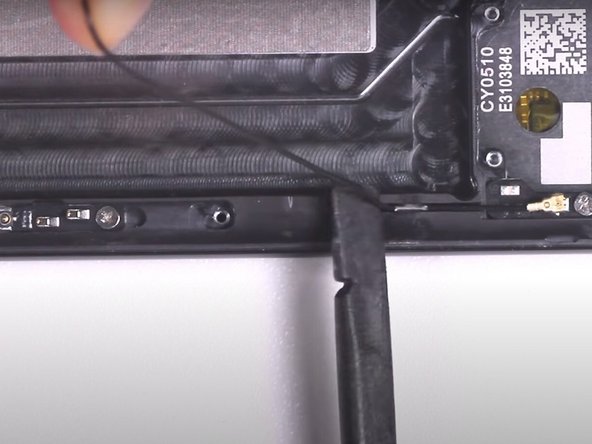
      • Use the flat end of a spudger to disconnect the three coaxial cables near the bottom of the phone.

      • To disconnect the longer coaxial cable, you will need to pry the wire from its clips.

      询问修复机器人

      添加评论

    31. OnePlus 7 Pro Screen Replacement: 步骤 31 中的图像 1,3 OnePlus 7 Pro Screen Replacement: 步骤 31 中的图像 2,3 OnePlus 7 Pro Screen Replacement: 步骤 31 中的图像 3,3
      • Use a Phillips #000 screwdriver to remove one screw.

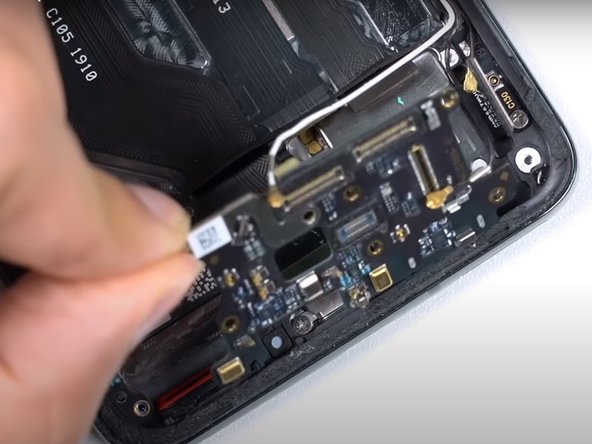
      • Use the flat end of a spudger to lift up the sub-board.

      • Remove the phone's sub-board.

      询问修复机器人

      添加评论

    32. OnePlus 7 Pro Screen Replacement: 步骤 32 中的图像 1,2 OnePlus 7 Pro Screen Replacement: 步骤 32 中的图像 2,2
      • Use a Phillips #000 screwdriver to remove two screws.

      询问修复机器人

      添加评论

    33. OnePlus 7 Pro Screen Replacement: 步骤 33 中的图像 1,3 OnePlus 7 Pro Screen Replacement: 步骤 33 中的图像 2,3 OnePlus 7 Pro Screen Replacement: 步骤 33 中的图像 3,3
      • Use a pair of tweezers to peel out the black stickers from the sides and bottom of the battery area.

      询问修复机器人

      添加评论

    34. OnePlus 7 Pro Screen Replacement: 步骤 34 中的图像 1,2 OnePlus 7 Pro Screen Replacement: 步骤 34 中的图像 2,2
      • Use your fingers to remove the three signal cables.

      询问修复机器人

      添加评论

    35. OnePlus 7 Pro Screen Replacement: 步骤 35 中的图像 1,1
      • Use the flat end of a spudger to disconnect the USB port flex cable.

      询问修复机器人

      添加评论

    36. OnePlus 7 Pro Screen Replacement: 步骤 36 中的图像 1,3 OnePlus 7 Pro Screen Replacement: 步骤 36 中的图像 2,3 OnePlus 7 Pro Screen Replacement: 步骤 36 中的图像 3,3
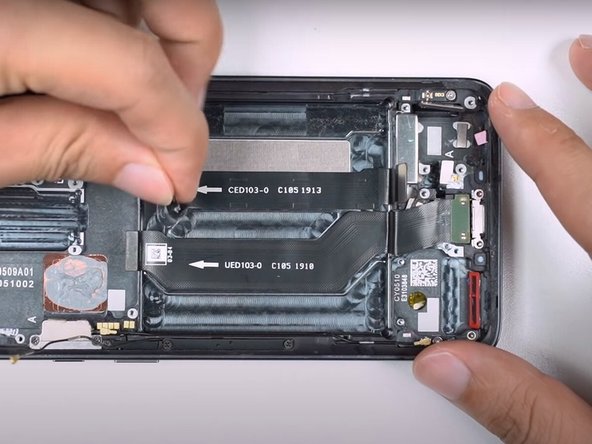
      • Use your fingers to remove the LED flex cable, CED flex cable, and USB port cable.

      询问修复机器人

      添加评论

    37. OnePlus 7 Pro Screen Replacement: 步骤 37 中的图像 1,2 OnePlus 7 Pro Screen Replacement: 步骤 37 中的图像 2,2
      • Use a pair of tweezers to disconnect the fingerprint sensor.

      询问修复机器人

      添加评论

    38. OnePlus 7 Pro Screen Replacement: 步骤 38 中的图像 1,1
      • Remove the vibration sensor using a pair of tweezers.

      询问修复机器人

      添加评论

    39. OnePlus 7 Pro Screen Replacement: 步骤 39 中的图像 1,1
      • Disconnect the coaxial cable in the lower left-hand corner using the flat end of a spudger.

      询问修复机器人

      添加评论

    40. OnePlus 7 Pro Screen Replacement: 步骤 40 中的图像 1,3 OnePlus 7 Pro Screen Replacement: 步骤 40 中的图像 2,3 OnePlus 7 Pro Screen Replacement: 步骤 40 中的图像 3,3
      • Use a Phillips #000 screwdriver to remove two screws on the left-hand side of the phone's frame.

      • Use a pair of tweezers to remove the plastic piece that was secured with the two previous screws.

      询问修复机器人

      添加评论

    41. OnePlus 7 Pro Screen Replacement: 步骤 41 中的图像 1,3 OnePlus 7 Pro Screen Replacement: 步骤 41 中的图像 2,3 OnePlus 7 Pro Screen Replacement: 步骤 41 中的图像 3,3
      • Remove the coaxial cable using the flat end of a spudger.

      • Remove the coaxial cable from the left-hand side of the battery's area.

      询问修复机器人

      添加评论

结论

To reassemble your device, install each of the components removed during this guide into a new screen with a frame by following these instructions in reverse order.

取消:我没有完成这个指南。

10等其他人完成本指南。

Selena

于12/15/19注册

2,968 声望

创作了14篇指南

12指南评论

So I have a friend that owns this phone and has had the screen replaced, there is however some misalignment of the screen and frame on her phone in the form of a very obvious crack between the two, the two surfaces are also not flush. Could someone in theory have improperly repaired the phone by separating the screen from the frame and gluing a new one in place?

Thank you and have a nice day.

Clayton Lawliss - 回复 分享
No that is due to the frame being bent, if it is bent the screen will not sit properly and it is a difficult task to un bend a frame but it is possible.

Zach Benson - 回复 分享
Is it possible to replace just the top glass if the rest of the screen is intact? It's got surface cracks both front and back.

MJ Mulenga III - 回复 分享
No don't and I mean DONT go that route the glass or whatever seems cheaper but the repair of separating them is next to impossible. Its like trying to take a part two potatoe chips that have been glued together and in the process not breaking either. Get a screen replacement.

Zach Benson - 回复 分享
Absolutely none of this is necessary as they don’t sell the screen with the frame. If you’re unlucky like me you’ll get the entire phone apart and then it will tell you to reassemble parts onto screen WITH frame.

Joel Tool - 回复 分享

添加评论

浏览统计数据:

过去 24 小时: 7

过去 7 天: 58

过去 30 天: 254

总计 25,456