跳转到主内容
加入维修社区 - 创建账户

Olympus FE-210 LCD Screen Replacement

你所需要的

    1. Olympus FE-210 LCD Screen Replacement, Battery: 步骤 1 中的图像 1,2 Olympus FE-210 LCD Screen Replacement, Battery: 步骤 1 中的图像 2,2
      • The battery compartment is located on the bottom side of the camera. Push the button in, and slide the cover to get access to the batteries.

      询问修复机器人

      添加评论

    2. Olympus FE-210 LCD Screen Replacement: 步骤 2 中的图像 1,2 Olympus FE-210 LCD Screen Replacement: 步骤 2 中的图像 2,2
      • The batteries will slide right out.

      • When putting new batteries in, make sure they are pointing the right direction.

      询问修复机器人

      添加评论

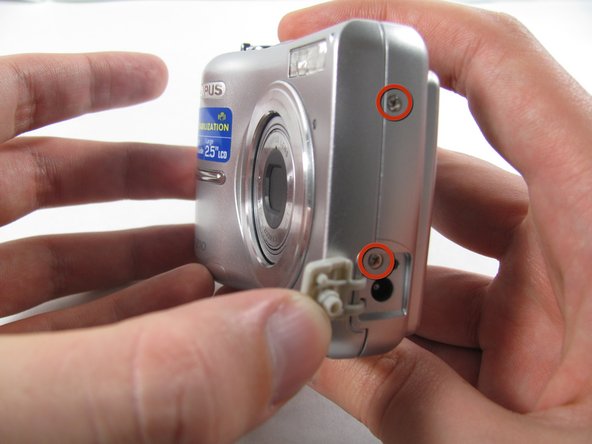
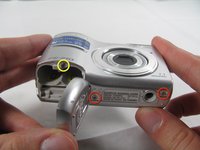
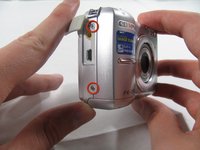
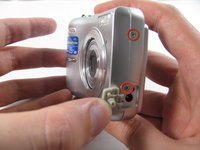
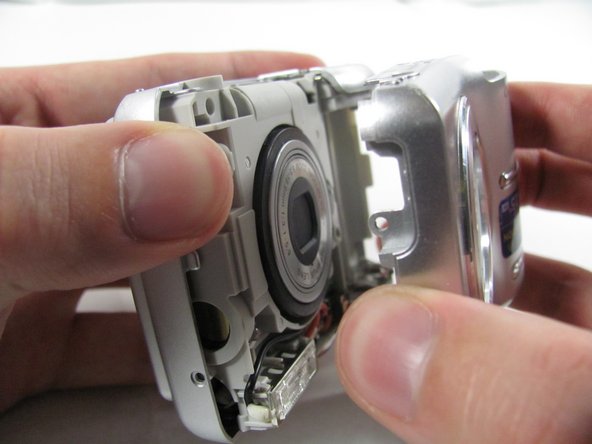
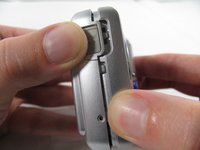
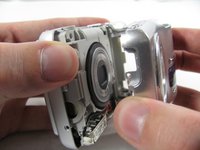
    1. Olympus FE-210 LCD Screen Replacement, Front Casing: 步骤 3 中的图像 1,3 Olympus FE-210 LCD Screen Replacement, Front Casing: 步骤 3 中的图像 2,3 Olympus FE-210 LCD Screen Replacement, Front Casing: 步骤 3 中的图像 3,3
      • Remove the seven screws holding the front case in place, with a Phillips #00 screwdriver.

      • Six screws are 3.6 mm.

      • The seventh screw is 3.2 mm.

      询问修复机器人

      添加评论

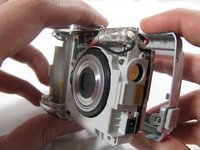
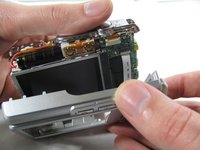
    2. Olympus FE-210 LCD Screen Replacement: 步骤 4 中的图像 1,3 Olympus FE-210 LCD Screen Replacement: 步骤 4 中的图像 2,3 Olympus FE-210 LCD Screen Replacement: 步骤 4 中的图像 3,3
      • Insert an opening tool or spudger into the seam between the front case and body of the camera to release the clips holding it together.

      • These three places are located:

      • At the top and bottom of the battery side (opposite of side pictured) of the case.

      • Right in the middle of the DC-in side (side pictured) of the case.

      • Top of the camera, to the left of the power button.

      • Once those places are disconnected, the front case will pop right off.

      • The camera in the first two pictures is upside down. This is the best position to place your thumbs to remove the case.

      询问修复机器人

      添加评论

    1. Olympus FE-210 LCD Screen Replacement, Rear Casing: 步骤 5 中的图像 1,1
      • Remove the 3.2 mm screw in the battery compartment using a #00 screwdriver.

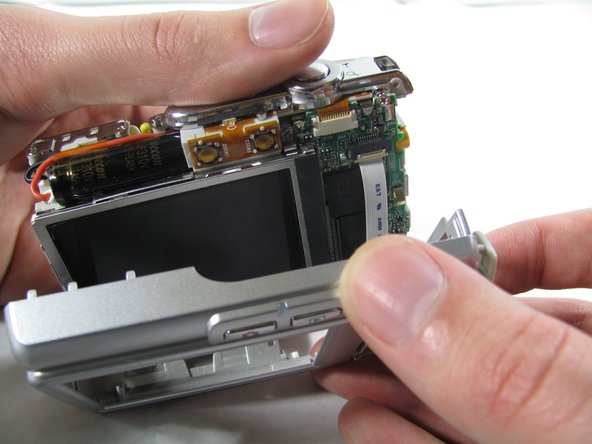
      • After removal of the screw the case will be loose, but do not tug it off. There is a cord connecting the rear controls to the motherboard.

      询问修复机器人

      添加评论

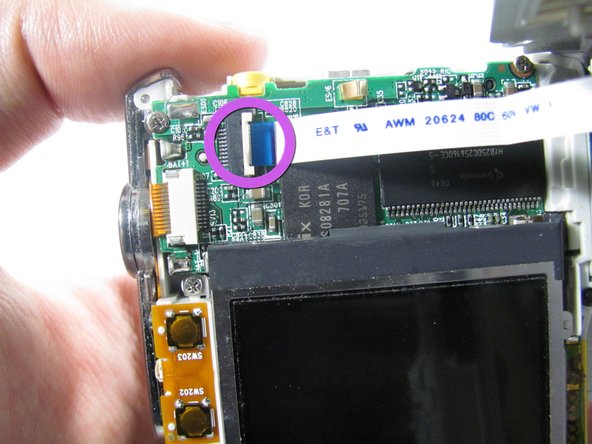
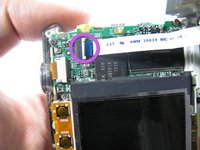
    2. Olympus FE-210 LCD Screen Replacement: 步骤 6 中的图像 1,3 Olympus FE-210 LCD Screen Replacement: 步骤 6 中的图像 2,3 Olympus FE-210 LCD Screen Replacement: 步骤 6 中的图像 3,3
      • Carefully pull the rear case away from the camera until you have access to the cord connected to the motherboard.

      • Lift the white latch using a fingernail or a spudger.

      • Pull the cord from its connector.

      询问修复机器人

      添加评论

    1. Olympus FE-210 LCD Screen Replacement, LCD Screen: 步骤 7 中的图像 1,2 Olympus FE-210 LCD Screen Replacement, LCD Screen: 步骤 7 中的图像 2,2
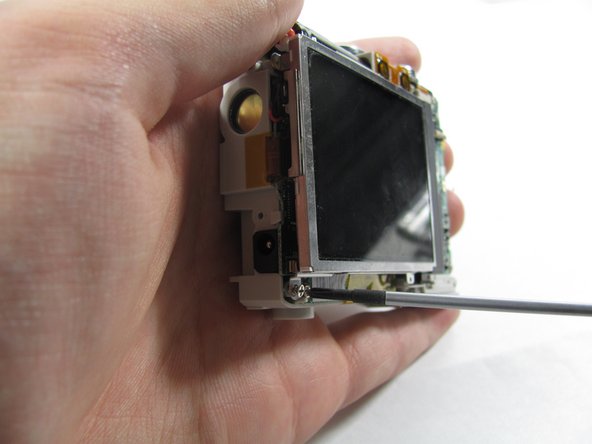
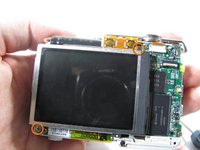
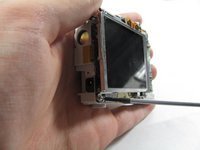
      • Remove the two 2.7 mm screws using a #00 screwdriver.

      • After removing the screws the display will be free. Do not remove it. Like the rear case, there is a cord connecting it to the motherboard that must be disconnected first.

      询问修复机器人

      添加评论

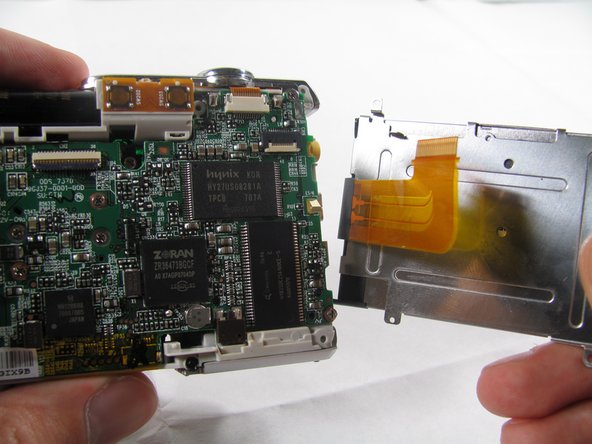
    2. Olympus FE-210 LCD Screen Replacement: 步骤 8 中的图像 1,3 Olympus FE-210 LCD Screen Replacement: 步骤 8 中的图像 2,3 Olympus FE-210 LCD Screen Replacement: 步骤 8 中的图像 3,3
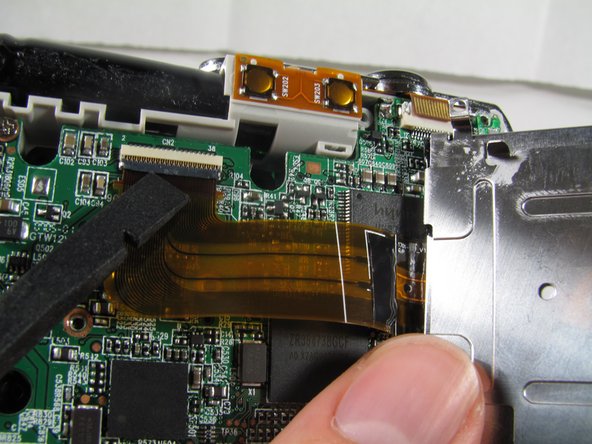
      • Using a spudger, lift the latch on the connector.

      • Remove the ribbon cord from its connector.

      • Remove the LCD from the rest of the camera.

      询问修复机器人

      添加评论

结论

To reassemble your device, follow these instructions in reverse order.

取消:我没有完成这个指南。

4等其他人完成本指南。

Matt

于01/25/11注册

826 声望

创作了6篇指南

团队

Cal Poly, Team 4-36, Regan Winter 2011 Cal Poly, Team 4-36, Regan Winter 2011 的会员

CPSU-REGAN-W11S4G36

3 名成员

创作了14篇指南

1指南评论

Now need source for replacement screen thank you

Emile Crotteau - 回复 分享

添加评论

浏览统计数据:

过去 24 小时: 2

过去 7 天: 22

过去 30 天: 75

总计 6,151