跳转到主内容
加入维修社区 - 创建账户

Nvidia Shield Display Assembly Replacement

你所需要的

    1. Nvidia Shield Display Assembly Replacement, Remove Front Panel: 步骤 1 中的图像 1,3 Nvidia Shield Display Assembly Replacement, Remove Front Panel: 步骤 1 中的图像 2,3 Nvidia Shield Display Assembly Replacement, Remove Front Panel: 步骤 1 中的图像 3,3
      • Remove the seven 6.4mm T5 Torx screws from the back panel.

      • Use the spudger to separate the front and back panels.

      添加评论

    2. Nvidia Shield Display Assembly Replacement, Remove Green Grill: 步骤 2 中的图像 1,2 Nvidia Shield Display Assembly Replacement, Remove Green Grill: 步骤 2 中的图像 2,2
      • The green grill is not screwed in so it can be pulled right out.

      询问修复机器人

      添加评论

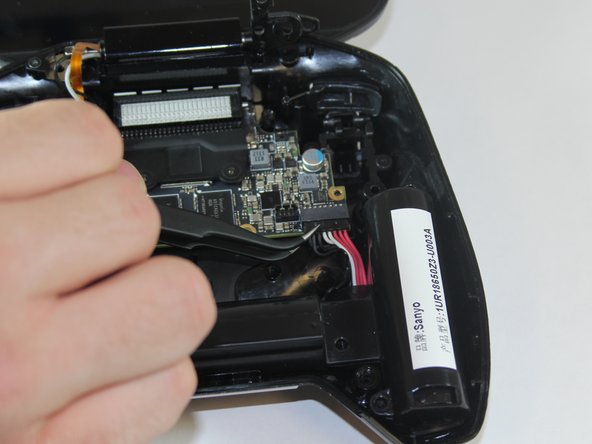
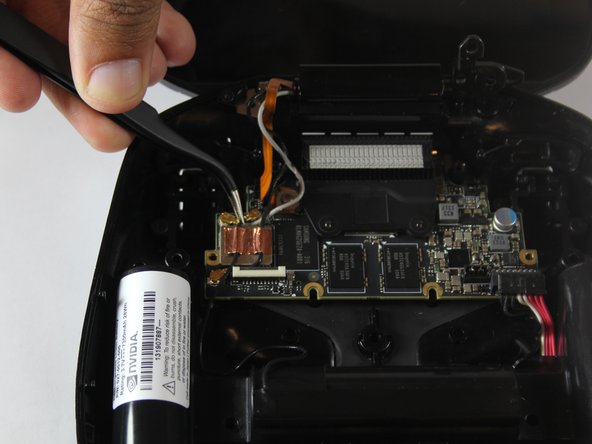
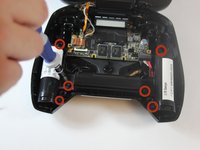
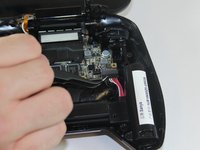
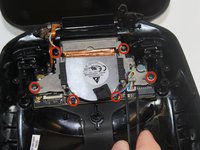
    3. Nvidia Shield Display Assembly Replacement, Remove Battery Cables: 步骤 3 中的图像 1,3 Nvidia Shield Display Assembly Replacement, Remove Battery Cables: 步骤 3 中的图像 2,3 Nvidia Shield Display Assembly Replacement, Remove Battery Cables: 步骤 3 中的图像 3,3
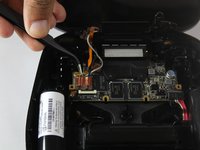
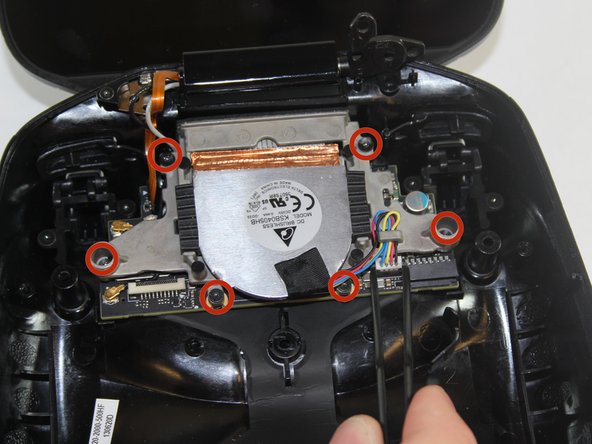
      • Remove the six 6.5mm T5 Torx screws.

      • Disconnect the power wires.

      • Peel back the copper tape and disconnect the black and white wires.

      询问修复机器人

      添加评论

    4. Nvidia Shield Display Assembly Replacement, Remove Battery Apparatus: 步骤 4 中的图像 1,1
      • Pull the battery apparatus out once all cables are removed.

      询问修复机器人

      添加评论

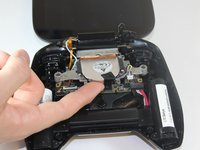
    1. Nvidia Shield Display Assembly Replacement, Removing Fan: 步骤 5 中的图像 1,3 Nvidia Shield Display Assembly Replacement, Removing Fan: 步骤 5 中的图像 2,3 Nvidia Shield Display Assembly Replacement, Removing Fan: 步骤 5 中的图像 3,3
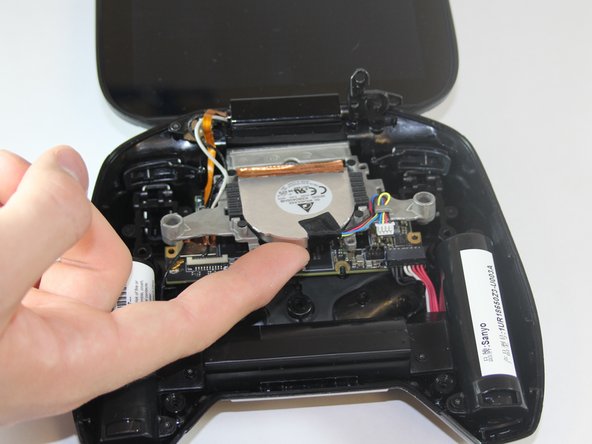
      • Cooling is important for electronics, the last thing they want is to overheat.

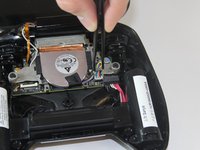
      • Remove the two 7.3mm and four 8.4mm T5 Torx screws and disconnect the power cable.

      • Lift the fan free after the screws and cable are removed.

      询问修复机器人

      添加评论

    1. Nvidia Shield Display Assembly Replacement, Disconnecting from logic board: 步骤 6 中的图像 1,1
      • On the left side from where the display is attached to the back panel there is one 3.8mm T5 Torx screw that needs to be removed.

      • Once removed, the display should be able to be detached.

      添加评论

结论

To reassemble your device, follow these instructions in reverse order.

取消:我没有完成这个指南。

5等其他人完成本指南。

团队

USF Tampa, Team 1-1, Hickman Fall 2014 USF Tampa, Team 1-1, Hickman Fall 2014 的会员

USFT-HICKMAN-F14S1G1

4 名成员

创作了66篇指南

1指南评论

Where can o get a replacement screen

jorge valenzuela - 回复 分享

添加评论

浏览统计数据:

过去 24 小时: 1

过去 7 天: 11

过去 30 天: 60

总计 7,258