跳转到主内容

NuVision 10.1 Atom Camera Replacement

你所需要的

  1. NuVision 10.1 Atom Camera  Replacement, Camera: 步骤 1 中的图像 1,3 NuVision 10.1 Atom Camera  Replacement, Camera: 步骤 1 中的图像 2,3 NuVision 10.1 Atom Camera  Replacement, Camera: 步骤 1 中的图像 3,3
    • Turn the device screen side down.

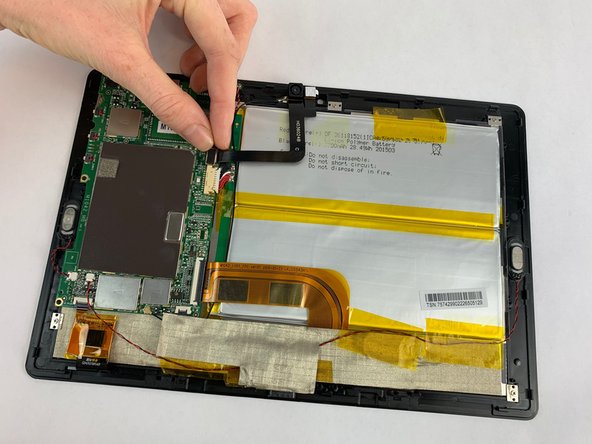
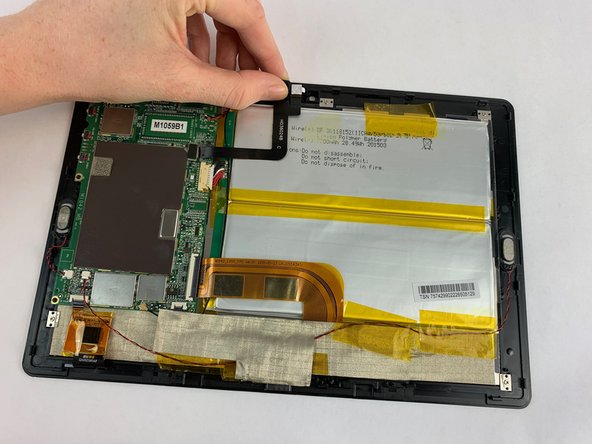
    • Carefully remove the back piece with the iFixit opening tool.

  2. NuVision 10.1 Atom Camera  Replacement: 步骤 2 中的图像 1,1
    • Remove the yellow tape covering the motherboard gently with your fingers.

  3. NuVision 10.1 Atom Camera  Replacement: 步骤 3 中的图像 1,3 NuVision 10.1 Atom Camera  Replacement: 步骤 3 中的图像 2,3 NuVision 10.1 Atom Camera  Replacement: 步骤 3 中的图像 3,3
    • Pull the camera plug upward and away from the motherboard with your fingers.

    • Gently pull the camera from the device. The camera is held by tension.

结论

To reassemble your device, follow these instructions in reverse order.

Carly Daniele

于02/14/19注册

567 声望

创作了5篇指南

团队

USF Tampa, Team S1-G5, Leahy Spring 2019 USF Tampa, Team S1-G5, Leahy Spring 2019 的会员

USFT-LEAHY-S19S1G5

5 名成员

创作了6篇指南

0条评论

添加评论

浏览统计数据:

过去 24 小时: 1

过去 7 天: 2

过去 30 天: 3

总计 165