跳转到主内容
加入维修社区 - 创建账户

Nokia 6010 Charger Connector Replacement

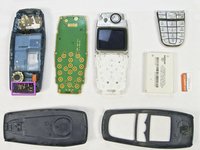
你所需要的

    1. Nokia 6010 Charger Connector Replacement, Battery: 步骤 1 中的图像 1,3 Nokia 6010 Charger Connector Replacement, Battery: 步骤 1 中的图像 2,3 Nokia 6010 Charger Connector Replacement, Battery: 步骤 1 中的图像 3,3
      • Press the small tab on the bottom of the back of the phone.

      • Push the back case upward towards the power button. The back case will then pop off.

      • It requires some force, so be careful.

      询问修复机器人

      添加评论

    2. Nokia 6010 Charger Connector Replacement: 步骤 2 中的图像 1,2 Nokia 6010 Charger Connector Replacement: 步骤 2 中的图像 2,2
      • Lift the battery near the bottom and pry up.

      询问修复机器人

      添加评论

    1. Nokia 6010 Charger Connector Replacement, SIM Card: 步骤 3 中的图像 1,1
      • With one hand, press the ridged tab near the visible side of the SIM card.

      • Slide the card out with your other hand.

      添加评论

    1. Nokia 6010 Charger Connector Replacement, Keypad: 步骤 4 中的图像 1,2 Nokia 6010 Charger Connector Replacement, Keypad: 步骤 4 中的图像 2,2
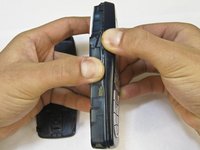
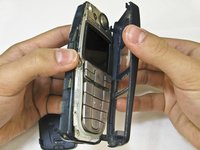
      • Grip the phone on either the sides, the top, or the bottom.

      • Pull the front case away from the rest of the phone.

      • There are no special tabs to keep it in place so it should wiggle free easily.

      询问修复机器人

      添加评论

    2. Nokia 6010 Charger Connector Replacement: 步骤 5 中的图像 1,1
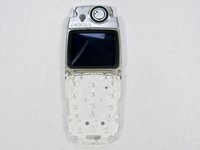
      • Lift the keypad away from the body of the phone.

      • The keypad is the rubber-backed piece with the number keys.

      询问修复机器人

      添加评论

    1. Nokia 6010 Charger Connector Replacement, LCD Screen and Speaker: 步骤 6 中的图像 1,2 Nokia 6010 Charger Connector Replacement, LCD Screen and Speaker: 步骤 6 中的图像 2,2
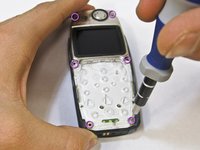
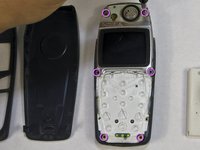
      • Remove the six screws around the front of the phone body with a T6 screwdriver.

      询问修复机器人

      添加评论

    2. Nokia 6010 Charger Connector Replacement: 步骤 7 中的图像 1,3 Nokia 6010 Charger Connector Replacement: 步骤 7 中的图像 2,3 Nokia 6010 Charger Connector Replacement: 步骤 7 中的图像 3,3
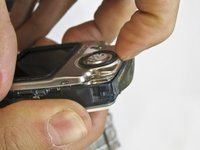
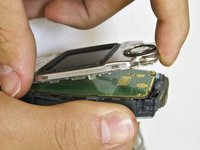
      • Insert your finger underneath the speaker piece and pry away from the phone body.

      • The plastic layer containing the LCD screen and speaker takes some force to remove.

      • There are 4 plastic tabs which keep it in place, but they are hard to press. Be careful and go tab by tab or use a spudger if you are nervous about using too much force.

      • The LCD and the speaker are attached to the same piece and must be replaced together.

      询问修复机器人

      添加评论

    1. Nokia 6010 Charger Connector Replacement, Logic Board: 步骤 8 中的图像 1,2 Nokia 6010 Charger Connector Replacement, Logic Board: 步骤 8 中的图像 2,2
      • Slide the rubber power button away from the body of the phone.

      • The power button is the rubber piece on the top of the phone.

      询问修复机器人

      添加评论

    2. Nokia 6010 Charger Connector Replacement: 步骤 9 中的图像 1,3 Nokia 6010 Charger Connector Replacement: 步骤 9 中的图像 2,3 Nokia 6010 Charger Connector Replacement: 步骤 9 中的图像 3,3
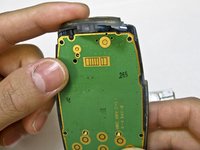
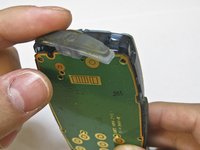
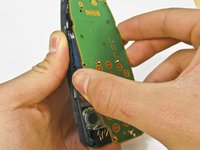
      • Insert a finger between the phone body and logic board.

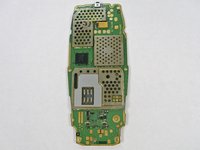
      • The logic board is the green plastic piece with circuitry attached.

      • Pull the board away gently.

      • The board is delicate and contains electronic parts. Be careful while removing it.

      询问修复机器人

      添加评论

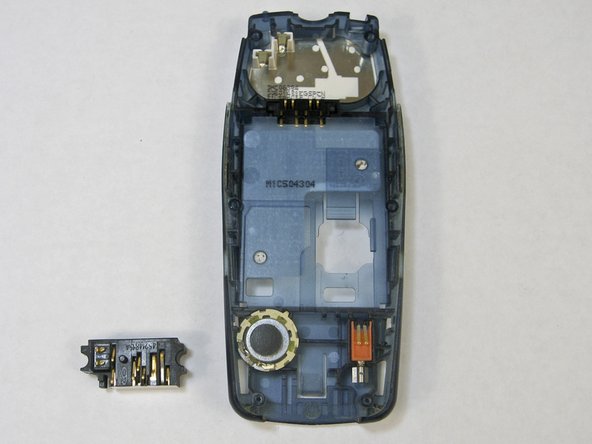
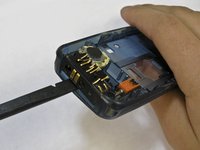
    1. Nokia 6010 Charger Connector Replacement, Charger Connector: 步骤 10 中的图像 1,3 Nokia 6010 Charger Connector Replacement, Charger Connector: 步骤 10 中的图像 2,3 Nokia 6010 Charger Connector Replacement, Charger Connector: 步骤 10 中的图像 3,3
      • Insert a spudger tool between the phone casing and the charger connector.

      • Pry the key away from the phone gently.

      • Be careful not to bend the metal leads while handling the power key.

      询问修复机器人

      添加评论

结论

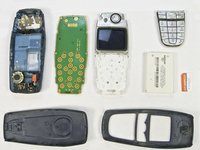
To reassemble your device, follow these instructions in reverse order.

取消:我没有完成这个指南。

另外一个人完成了本指南。

团队

Cal Poly, Team 14-45, Regan Winter 2010 Cal Poly, Team 14-45, Regan Winter 2010 的会员

CPSU-REGAN-W10S14G45

5 名成员

创作了72篇指南

0指南评论

添加评论

浏览统计数据:

过去 24 小时: 6

过去 7 天: 13

过去 30 天: 51

总计 4,677