简介
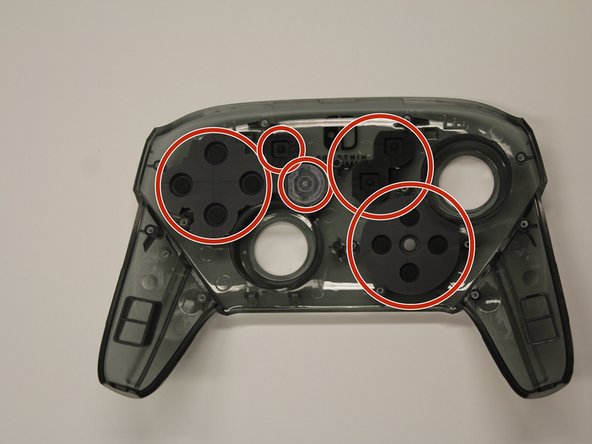
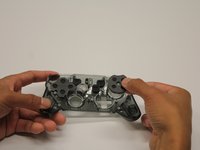
按钮和D-Pad是Switch Pro控制器的主要输入。如果按钮无反应,则可能需要更换按钮,有关更多信息,请查看我们的故障排除指南。
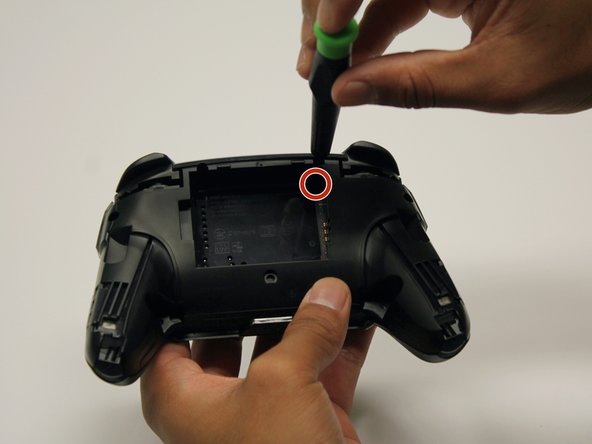
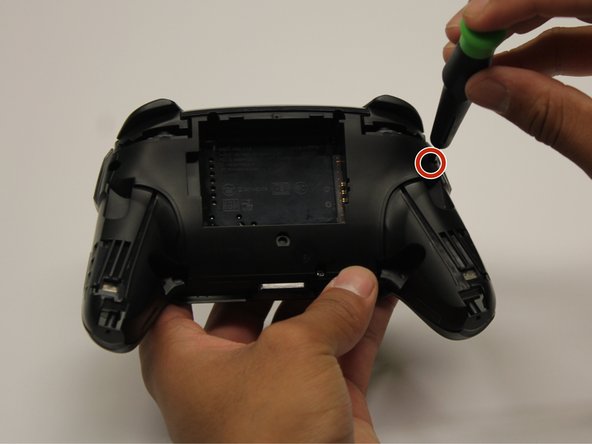
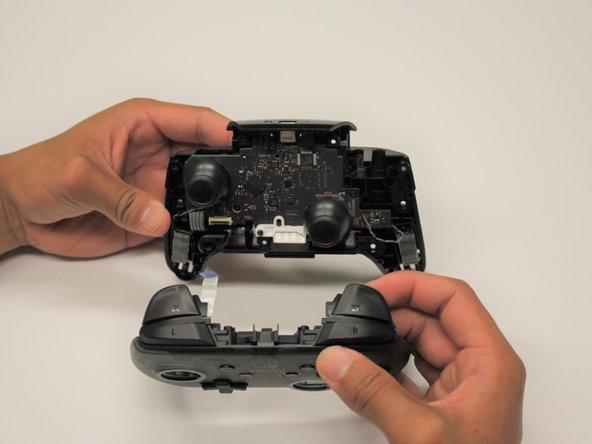
在拆卸过程中,请小心注意锐利的边缘,有一些裸露的塑料可能会割伤您。
你所需要的


要重新组装设备,请按照相反的顺序进行操作。
24等其他人完成本指南。


团队

Cal Poly, Team S11-G2, Regan Fall 2019 Cal Poly, Team S11-G2, Regan Fall 2019 的会员
CPSU-REGAN-F19S11G2
5 名成员
创作了45篇指南
3指南评论
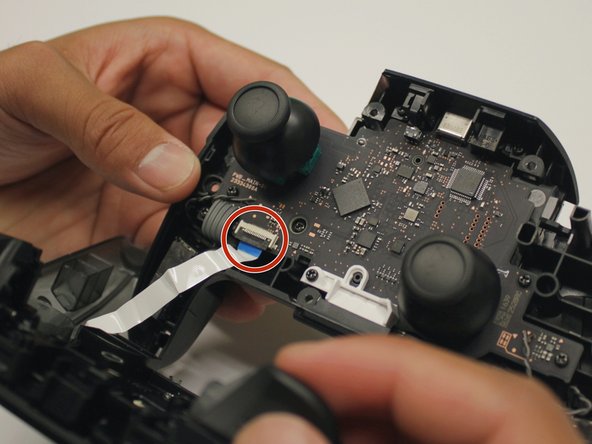
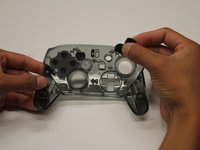
On re-assembly, you may have trouble getting the top circuit board and shoulder button support structure to snap into place. It’s easiest to get the circuit board around the right analog stick hole, and push it all the way down until it is in place, then to secure the shoulder button support structure.
Make sure the “Home” button clear plastic light spreader (a clear irregular circle-shaped piece) is in place on top of the home button assembly, or it will give the home button a “sunken” appearance.
Worked well, thank you. Had a gooey X button that needed to be cleaned.