当前版本的文档还未经巡查,您可以查看最新的已查核版本。
你所需要的
-
-
这个步骤还没有翻译 帮忙翻译一下
-
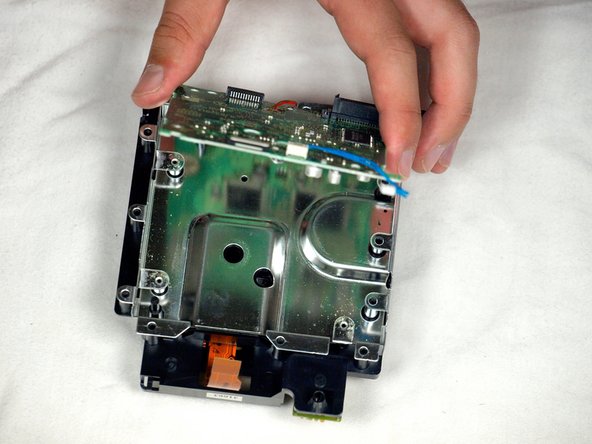
Carefully separate the optical drive assembly from the rest of the GameCube unit.
-
The optical drive assembly is secured to the motherboard underneath by a slot; some force may be required to carefully free the assembly.
-
The metal plate and the actual optical drive will remain attached.
-
-
这个步骤还没有翻译 帮忙翻译一下
-
Remove the blue wire by gently pulling.
-
Disconnect the brown cable. This is done by gently pulling the black tab away from the white plastic. This will loosen the tension on the brown cable, allowing it to slide away from the tab gently.
-
Remove the four Phillips #1 screws connecting the circuit board to the optical drive assembly.
-
The fourth screw is located behind the screwdriver in the third picture.
-
-
这个步骤还没有翻译 帮忙翻译一下
-
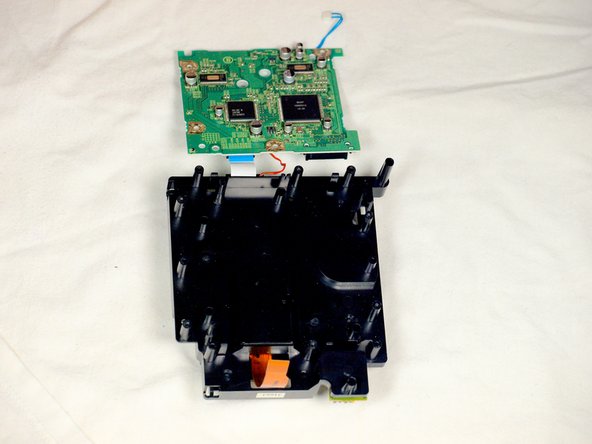
Use a flathead screwdriver to release the two clips located on the back half of the drive assembly.
-
The final clip doesn't need to be released; the top half of the drive assembly will slide away from the lower half.
-
Finish removing the top half of the drive assembly from the base.
-


20等其他人完成本指南。

团队

Cal Poly, Team 6-2, Maness Fall 2009 Cal Poly, Team 6-2, Maness Fall 2009 的会员
CPSU-MANESS-F09S6G2
4 名成员
创作了45篇指南
5条评论
What type of optical drive could I use to replace the one in said GameCube once I've broken it down?
Did you ever find out, Bob?
I found OEM parts (removed from other Game Cubes) available on Ebay. Just ordered the part for about $16.
erin clark - 回复
Good walkthrough. My 8 year old completed this repair with minimal help from me. Thanks!
erin clark - 回复
As a tech writer I just wanted to say our step by step instructions are spot on. Great Job