跳转到主内容
加入维修社区 - 创建账户

Nintendo DSi XL Power Board Replacement

你所需要的

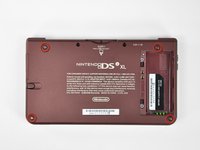
    1. Nintendo DSi XL Power Board Replacement, Battery: 步骤 1 中的图像 1,2 Nintendo DSi XL Power Board Replacement, Battery: 步骤 1 中的图像 2,2
      • Remove the two Phillips screws securing the battery cover to the back of the handheld console.

      • Lift the battery cover off the back of the DSi XL.

      添加评论

    2. Nintendo DSi XL Power Board Replacement: 步骤 2 中的图像 1,1
      • Lift the battery from the DSi XL.

      询问修复机器人

      添加评论

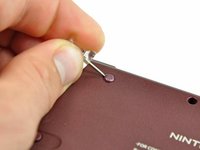
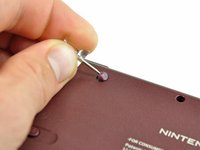
    1. Nintendo DSi XL Power Board Replacement, Lower Case: 步骤 3 中的图像 1,3 Nintendo DSi XL Power Board Replacement, Lower Case: 步骤 3 中的图像 2,3 Nintendo DSi XL Power Board Replacement, Lower Case: 步骤 3 中的图像 3,3
      • Remove the four rubber screw covers on the lower case by prying them up with a push pin.

      询问修复机器人

      添加评论

    2. Nintendo DSi XL Power Board Replacement: 步骤 4 中的图像 1,1
      • Remove the following seven Phillips screws that secure the lower case to the rest of the DSi XL:

      • Four silver 5.3 mm screws

      • Two black 5.3 mm screws

      • One black 2.5 mm screw

      询问修复机器人

      添加评论

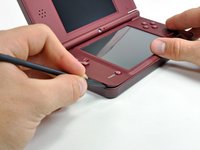
    3. Nintendo DSi XL Power Board Replacement: 步骤 5 中的图像 1,3 Nintendo DSi XL Power Board Replacement: 步骤 5 中的图像 2,3 Nintendo DSi XL Power Board Replacement: 步骤 5 中的图像 3,3
      • Turn the DSi XL over, and open the display.

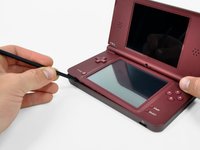
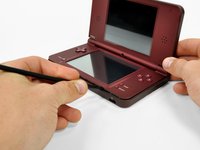
      • Insert a spudger between the upper and lower case at the bottom left corner of the DSi.

      • Slide the spudger along the bottom edge of the upper case to release the latches securing the upper case to the lower case.

      询问修复机器人

      添加评论

    4. Nintendo DSi XL Power Board Replacement: 步骤 6 中的图像 1,2 Nintendo DSi XL Power Board Replacement: 步骤 6 中的图像 2,2
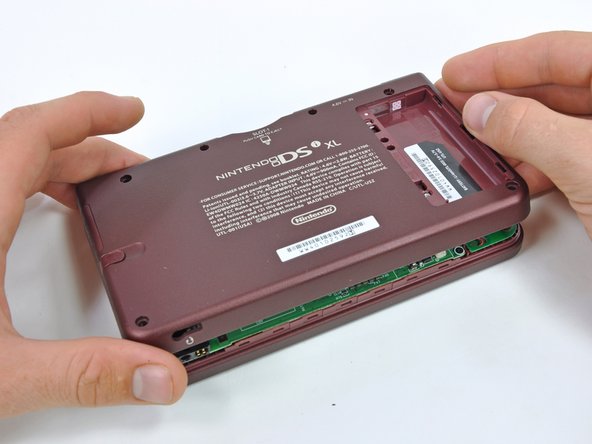
      • Close the display and turn the DSi XL over.

      • Lift the lower case from the front edge.

      • Rotate the lower case away from the DSi.

      • The lower case cannot be completely removed yet, since it is still connected to the motherboard.

      询问修复机器人

      添加评论

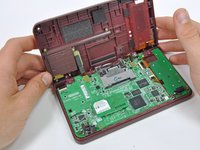
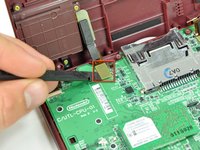
    5. Nintendo DSi XL Power Board Replacement: 步骤 7 中的图像 1,2 Nintendo DSi XL Power Board Replacement: 步骤 7 中的图像 2,2
      • Using a spudger, pry the SD card/right shoulder button connector off its socket.

      • Pry the volume button/left shoulder button connector off its socket on the motherboard with a spudger.

      询问修复机器人

      添加评论

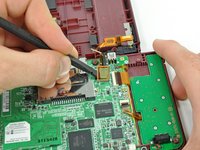
    1. Nintendo DSi XL Power Board Replacement, Power Board: 步骤 8 中的图像 1,2 Nintendo DSi XL Power Board Replacement, Power Board: 步骤 8 中的图像 2,2
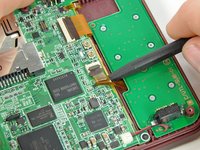
      • Using the flat end of a spudger, flip up the retaining flap on the ZIF connector for the D-pad/power button cable.

      • With the pointed end of the spudger, pull the D-pad/power button cable from its connector on the motherboard.

      询问修复机器人

      添加评论

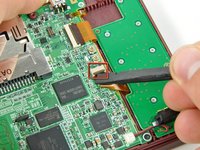
    2. Nintendo DSi XL Power Board Replacement: 步骤 9 中的图像 1,1
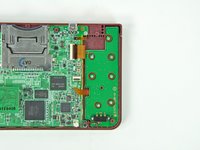
      • Using the flat end of the spudger, carefully pry the battery cable out of its socket on the motherboard.

      • Use caution, as the wires are very fragile and could come out of the connector if pulled on too hard.

      添加评论

    3. Nintendo DSi XL Power Board Replacement: 步骤 10 中的图像 1,2 Nintendo DSi XL Power Board Replacement: 步骤 10 中的图像 2,2
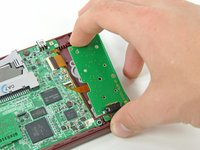
      • Remove the seven 2.5 mm silver screws securing the power board to the upper case.

      • Lift the power board off the upper case.

      询问修复机器人

      添加评论

结论

To reassemble your device, follow these instructions in reverse order.

取消:我没有完成这个指南。

8等其他人完成本指南。

Brett Hartt

于04/12/10注册

132,296 声望

创作了144篇指南

团队

iFixit iFixit 的会员

Staff

123 名成员

创作了51,077篇指南

0指南评论

添加评论

浏览统计数据:

过去 24 小时: 10

过去 7 天: 35

过去 30 天: 156

总计 19,526