跳转到主内容
加入维修社区 - 创建账户

Nexus 10 Display Replacement

你所需要的

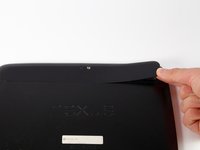
    1. Nexus 10 Display Replacement, Battery: 步骤 1 中的图像 1,3 Nexus 10 Display Replacement, Battery: 步骤 1 中的图像 2,3 Nexus 10 Display Replacement, Battery: 步骤 1 中的图像 3,3
      • Using a plastic opening tool, remove the thin plastic cover from back of the tablet by prying up from its small tab.

      询问修复机器人

      添加评论

    2. Nexus 10 Display Replacement: 步骤 2 中的图像 1,1
      • Remove the five 2mm screws on the back of the device using a PH00 screwdriver.

      询问修复机器人

      添加评论

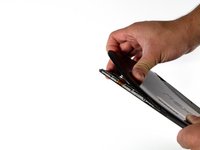
    3. Nexus 10 Display Replacement: 步骤 3 中的图像 1,3 Nexus 10 Display Replacement: 步骤 3 中的图像 2,3 Nexus 10 Display Replacement: 步骤 3 中的图像 3,3
      • Pry the device apart by inserting a plastic opening tool in the seam between the plastic backing and display assembly. Use the tool to unclip the plastic tabs in between the backing and the display.

      • Pull the the plastic backing off the display assembly using your hands.

      • Do not do this step with only your hands. You will require a significant amount of force to separate the device.

      添加评论

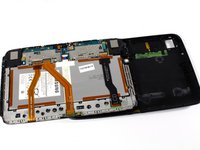
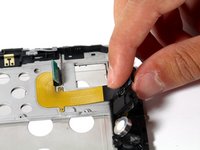
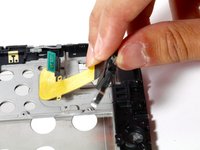
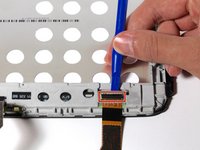
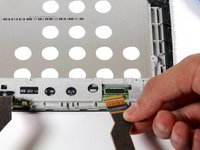
    4. Nexus 10 Display Replacement: 步骤 4 中的图像 1,3 Nexus 10 Display Replacement: 步骤 4 中的图像 2,3 Nexus 10 Display Replacement: 步骤 4 中的图像 3,3
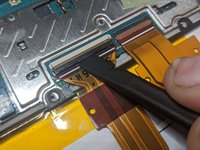
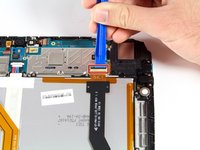
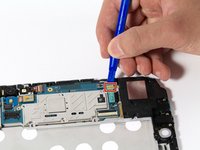
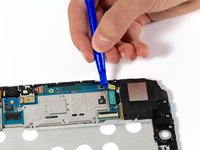
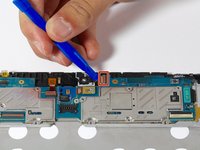
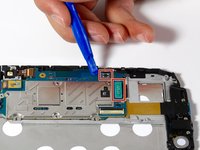
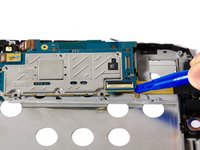
      • Detach the three connector ribbons passing over the battery using the plastic opening tool.

      添加评论

    5. Nexus 10 Display Replacement: 步骤 5 中的图像 1,1
      • Remove the twelve 2mm screws around the perimeter of the battery with a PH00 screwdriver.

      询问修复机器人

      添加评论

    6. Nexus 10 Display Replacement: 步骤 6 中的图像 1,2 Nexus 10 Display Replacement: 步骤 6 中的图像 2,2
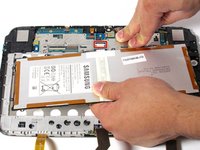
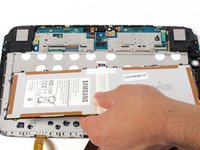
      • Disconnect the battery by lifting it upward and pulling it away from the connector.

      添加评论

    1. Nexus 10 Display Replacement, Headphone Jack: 步骤 7 中的图像 1,1
      • Remove one screw on the logic board with a PH00 screwdriver.

      询问修复机器人

      添加评论

    2. Nexus 10 Display Replacement: 步骤 8 中的图像 1,3 Nexus 10 Display Replacement: 步骤 8 中的图像 2,3 Nexus 10 Display Replacement: 步骤 8 中的图像 3,3
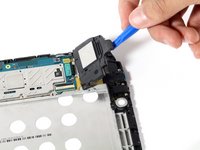
      • Disconnect right speaker connector ribbon from logic board.

      • Lift the speaker out by pulling up on its corner.

      询问修复机器人

      添加评论

    3. Nexus 10 Display Replacement: 步骤 9 中的图像 1,3 Nexus 10 Display Replacement: 步骤 9 中的图像 2,3 Nexus 10 Display Replacement: 步骤 9 中的图像 3,3
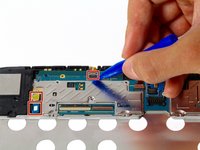
      • Disconnect connectors around the perimeter of the motherboard.

      询问修复机器人

      添加评论

    4. Nexus 10 Display Replacement: 步骤 10 中的图像 1,2 Nexus 10 Display Replacement: 步骤 10 中的图像 2,2
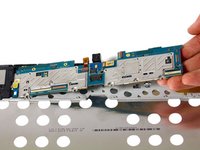
      • Remove motherboard by gently pulling upward under its corner.

      询问修复机器人

      添加评论

    5. Nexus 10 Display Replacement: 步骤 11 中的图像 1,1
      • Remove the three 2mm screws along the right side of the device using a PH00 screwdriver.

      询问修复机器人

      添加评论

    6. Nexus 10 Display Replacement: 步骤 12 中的图像 1,2 Nexus 10 Display Replacement: 步骤 12 中的图像 2,2
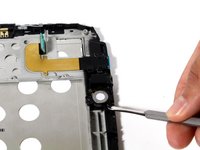
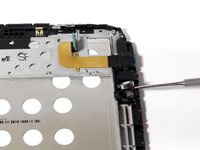
      • Unseat the small vibrator motor by gently applying upward pressure with a spudger.

      添加评论

    7. Nexus 10 Display Replacement: 步骤 13 中的图像 1,2 Nexus 10 Display Replacement: 步骤 13 中的图像 2,2
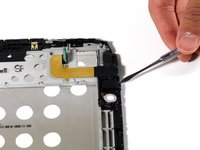
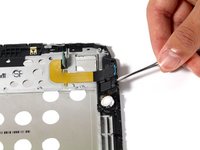
      • Lift the assembly by gently applying upward pressure with the spudger on the assembly.

      询问修复机器人

      添加评论

    8. Nexus 10 Display Replacement: 步骤 14 中的图像 1,2 Nexus 10 Display Replacement: 步骤 14 中的图像 2,2
      • Gently pull battery-audio jack-USB assembly upward, detaching it from its adhesive.

      询问修复机器人

      添加评论

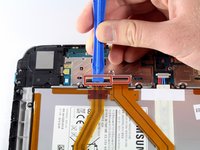
    1. Nexus 10 Display Replacement, Display: 步骤 15 中的图像 1,2 Nexus 10 Display Replacement, Display: 步骤 15 中的图像 2,2
      • Detach LCD connector ribbon by pressing upward on connector latch using a plastic opening tool.

      询问修复机器人

      添加评论

    2. Nexus 10 Display Replacement: 步骤 16 中的图像 1,2 Nexus 10 Display Replacement: 步骤 16 中的图像 2,2
      • Unscrew the two 2mm Phillips #00 screws holding the ribbon in place.

      • Remove the board by tilting it forward and pulling outward.

      询问修复机器人

      添加评论

    3. Nexus 10 Display Replacement: 步骤 17 中的图像 1,1
      • Remove second speaker by gently tilting and pulling upward.

      询问修复机器人

      添加评论

    4. Nexus 10 Display Replacement: 步骤 18 中的图像 1,3 Nexus 10 Display Replacement: 步骤 18 中的图像 2,3 Nexus 10 Display Replacement: 步骤 18 中的图像 3,3
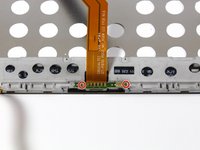
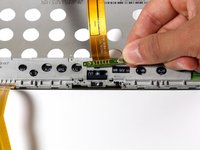
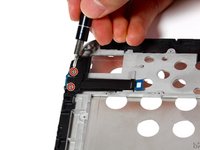
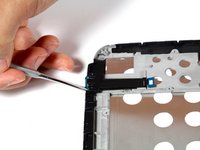
      • Unscrew the two 2mm screws securing the micro HDMI connector with a #PH00 screwdriver.

      • Remove the connector by liberally applying upward pressure.

      询问修复机器人

      添加评论

    5. Nexus 10 Display Replacement: 步骤 19 中的图像 1,3 Nexus 10 Display Replacement: 步骤 19 中的图像 2,3 Nexus 10 Display Replacement: 步骤 19 中的图像 3,3
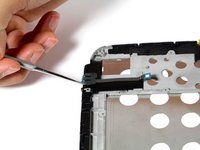
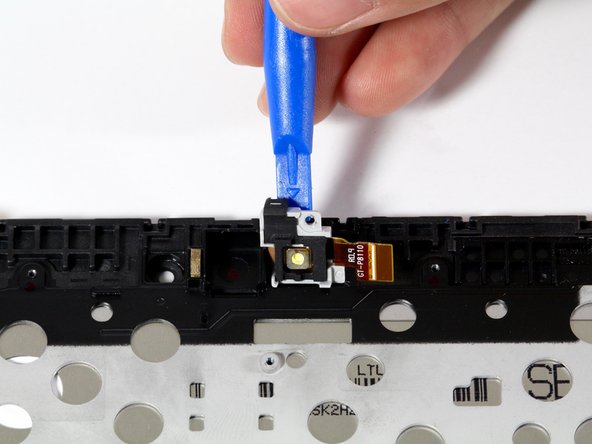
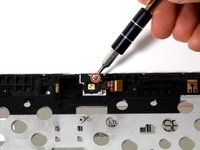
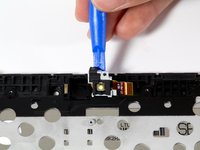
      • Unscrew the 2mm Phillips #00 screw that holds the flash enclosure.

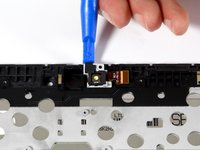
      • Remove the flash assembly with a plastic opening tool by lifting the assembly upward.

      添加评论

结论

To reassemble your device, follow these instructions in reverse order.

取消:我没有完成这个指南。

6等其他人完成本指南。

团队

Cal Poly, Team 34-18, Maness Spring 2016 Cal Poly, Team 34-18, Maness Spring 2016 的会员

CPSU-MANESS-S16S34G18

4 名成员

创作了5篇指南

4指南评论

I’m waiting for the instructions regarding how to remove the old screen and insert the new - it seems to be missing

John Walker - 回复 分享

It seems you just have to buy a replacement for that whole front housing, including the screen assembly

Oliver Nichol - 回复 分享

Still waiting to see how the screen is remove

Frank - 回复 分享

he cambiado la bateria y he partido el presor negro del conector de LCD y no me me funciona, se puede comprar esa pieza negra?

Diego Mera - 回复 分享

添加评论

浏览统计数据:

过去 24 小时: 2

过去 7 天: 11

过去 30 天: 54

总计 9,172