跳转到主内容
加入维修社区 - 创建账户

Motorola Cliq Audio Jack Replacement

你所需要的

    1. Motorola Cliq Audio Jack Replacement, Battery: 步骤 1 中的图像 1,2 Motorola Cliq Audio Jack Replacement, Battery: 步骤 1 中的图像 2,2
      • Turning over your phone, place two fingers on the back cover and apply pressure away from the camera to slide the back cover off.

      询问修复机器人

      添加评论

    2. Motorola Cliq Audio Jack Replacement: 步骤 2 中的图像 1,2 Motorola Cliq Audio Jack Replacement: 步骤 2 中的图像 2,2
      • Pinch the battery pull tab located below the camera, pull it upwards, and remove the battery.

      • The pull tab may be tucked under the battery.

      询问修复机器人

      添加评论

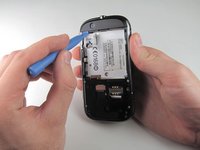
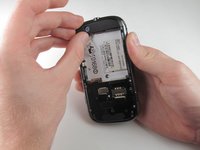
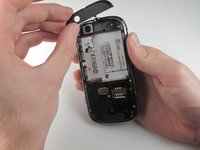
    1. Motorola Cliq Audio Jack Replacement, Rear Casing: 步骤 3 中的图像 1,3 Motorola Cliq Audio Jack Replacement, Rear Casing: 步骤 3 中的图像 2,3 Motorola Cliq Audio Jack Replacement, Rear Casing: 步骤 3 中的图像 3,3
      • Wedge a plastic opening tool behind the panel covering the camera, pry it up, and remove it using your fingers.

      • The panel is held down by adhesive and may require you to wedge and pry the right side of the panel before it can be easily removed.

      询问修复机器人

      添加评论

    2. Motorola Cliq Audio Jack Replacement: 步骤 4 中的图像 1,1
      • Remove the six 4.0 mm T4 Torx screws which line the edge of the back of the phone.

      询问修复机器人

      添加评论

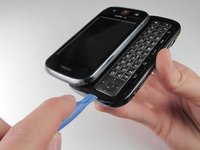
    3. Motorola Cliq Audio Jack Replacement: 步骤 5 中的图像 1,3 Motorola Cliq Audio Jack Replacement: 步骤 5 中的图像 2,3 Motorola Cliq Audio Jack Replacement: 步骤 5 中的图像 3,3
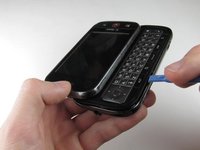
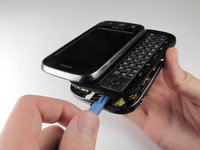
      • Turn the phone over and slide out the keyboard.

      • Wedge a plastic opening tool where the keyboard meets the back casing of the phone next to the headphone jack.

      • Carefully pry open the back casing along the keyboard's edge until at least two corners of the back casing are separated from the keyboard.

      • Do not fully separate the rear panel from the phone. A cable is connecting the two parts together.

      询问修复机器人

      添加评论

    4. Motorola Cliq Audio Jack Replacement: 步骤 6 中的图像 1,1
      • Carefully separate the back casing from the rest of the phone.

      询问修复机器人

      添加评论

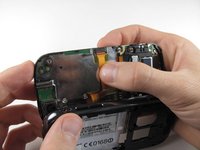
    5. Motorola Cliq Audio Jack Replacement: 步骤 7 中的图像 1,2 Motorola Cliq Audio Jack Replacement: 步骤 7 中的图像 2,2
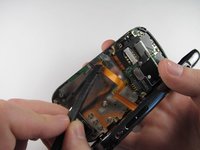
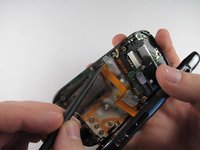
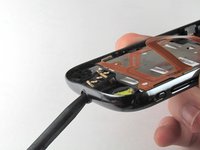
      • Gently pry ZIF connector upwards using the flat end of a spudger tool.

      • The ZIF connector is glued down. Be gentle! Ripping it off or breaking it will make your phone inoperable.

      • You may need adhesive to keep your power cable in place when reassembling your phone.

      询问修复机器人

      添加评论

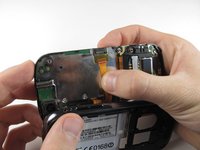
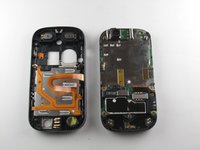
    6. Motorola Cliq Audio Jack Replacement: 步骤 8 中的图像 1,3 Motorola Cliq Audio Jack Replacement: 步骤 8 中的图像 2,3 Motorola Cliq Audio Jack Replacement: 步骤 8 中的图像 3,3
      • Press your thumb against the orange power cable and pull it down slowly to disconnect the power cable from the bottom of the keyboard.

      • The rear casing and the rest of the phone should now be completely separated.

      询问修复机器人

      添加评论

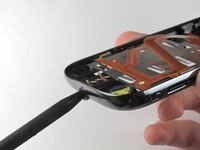
    1. Motorola Cliq Audio Jack Replacement, Audio Jack: 步骤 9 中的图像 1,2 Motorola Cliq Audio Jack Replacement, Audio Jack: 步骤 9 中的图像 2,2
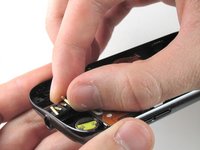
      • Gently insert the plastic spudger into the audio jack and pry upwards.

      询问修复机器人

      添加评论

    2. Motorola Cliq Audio Jack Replacement: 步骤 10 中的图像 1,2 Motorola Cliq Audio Jack Replacement: 步骤 10 中的图像 2,2
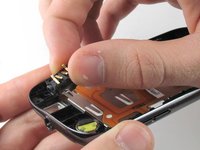
      • Using your fingers, lift the audio jack out of its bracket.

      询问修复机器人

      添加评论

结论

To reassemble your device, follow these instructions in reverse order.

取消:我没有完成这个指南。

Tony Tran

于04/14/13注册

84 声望

创作了8篇指南

团队

Cal Poly, Team 10-42, Amido Spring 2013 Cal Poly, Team 10-42, Amido Spring 2013 的会员

CPSU-AMIDO-S13S10G42

4 名成员

创作了70篇指南

0指南评论

添加评论

浏览统计数据:

过去 24 小时: 1

过去 7 天: 6

过去 30 天: 28

总计 888