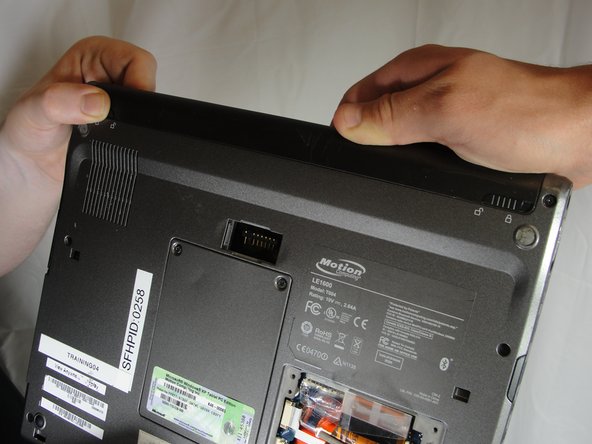
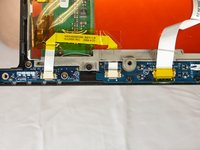
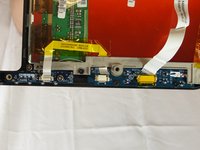
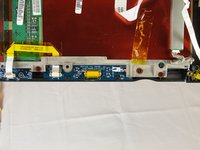
跳转到主内容

Motion Computing LE1600 Button Assembly Replacement

你所需要的

  1. Motion Computing LE1600 Button Assembly Replacement, Battery: 步骤 1 中的图像 1,1
    • Turn the device so the screen is facing down.

  2. Motion Computing LE1600 Button Assembly Replacement: 步骤 2 中的图像 1,2 Motion Computing LE1600 Button Assembly Replacement: 步骤 2 中的图像 2,2
    • Slide the battery lock switch next to the power slider to the unlocked position.

  3. Motion Computing LE1600 Button Assembly Replacement: 步骤 3 中的图像 1,3 Motion Computing LE1600 Button Assembly Replacement: 步骤 3 中的图像 2,3 Motion Computing LE1600 Button Assembly Replacement: 步骤 3 中的图像 3,3
    • Slide and hold the switch by the fan vent to the unlocked position. Firmly grasp the battery and pull away from tablet.

    • When replacing the battery, place the end near the fan vent in first. Make sure to keep the other switch in the unlocked position while pushing the battery into place.

  4. Motion Computing LE1600 Button Assembly Replacement, Button Assembly: 步骤 4 中的图像 1,1
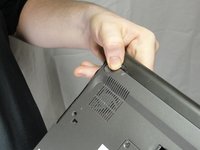
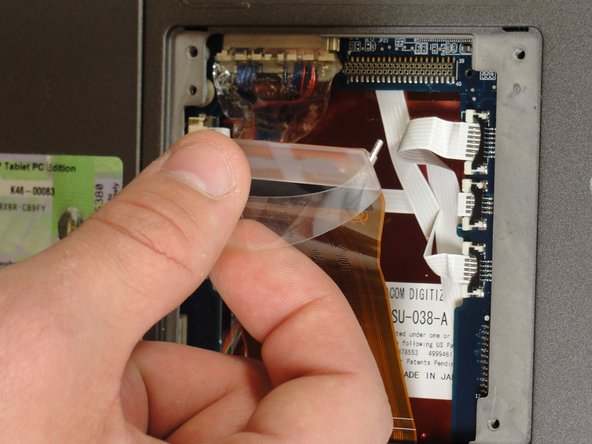
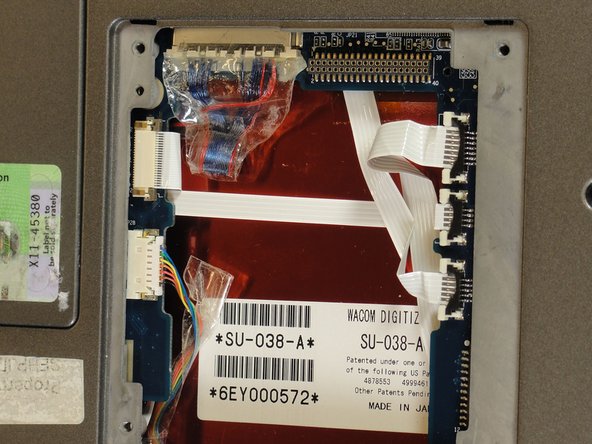
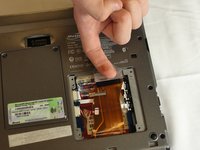
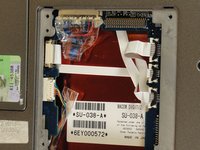
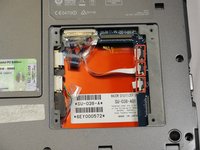
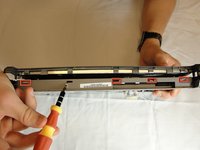
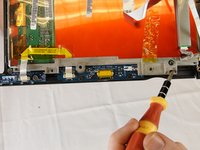
    • Unscrew hard drive panel using a Phillips head #1 screwdriver.

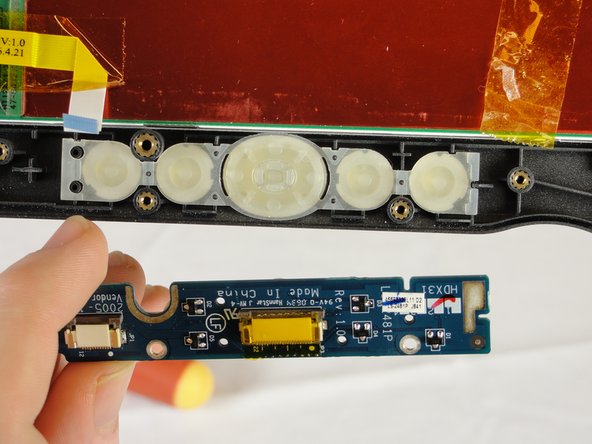
    • (Our device was not given to us with a hard drive or a hard drive panel)

  5. Motion Computing LE1600 Button Assembly Replacement: 步骤 5 中的图像 1,3 Motion Computing LE1600 Button Assembly Replacement: 步骤 5 中的图像 2,3 Motion Computing LE1600 Button Assembly Replacement: 步骤 5 中的图像 3,3
    • Pull clear plastic tab to detach hard drive from tablet.

  6. Motion Computing LE1600 Button Assembly Replacement: 步骤 6 中的图像 1,2 Motion Computing LE1600 Button Assembly Replacement: 步骤 6 中的图像 2,2
    • To disconnect the three white ribbon cables on the side closest to the hard drive connector, pull the white plastic tabs.

  7. Motion Computing LE1600 Button Assembly Replacement: 步骤 7 中的图像 1,1
    • Pull the brown tabs to disconnect the white ribbon cable on the other side.

  8. Motion Computing LE1600 Button Assembly Replacement: 步骤 8 中的图像 1,2 Motion Computing LE1600 Button Assembly Replacement: 步骤 8 中的图像 2,2
    • Caution: do not pull on the wires, instead pull from the plastic connectors.

    • To disconnect the remaining ribbon cables, pull the plastic connectors away from their connections.

  9. Motion Computing LE1600 Button Assembly Replacement: 步骤 9 中的图像 1,1
    • With a Phillips #1 screwdriver, Unscrew the nine 10mm screws holding the case together.

  10. Motion Computing LE1600 Button Assembly Replacement: 步骤 10 中的图像 1,2 Motion Computing LE1600 Button Assembly Replacement: 步骤 10 中的图像 2,2
    • Using a spudger, press in the five tabs on the side where the battery was.

    • This should separate the two halves of the device. Carefully set the side with the motherboard off to the side.

  11. Motion Computing LE1600 Button Assembly Replacement: 步骤 11 中的图像 1,2 Motion Computing LE1600 Button Assembly Replacement: 步骤 11 中的图像 2,2
    • Unplug the three ribbon cables by pulling on the brown tabs and unplugging cable.

  12. Motion Computing LE1600 Button Assembly Replacement: 步骤 12 中的图像 1,2 Motion Computing LE1600 Button Assembly Replacement: 步骤 12 中的图像 2,2
    • With a Phillips #1 screwdriver, unscrew the three 4mm screws holding the display bracket on the back side of the front buttons.

  13. Motion Computing LE1600 Button Assembly Replacement: 步骤 13 中的图像 1,2 Motion Computing LE1600 Button Assembly Replacement: 步骤 13 中的图像 2,2
    • Remove the button board and replace.

结论

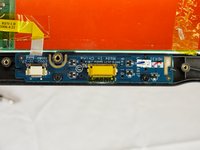
To reassemble your device, follow these instructions in reverse order.

Fred Wilby

于04/03/12注册

65 声望

撰写一个指南

团队

Cal Poly, Team 15-14, Forte Spring 2012 Cal Poly, Team 15-14, Forte Spring 2012 的会员

CPSU-FORTE-S12S15G14

5 名成员

创作了5篇指南

0条评论

添加评论

浏览统计数据:

过去 24 小时: 0

过去 7 天: 2

过去 30 天: 7

总计 1,902