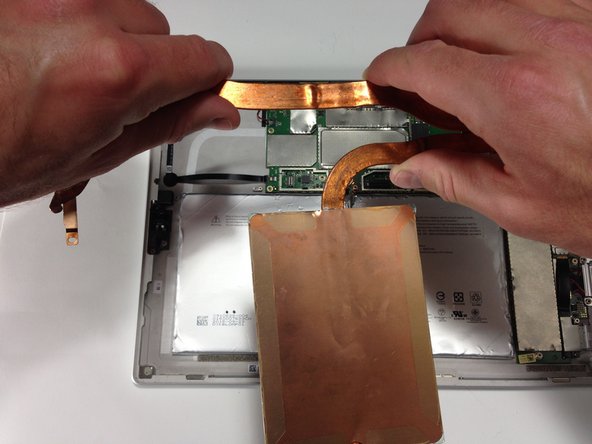
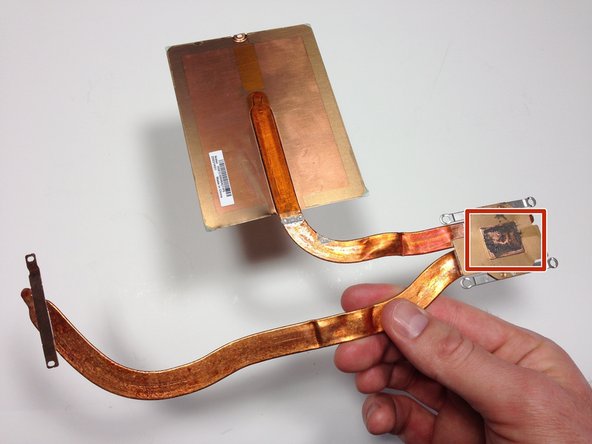
跳转到主内容

Microsoft Surface Pro 4 Heat Sink Replacement

你所需要的

  1. Microsoft Surface Pro 4 Heat Sink  Replacement, Heat Sink: 步骤 1 中的图像 1,3 Microsoft Surface Pro 4 Heat Sink  Replacement, Heat Sink: 步骤 1 中的图像 2,3 Microsoft Surface Pro 4 Heat Sink  Replacement, Heat Sink: 步骤 1 中的图像 3,3
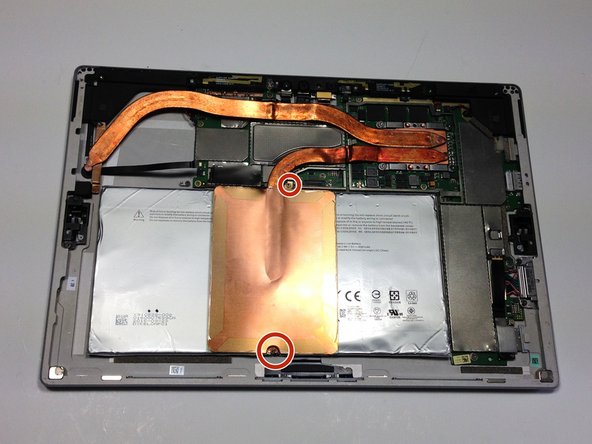
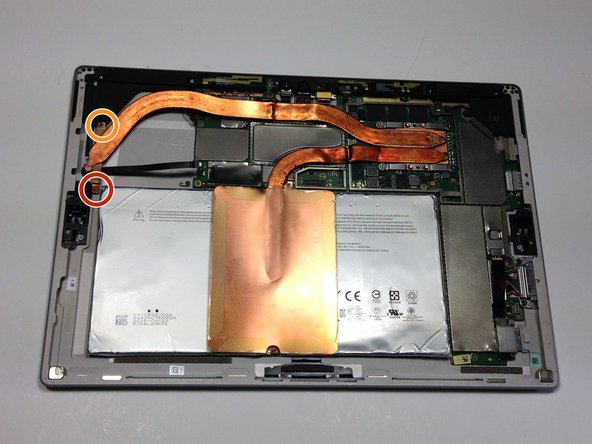
    • Both sections of the heat sink are connected to the motherboard via a panel which is covered by a metal casing.

    • Remove the casing by prying around the edges and then lifting the entire piece once it is loose.

  2. Microsoft Surface Pro 4 Heat Sink  Replacement: 步骤 2 中的图像 1,3 Microsoft Surface Pro 4 Heat Sink  Replacement: 步骤 2 中的图像 2,3 Microsoft Surface Pro 4 Heat Sink  Replacement: 步骤 2 中的图像 3,3
    • Remove the four 1.5mm Torx T5 screws holding the main body of the heat sink to the motherboard

  3. Microsoft Surface Pro 4 Heat Sink  Replacement: 步骤 3 中的图像 1,2 Microsoft Surface Pro 4 Heat Sink  Replacement: 步骤 3 中的图像 2,2
    • Remove the two 1.5mm Torx T3 screws holding the copper plate near the middle of the device.

  4. Microsoft Surface Pro 4 Heat Sink  Replacement: 步骤 4 中的图像 1,2 Microsoft Surface Pro 4 Heat Sink  Replacement: 步骤 4 中的图像 2,2
    • Remove the 1.5mm Torx T4 screw holding the heat sink tubing to the frame of the device.

    • Remove the 3.0mm Torx T4 screw.

  5. Microsoft Surface Pro 4 Heat Sink  Replacement: 步骤 5 中的图像 1,3 Microsoft Surface Pro 4 Heat Sink  Replacement: 步骤 5 中的图像 2,3 Microsoft Surface Pro 4 Heat Sink  Replacement: 步骤 5 中的图像 3,3
    • You can now remove entire heat sink by lifting it out with your hands.

    • Be sure to replace the thermal paste when installing the heat sink.

结论

To reassemble your device, follow these instructions in reverse order.

10等其他人完成本指南。

Andrew Prater

于02/01/16注册

5,734 声望

创作了4篇指南

团队

Metro State, Team 1-3, Carpenter Spring 2016 Metro State, Team 1-3, Carpenter Spring 2016 的会员

MSU-CARPENTER-S16S1G3

2 名成员

创作了12篇指南

0条评论

添加评论

浏览统计数据:

过去 24 小时: 11

过去 7 天: 55

过去 30 天: 227

总计 19,082