简介
If your camera seems broken, and you're sure that it is not a software problem, then you may need to replace the whole unit. Luckily, there is no heavy-duty work involved. Follow this guide to learn how to replace your Meizu MX3's camera by removing some screws and cables.
你所需要的
-
-
-
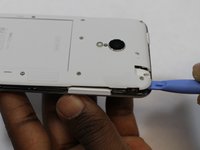
Insert the plastic opening tool in between the charging port and the back case of the device. Slowly move the tool to the left of the until you come the top by the power button.
-
Using a paper clip or pointed edge spudger push in the pin located in the bottom right had corner of the back of the phone.
 询问修复机器人
-
-
-
Using one of the small Phillips screwdriver bits provided unscrew the 11 screws present on the protective plastic plate under the device case.
-
-
-
-
After the 11 screws are loosened use the plastic opening tool and gently pry the protective plate from the back of the device.
-
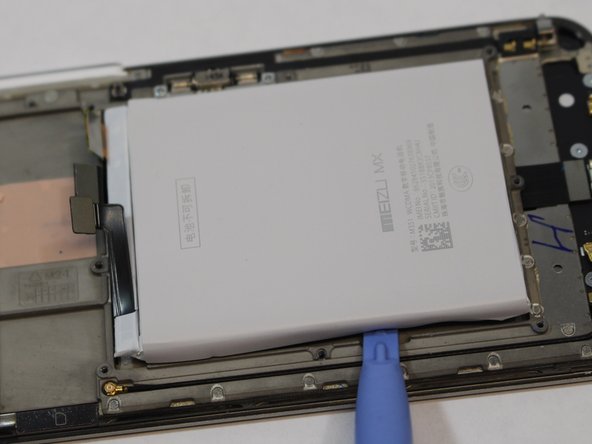
Once the plate is off, use the same tool to gently remove the 3 ribbon cables located directly above the battery.
-
-
在这个步骤中使用的工具:Tweezers$4.99
-
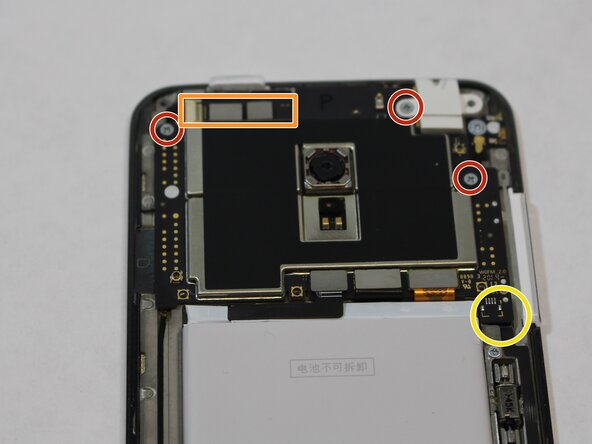
Remove the screws in the three red circles.
-
Two of the three ribbon cables in the orange box will need to be removed like those above the battery. Use the pointed edge spudger to pull the third cable out to the left.
-
Insert the plastic opening tool on top the ribbon cable but below the circuit board in the yellow circle, and pry that ribbon cable free. Remove the headphone jack as see in the picture.
-
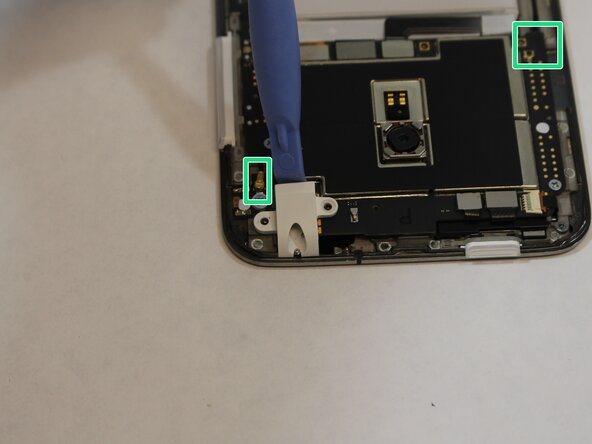
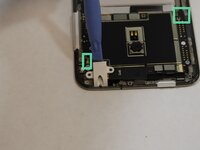
Use tweezers to disconnect the wire connector in the green box. As seen in the picture gentle insert the plastic opening tool and unhook that cable and begin to lift the circuit board.
-
-
-
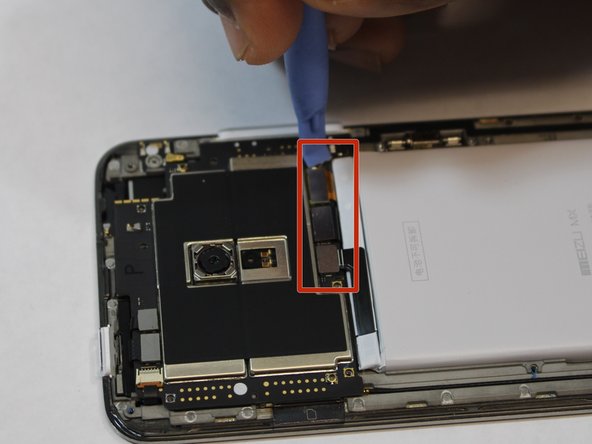
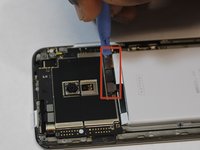
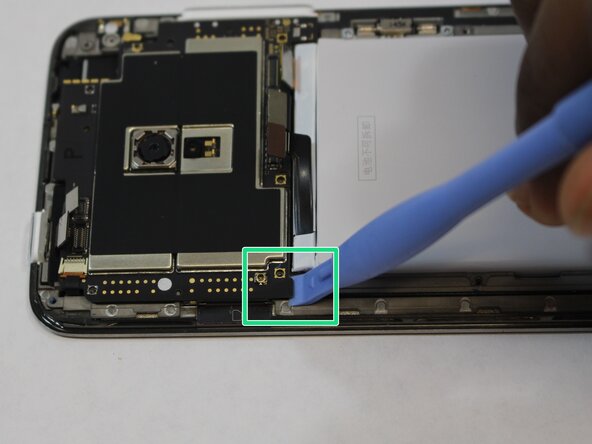
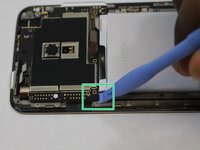
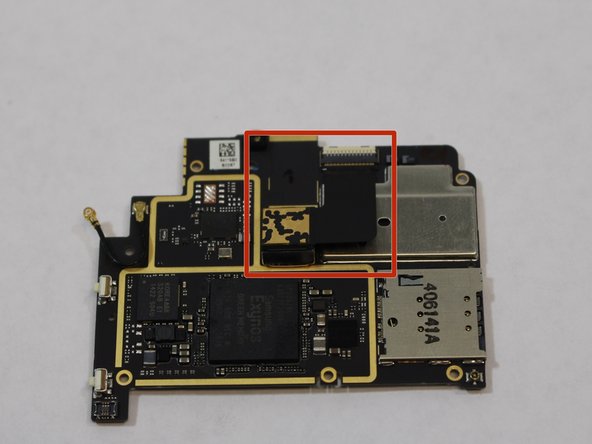
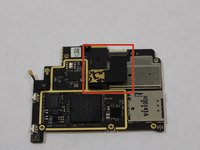
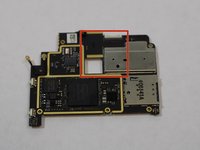
Use the pointed edge spudger, remove the cable in the box by prying the left side and right side of the cable repeatedly. Then remove the camera.
-
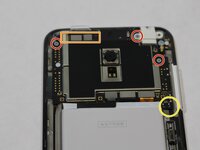
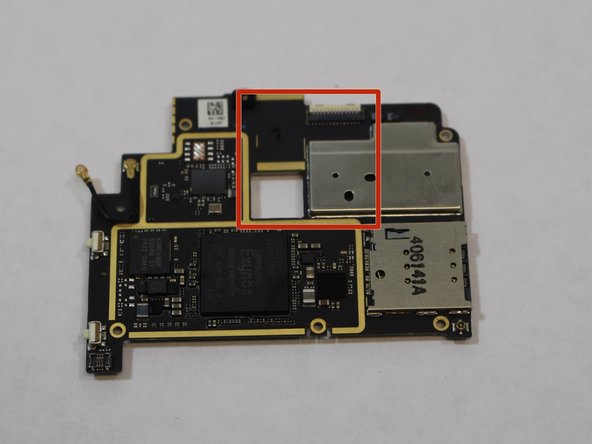
Once the camera is removed, the circuit board should look like the board in the last picture.
-
-


To reassemble your device, follow these instructions in reverse order.
另外一个人完成了本指南。
团队

USF Tampa, Team 15-2, Remmell Fall 2014 USF Tampa, Team 15-2, Remmell Fall 2014 的会员
USFT-REMMELL-F14S15G2
4 名成员
创作了45篇指南