简介
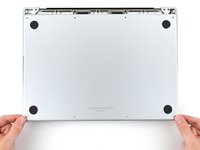
本指南可以辅助你更换 MacBook Pro 16" 2021 的一个或两个散热风扇。
与其他同类维修不同,更换该款 MacBook Pro 的风扇时,你必须先拆下逻辑板(主板)。
为保障你的安全,拆机前请将电池电量放电至 25% 以下。 此举可降低维修过程中电池意外受损引发起火的风险。若你的电池已经出现鼓包 请采取适当的措施。
你所需要的
-
-
-
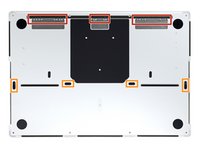
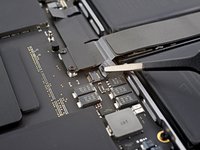
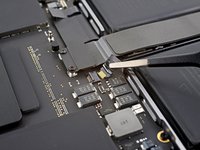
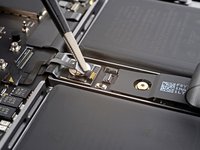
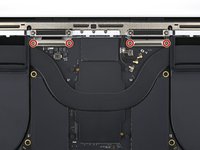
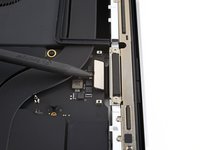
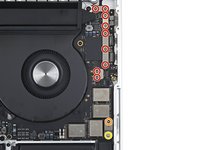
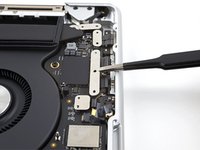
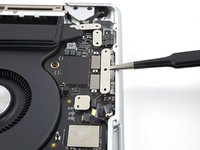
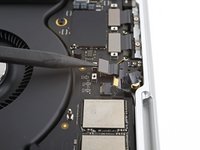
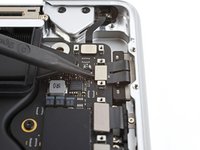
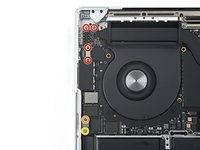
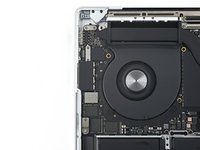
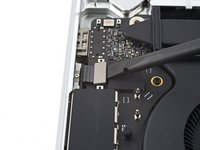
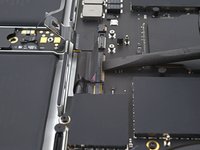
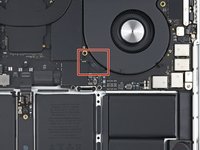
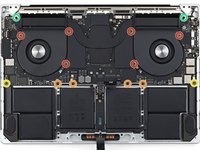
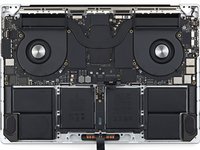
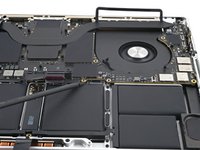
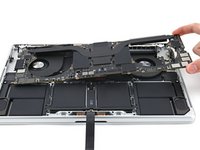
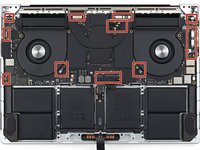
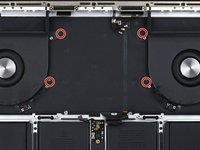
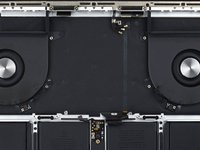
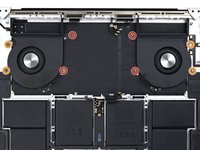
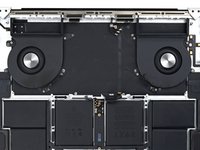
使用 T5 Torx 螺丝刀卸下固定主板与机架的十颗螺丝。
-
六颗 3.8 毫米螺丝
-
四颗 4.6 毫米螺丝
-
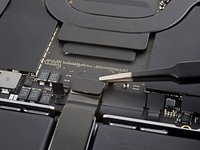
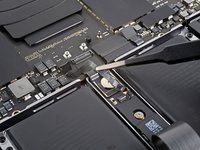
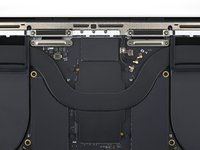
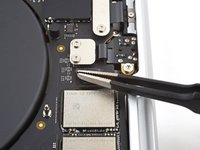
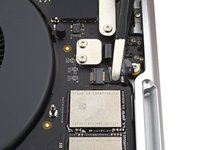
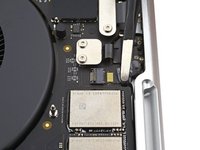
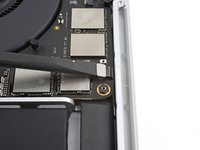
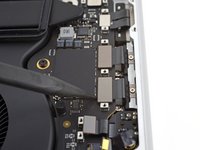
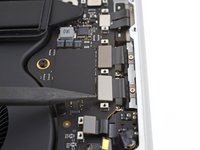
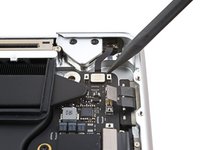
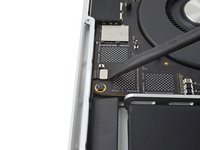
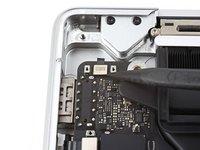
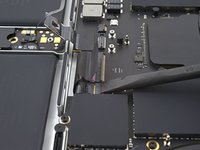
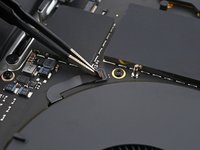
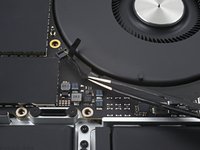
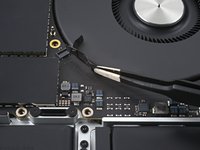
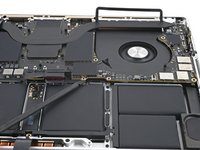
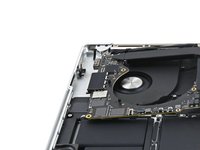
使用 4 毫米内六角螺母套筒卸下固定主板与机架的两颗 6 毫米螺丝。
-
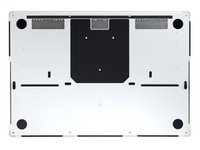
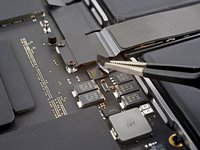
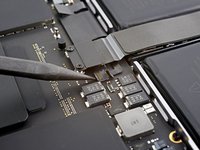
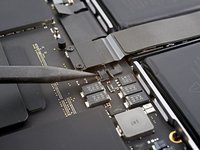
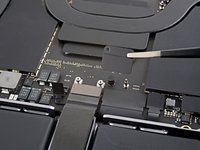
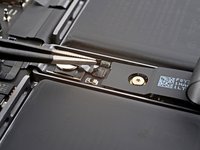
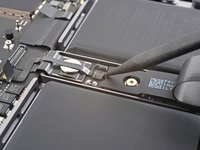
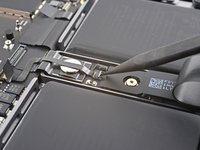
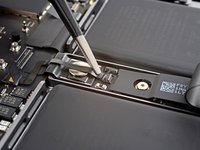
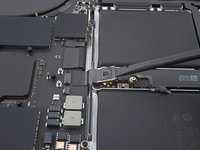
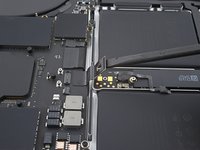
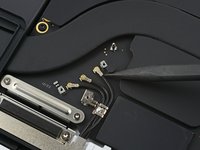
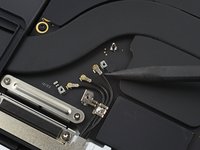
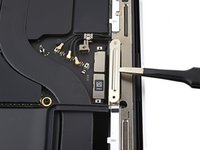
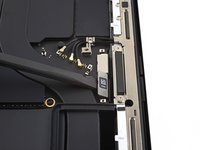
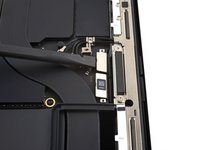
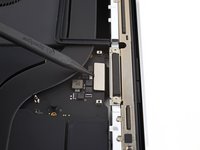
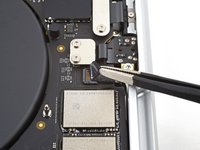
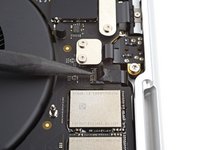
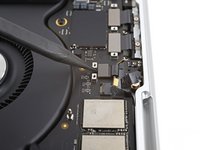
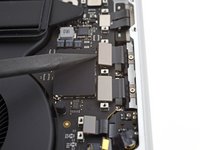
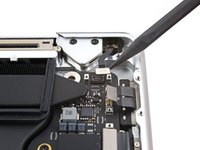
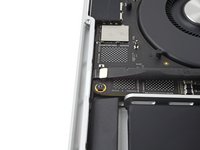
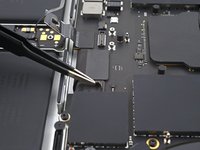
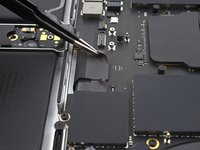
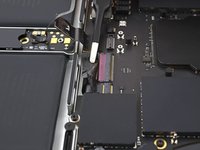
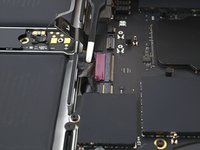
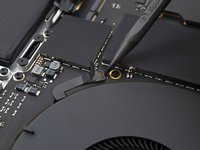
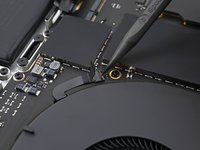
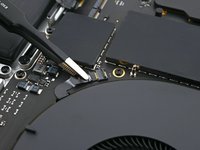
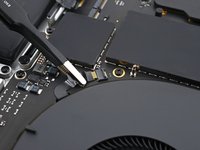
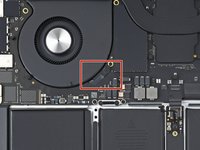
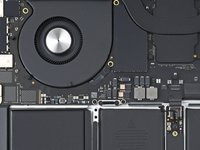
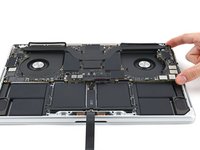
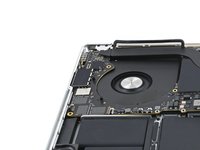
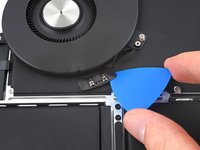
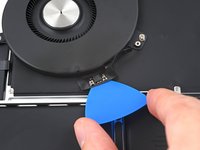
使用 T6 Torx 螺丝刀卸下固定散热器与主板和机架的两颗 6 毫米螺丝。
-


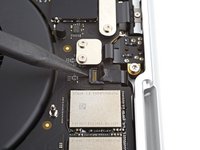


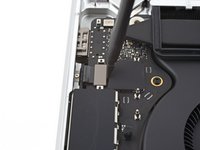


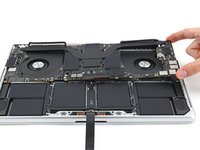


设备组装时,请按照本指南的步骤反向操作。
请将新的替换配件与原装配件进行比对 —— 安装前,你可能需要将原装配件上剩余的组件转移至新配件,或撕掉新配件表面的背胶。
维修未达预期?可尝试 [ basic troubleshooting, 或前往社区 MacBook Pro 16" 2021 Answers community 寻求帮助。
3等其他人完成本指南。


4指南评论
Hello!
While doing this process I accidentally broke the locking flap of the fan (step 46), and after turning on, the fan is not working. Apple diagnostics gives ppf004, ppf001, ppf003.
Is there a way to replace the locking flap?
Hi there.
There is a way to replace the locking flap, but it's rather hard. Here's a guide on how to do the procedure, and here's some extra info and possible alternatives. Let us know how it goes! Good luck!
Do you need to put the screw covers back on after replacing the fan or is it ok if you forgot to put them on ? Sorry for the basic question I just want to make sure .
Hello! While attempting to screw a 2mm T3 screw back after completing my repair, it snapped in half. The tip is stick inside the thread and the head fell out, which means the cable cover is loose (see steps 37 and 38). Is there any way I can remove this screw? The hole is so small I can't even get a thin-tipped tweezer in there. Also, once removed, where can I get a replacement screw from? Thank you.