简介
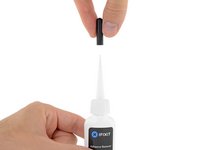
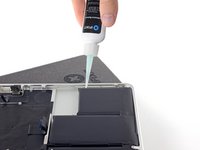
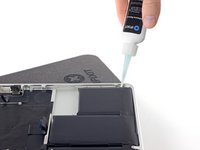
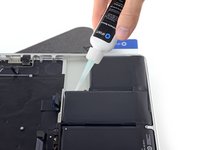
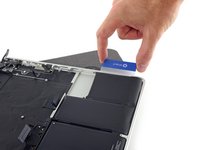
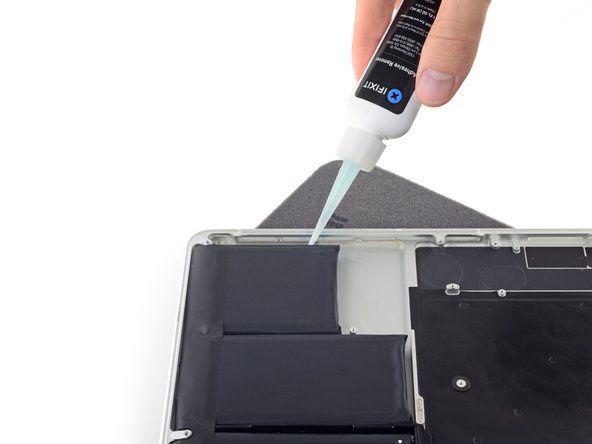
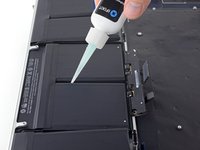
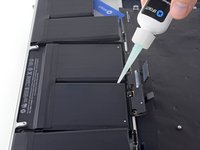
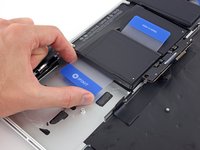
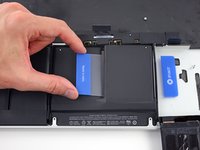
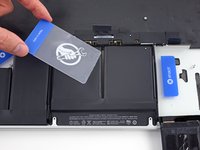
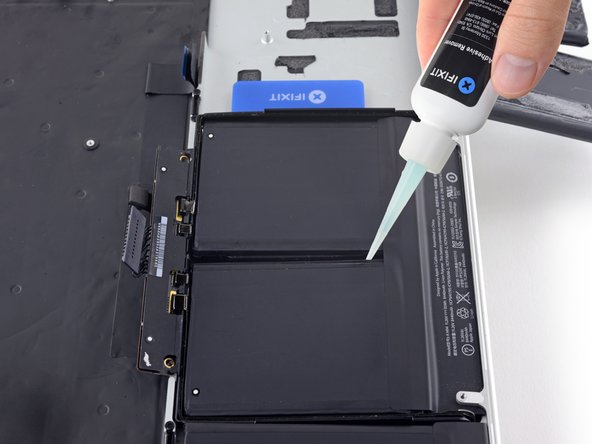
在iFixit电池更换工具包的帮助下,根据这份教程来安全的将内置电池从MacBook Pro移除。工具包中的粘胶去除剂能溶解固定电池的粘胶,使你的拆解过程更加容易。
iFixit 粘胶去除剂高度易燃!请在通风良好的环境下执行该步骤。不要在执行该步骤时抽烟或在靠近有明火的地方执行该步骤。
为了你的安全,请在开始该步骤前耗尽MacBook Pro的电池!充满电的锂电池会导致危险。如有穿孔,可能会导致火灾。
如果电池鼓包,
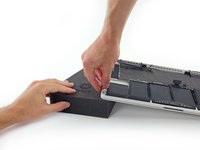
注意:用于溶解电池粘合剂的溶液接触到扬声器的塑料外壳会损坏扬声器。这份教程会引导你在更换电池前拆下扬声器。
如果你还在使用旧式的带有分开的瓶子和注射器的iFixit粘胶去除剂(已停售)点击这里查看修改过的教程。
你所需要的
-
-
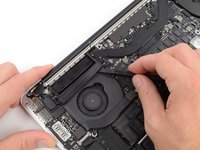
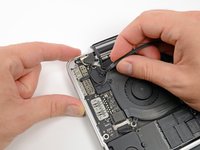
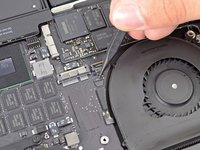
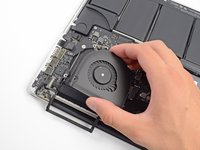
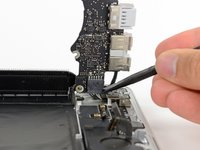
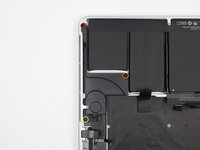
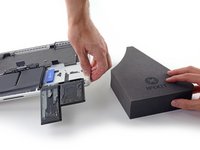
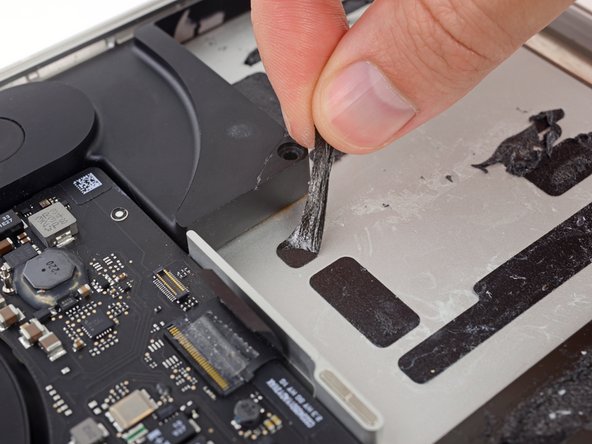
使用撬棒扁平的一端,将 I/O 板连接器从主板上的插座中直接撬出。
-
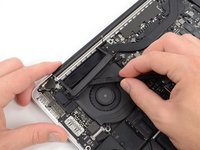
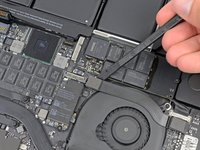
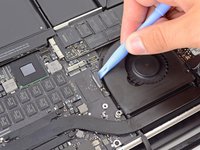
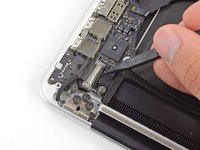
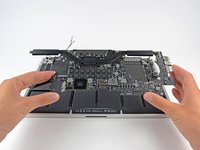
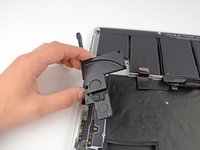
以类似的方式,从 I/O 板上的插槽中卸下 I/O 板排线。
-
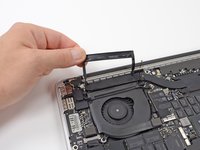
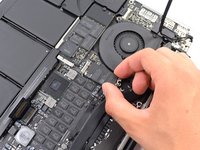
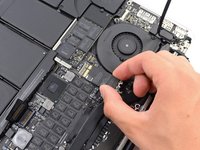
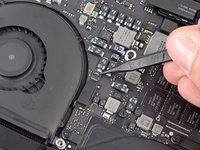
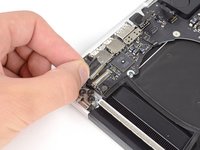
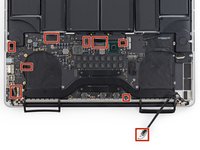
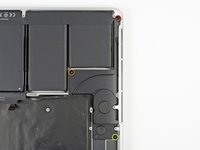
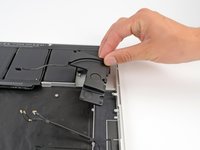
从 MacBook Pro 上拔下 I/O 板电缆。
-
-


遵照说明按倒过来的步骤来组装设备
遵照说明按倒过来的步骤来组装设备
340等其他人完成本指南。


158条评论
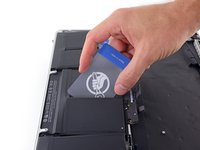
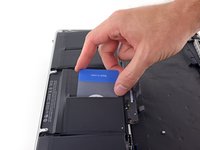
I just replaced my battery successfully using a modification of this method: follow step 1-4, then 34, then remove the battery pack using thread (or dental floss as in my case), as shown in this video: https://www.youtube.com/watch?v=fupkPz55... . If you use dental floss, make sure you at least quadruple it to have enough strength, and tie around two screwdrivers at the ends, otherwise it can be pretty painful. Finally, use a very small amount of the adhesive remover liquid to help fully remove the adhesive strips (making sure it doesn't go anywhere else), and install the new battery (step 54)!
Yeah, this method works great. Just wear gloves or your fingers might die.
Thank you for this recommendation!
Yeah, I did the same thing, steps 1-4, then 34, then removed the battery with a mid-weight nylon cord. The nylon cord has just enough slip so that you do not need adhesive remover, it glides through the glue with a firm pull. I clamped a 1/2 scrap of wood to my workbench, placed the laptop behind the clamped wood as a stopper, which gave me a sturdy platform to pull against (it’s not quite as easy if you try to hold it down yourself, or even with another person). Just be sure to pull straight back and keep the cord low.
I think the steps in this post are insane, and you risk damage to some vital parts that you shouldn’t even be touching just to remove the battery. But YMMV.
Late to the party, but putting the laptop at an angle, using 99%iso alcohol dissolves the adhesive really well. As well as a plastic pry bar from one of my tablet kits. Now, i just need to wait until the new battery from here comes so i can swap out the explodium batteries.
SOMEONE BUY THIS MAN A BEER! Wow. That hack worked perfectly. I used a strand from some paracord I had lying around and it took me about 5 min to do this whole thing! So… thank you my man.