当前版本的文档还未经巡查,您可以查看最新的已查核版本。
简介
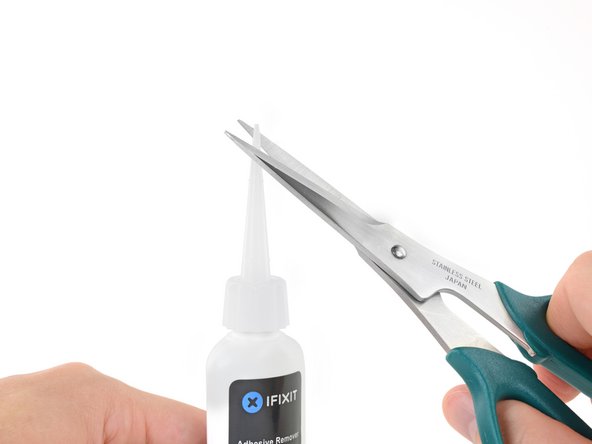
在iFixit电池更换套件的帮助下,按照此指南从您的13英寸MacBook Pro(2012年末的Retina屏幕版本)中安全地移除被胶水固定的电池。此套件中的粘合剂移除溶剂可以很容易地移除保护您电池的胶水。电池由六个清晰的单元组成,其中的四个粘在顶板上。
iFixit粘合剂移除溶剂高度易燃。操作时请置于通风环境中。禁止吸烟或者在明火附近操作。
为了您的安全,请将您MacBook Pro的电池的电量用尽后再进行操作。充满的锂离子电池可能由于穿孔导致危险和不可控的火灾。
注意:被用于溶解电池粘胶的粘合剂移除溶剂可能毁坏塑料,比如说您的MacBook Pro的塑料扬声器。所以在涂抹粘合剂移除溶剂时请务必小心。
你所需要的
-
-
将固定在顶盖和背盖的螺丝卸除:
-
两个 2.3mm的P5五角螺丝
-
八个3.0mm的P5五角螺丝
-
-


如果需要重组你的设备,按以上操作反向进行即可。感谢你查阅本指南。
如果需要重组你的设备,按以上操作反向进行即可。感谢你查阅本指南。
246等其他人完成本指南。


63条评论
There is a much easier way to get the batteries out. If you look at the 2 cells on either side (left and right), you will notice that they put them in an area that is slightly lowered. This is by design. To remove the batteries, pour a small amount of 90% isopropyl alcohol on both sides and let it sit for about 30 to 45 mins. It will dissolve the glue and you can gently then lift out the batteries without any prying. After you remove the batteries, simply wipe up any remaining alcohol, let it dry, buff it clean, and insert the new battery. Considerably easier and safer than potentially damaging the battery packs. If you are putting the same battery pack back, just use double sided tape. IMPORTANT NOTE: ALWAYS BE SAFE USING ISOPROPYL ALCOHOL AROUND FLAMES OR ANYTHING THAT MIGHT MAKE IT BURN. ALSO, NEVER ATTEMPT TO PRY THE BATTERIES IN ANY WAY IF ANY ALCOHOL IS STILL POTENTIALLY PRESENT!! WAIT UNTIL IT IS EVAPORATED!!
jimhoffa69 - 回复
Thank You for the hint with the alcohol, but where can I buy a spare battery?
Uli -
I poured isopropanol into those lowered areas but unfortunately it soaked up along the battery leads and got all the way under the keyboard and elsewhere where it shouldn’t. It made some other plastic parts of the computer swell which isn’t good so I would not recommend pouring any solvent in there. Add a very small amount of solvent (0.25 ml) just enough to soften the adhesive, and let it sit for about 30 min and then pry carefully and add a little more, making sure it doesn’t get soaked up by the battery leads.
Another important thing: when you buy a battery, make sure it’s new, up to 1 year from date of manufacture because they have a limited shelf life and get permanently damaged when sitting uncharged.
Prying the battery out is HARD! and VERY dangerous. I tried using a flat head screwdriver, put it under the battery and twisting the thing out. DO NOT DO THAT!! as it can punch a hole in the battery if you twist it too hard. I had a small smoke coming off by doing that and was lucky enough it didn't burn. Using isopropyl would be an ideal solution. But to bad I can't find that around here :(.
[DO THIS ON YOUR OWN RISK] What I ended up doing is using the screwdriver to gouge the underlying glue out as much as I can on the side (about 10%) and use fingers to pry it up. Good luck!
Perfect! not as difficult as it looked first, especially with the proper tools. To take the batteries out the alcohol (I used ethanol used for cleaning purposes) works like charm. I put a few ml in nearby the batteries, waited maybe 20min and was able to pry them out easily. Tried before without the alocohol and nothing moved. I ordered the battery on ebay for 70€ and it has the same numbers and text as the original it says apple japan as well. My old battery had more than a thousand cycles after 3 years and did not last vey long. Now the software shows 0 cycles and it is charging starting at 15% and will be fully charged in 2:45h. I think apple charges 249€ for the job here in Gernany. It took me about 1 hour to replace it (with waiting).