跳转到主内容

MacBook Pro 13" 2022 (M2) Display Assembly Replacement

你所需要的

  1. MacBook Pro 13" 2022 (M2) Display Assembly Replacement, Prepare your MacBook for disassembly: 步骤 1 中的图像 1,3 MacBook Pro 13" 2022 (M2) Display Assembly Replacement, Prepare your MacBook for disassembly: 步骤 1 中的图像 2,3 MacBook Pro 13" 2022 (M2) Display Assembly Replacement, Prepare your MacBook for disassembly: 步骤 1 中的图像 3,3
    • Allow your MacBook's battery to drain below 10% before starting this repair. A charged battery may catch fire if damaged during the repair.

    • Unplug all cables and fully shut down your MacBook.

    • Close the lid and flip your MacBook over. Keep the lid closed until you've physically disconnected the battery.

    • Opening the lid will power on your MacBook. If you're using macOS Big Sur v11.1 or earlier, disable this function using this guide.

  2. MacBook Pro 13" 2022 (M2) Display Assembly Replacement, Unfasten the lower case: 步骤 2 中的图像 1,1
    在这个步骤中使用的工具:
    FixMat
    $36.95
    购买
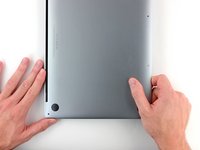
    • Use a P5 Pentalobe driver to remove the six screws securing the lower case:

    • Two 6.8 mm screws

    • Two 5.3 mm screws

    • Two 3.4 mm screws

    • Throughout this repair, keep track of each screw and make sure it goes back exactly where it came from.

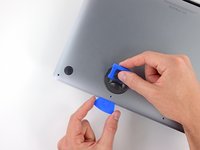
  3. MacBook Pro 13" 2022 (M2) Display Assembly Replacement, Separate the lower case: 步骤 3 中的图像 1,2 MacBook Pro 13" 2022 (M2) Display Assembly Replacement, Separate the lower case: 步骤 3 中的图像 2,2
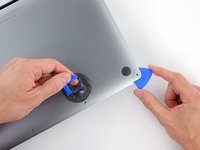
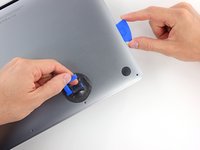
    • Apply a suction handle near the front edge of the lower case, between the screw holes.

    • Pull up on the suction handle to create a gap between the lower case and the frame.

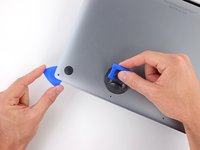
  4. MacBook Pro 13" 2022 (M2) Display Assembly Replacement, Release the left clips: 步骤 4 中的图像 1,3 MacBook Pro 13" 2022 (M2) Display Assembly Replacement, Release the left clips: 步骤 4 中的图像 2,3 MacBook Pro 13" 2022 (M2) Display Assembly Replacement, Release the left clips: 步骤 4 中的图像 3,3
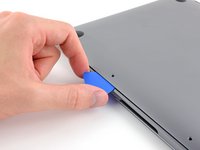
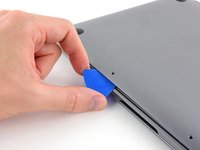
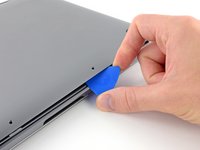
    • Insert an opening pick between the lower case and the frame.

    • Slide the pick around the left corner to release the first set of clips.

    • You'll hear and feel a pop when each clip releases.

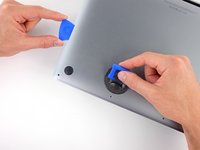
  5. MacBook Pro 13" 2022 (M2) Display Assembly Replacement, Release the right clips: 步骤 5 中的图像 1,3 MacBook Pro 13" 2022 (M2) Display Assembly Replacement, Release the right clips: 步骤 5 中的图像 2,3 MacBook Pro 13" 2022 (M2) Display Assembly Replacement, Release the right clips: 步骤 5 中的图像 3,3
    • Slide your opening pick around the right corner to release the second set of clips securing the lower case.

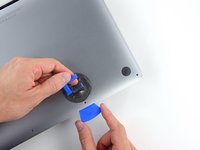
  6. MacBook Pro 13" 2022 (M2) Display Assembly Replacement, Pry the lower case up: 步骤 6 中的图像 1,3 MacBook Pro 13" 2022 (M2) Display Assembly Replacement, Pry the lower case up: 步骤 6 中的图像 2,3 MacBook Pro 13" 2022 (M2) Display Assembly Replacement, Pry the lower case up: 步骤 6 中的图像 3,3
    • Insert your opening pick between the lower case and the frame near the middle left screw hole.

    • Firmly twist the pick until the clip releases.

    • Repeat this procedure for the clip near the middle right screw hole.

  7. MacBook Pro 13" 2022 (M2) Display Assembly Replacement, Release the remaining clips: 步骤 7 中的图像 1,3 MacBook Pro 13" 2022 (M2) Display Assembly Replacement, Release the remaining clips: 步骤 7 中的图像 2,3 MacBook Pro 13" 2022 (M2) Display Assembly Replacement, Release the remaining clips: 步骤 7 中的图像 3,3
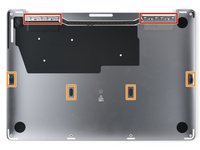
    • Firmly pull the lower case away from the screen hinges to release the last clips securing it to the frame.

    • This motion requires significant force. Don't pull the lower case up, as you may bend the clips.

    • If it feels stuck, pull one corner at a time.

  8. MacBook Pro 13" 2022 (M2) Display Assembly Replacement, Remove the lower case: 步骤 8 中的图像 1,2 MacBook Pro 13" 2022 (M2) Display Assembly Replacement, Remove the lower case: 步骤 8 中的图像 2,2
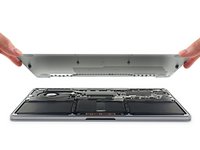
    • Remove the lower case.

    • To reinstall the lower case:

    • Set it in place and align the sliding clips near the display hinges. Press down and slide the lower case toward the hinges.

    • Once the lower case is secured near the hinges, press down firmly to engage the remaining four clips.

    • You'll hear and feel a pop when each clip engages.

  9. MacBook Pro 13" 2022 (M2) Display Assembly Replacement, Remove the battery board cover: 步骤 9 中的图像 1,2 MacBook Pro 13" 2022 (M2) Display Assembly Replacement, Remove the battery board cover: 步骤 9 中的图像 2,2
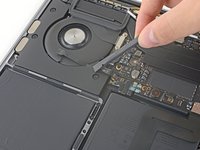
    • Use blunt noise tweezers or your fingers to peel and remove the cover from the battery board, just above the middle battery cell.

  10. MacBook Pro 13" 2022 (M2) Display Assembly Replacement, Disconnect the battery data cable: 步骤 10 中的图像 1,2 MacBook Pro 13" 2022 (M2) Display Assembly Replacement, Disconnect the battery data cable: 步骤 10 中的图像 2,2
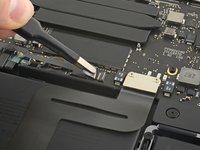
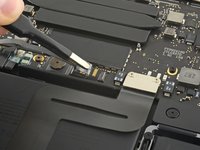
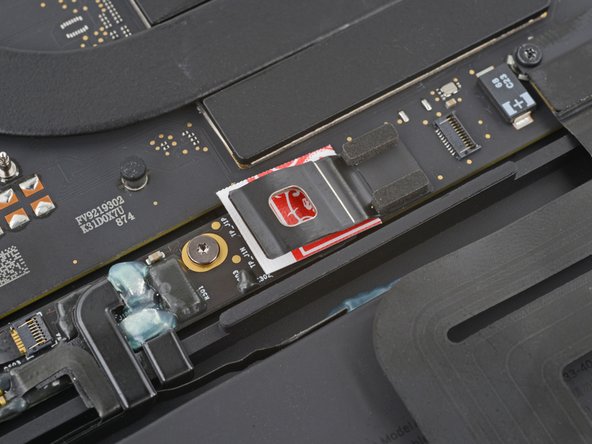
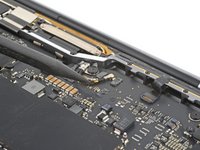
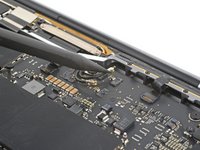
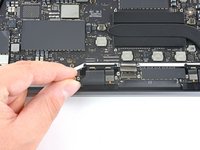
    • Use blunt nose tweezers to gently peel back the pull tab covering the battery data connector.

    • Don't remove or tear the pull tab, as it's attached to the head of the connector.

  11. MacBook Pro 13" 2022 (M2) Display Assembly Replacement: 步骤 11 中的图像 1,2 MacBook Pro 13" 2022 (M2) Display Assembly Replacement: 步骤 11 中的图像 2,2
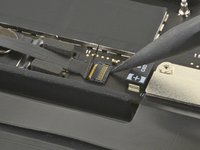
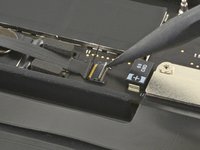
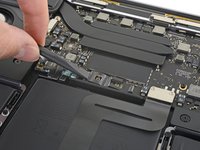
    • Use the point of a spudger to flip up the small locking tab securing the battery data connector.

    • Locking tabs on ZIF connectors are fragile—be gentle with your spudger.

  12. MacBook Pro 13" 2022 (M2) Display Assembly Replacement: 步骤 12 中的图像 1,3 MacBook Pro 13" 2022 (M2) Display Assembly Replacement: 步骤 12 中的图像 2,3 MacBook Pro 13" 2022 (M2) Display Assembly Replacement: 步骤 12 中的图像 3,3
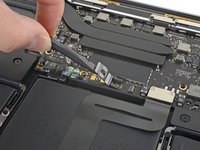
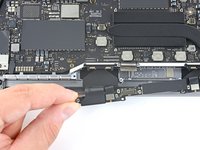
    • Use blunt nose tweezers or your fingers to grab the battery data cable pull tab and slide it straight out of its socket.

    • Move the cable to the left, out of the way of the battery board.

    • Don't strain the cable, as it's still attached to the battery board.

  13. MacBook Pro 13" 2022 (M2) Display Assembly Replacement, Unfasten the battery connector: 步骤 13 中的图像 1,1
    • Use a T5 Torx driver to remove the 3.7 mm screw securing the battery connector.

  14. MacBook Pro 13" 2022 (M2) Display Assembly Replacement, Disconnect the battery: 步骤 14 中的图像 1,3 MacBook Pro 13" 2022 (M2) Display Assembly Replacement, Disconnect the battery: 步骤 14 中的图像 2,3 MacBook Pro 13" 2022 (M2) Display Assembly Replacement, Disconnect the battery: 步骤 14 中的图像 3,3
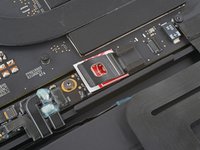
    • Use the flat end of your spudger to slightly lift the battery connector away from the battery board.

    • Lifting the connector too high will break it. Angle it enough so it won't accidentally contact the battery board during repair.

    • Optionally, you may insert a barrier, such as a piece of a playing card, between the connector and the board during the repair.

  15. MacBook Pro 13" 2022 (M2) Display Assembly Replacement, Remove the display cable bracket: 步骤 15 中的图像 1,2 MacBook Pro 13" 2022 (M2) Display Assembly Replacement, Remove the display cable bracket: 步骤 15 中的图像 2,2
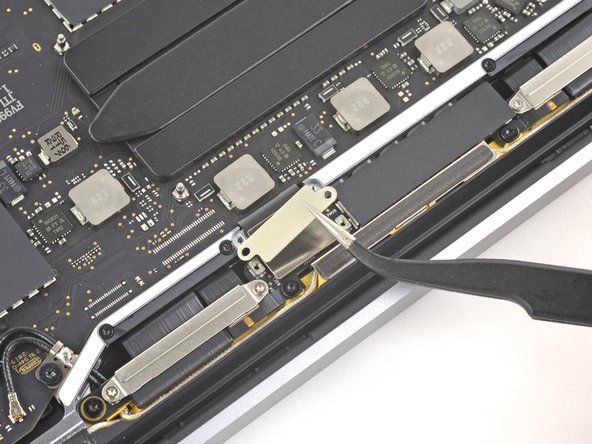
    • Use a T3 Torx driver to remove the two 3.1 mm screws securing the display cable retaining bracket.

    • Remove the bracket.

  16. MacBook Pro 13" 2022 (M2) Display Assembly Replacement, Remove the display cable cover: 步骤 16 中的图像 1,2 MacBook Pro 13" 2022 (M2) Display Assembly Replacement, Remove the display cable cover: 步骤 16 中的图像 2,2
    • Use your T3 Torx driver to remove the two 1.7 mm screws securing the display cable cover.

    • Remove the cover.

  17. MacBook Pro 13" 2022 (M2) Display Assembly Replacement, Disconnect the display: 步骤 17 中的图像 1,2 MacBook Pro 13" 2022 (M2) Display Assembly Replacement, Disconnect the display: 步骤 17 中的图像 2,2
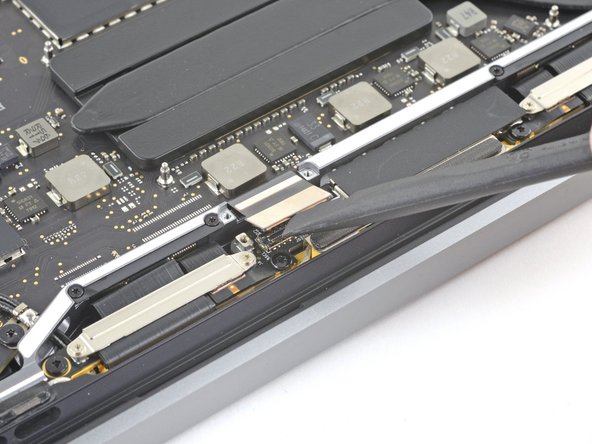
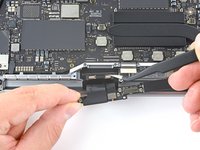
    • Use the flat end of your spudger to pry up and disconnect the display cable from the display board.

  18. MacBook Pro 13" 2022 (M2) Display Assembly Replacement, Unfasten the plastic covers: 步骤 18 中的图像 1,3 MacBook Pro 13" 2022 (M2) Display Assembly Replacement, Unfasten the plastic covers: 步骤 18 中的图像 2,3 MacBook Pro 13" 2022 (M2) Display Assembly Replacement, Unfasten the plastic covers: 步骤 18 中的图像 3,3
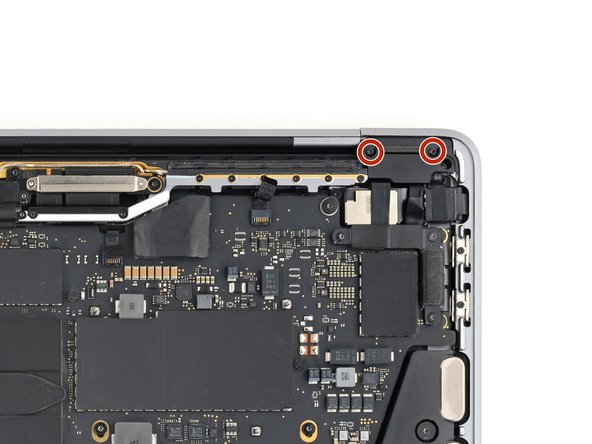
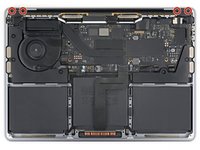
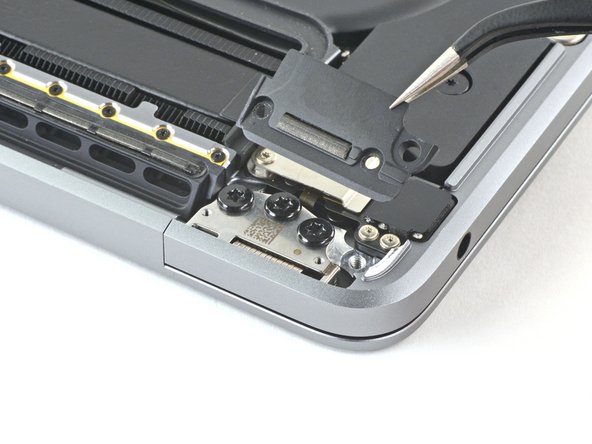
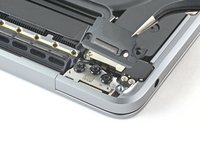
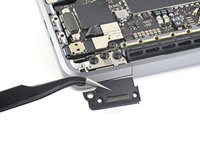
    • Use your T3 Torx driver to remove the four 3.3 mm screws securing the plastic covers to the screen hinges, one on each side.

  19. MacBook Pro 13" 2022 (M2) Display Assembly Replacement, Remove the plastic covers: 步骤 19 中的图像 1,3 MacBook Pro 13" 2022 (M2) Display Assembly Replacement, Remove the plastic covers: 步骤 19 中的图像 2,3 MacBook Pro 13" 2022 (M2) Display Assembly Replacement, Remove the plastic covers: 步骤 19 中的图像 3,3
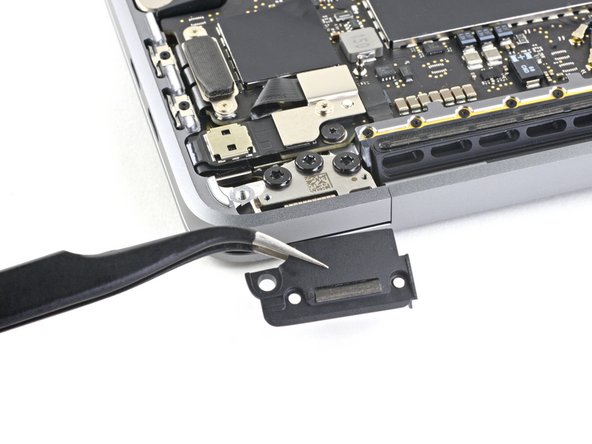
    • Remove the plastic covers from the screen hinges.

  20. MacBook Pro 13" 2022 (M2) Display Assembly Replacement, Remove the antenna cable cover: 步骤 20 中的图像 1,2 MacBook Pro 13" 2022 (M2) Display Assembly Replacement, Remove the antenna cable cover: 步骤 20 中的图像 2,2
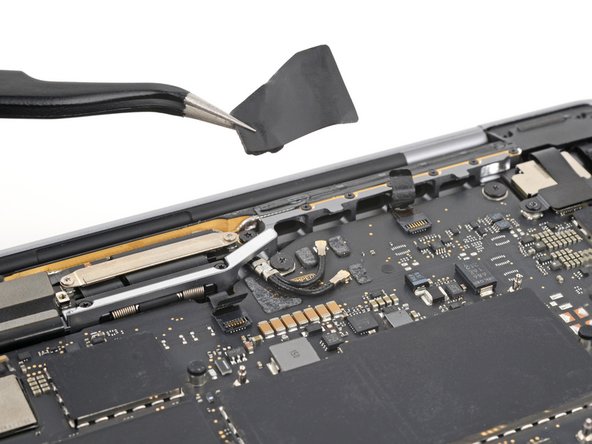
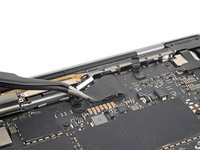
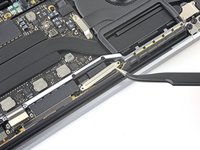
    • Peel and remove the plastic cover from the antenna cables.

    • During reassembly, don't worry if your foam strips are torn. Re-adhere the plastic cover as well as you can. Use small pieces of tape to secure the cover, if necessary.

  21. MacBook Pro 13" 2022 (M2) Display Assembly Replacement, Disconnect the antenna bar: 步骤 21 中的图像 1,3 MacBook Pro 13" 2022 (M2) Display Assembly Replacement, Disconnect the antenna bar: 步骤 21 中的图像 2,3 MacBook Pro 13" 2022 (M2) Display Assembly Replacement, Disconnect the antenna bar: 步骤 21 中的图像 3,3
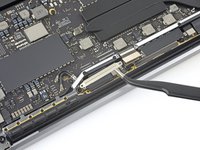
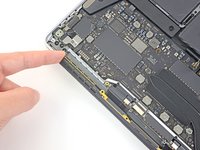
    • Use the point of your spudger to pry up and disconnect the antenna cables from the logic board.

    • Pry straight up on the metal head of the connector. Avoid lifting the cable itself as much as possible.

    • To reconnect the cables, align the connectors directly over their sockets and press down with the flat end of a spudger until they snap into place.

  22. MacBook Pro 13" 2022 (M2) Display Assembly Replacement, Remove the display board cable covers: 步骤 22 中的图像 1,3 MacBook Pro 13" 2022 (M2) Display Assembly Replacement, Remove the display board cable covers: 步骤 22 中的图像 2,3 MacBook Pro 13" 2022 (M2) Display Assembly Replacement, Remove the display board cable covers: 步骤 22 中的图像 3,3
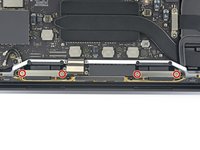
    • Use your T3 Torx driver to remove the four 1.5 mm screws securing the two display board cable covers.

    • Remove the covers.

  23. MacBook Pro 13" 2022 (M2) Display Assembly Replacement, Unfasten the antenna bar: 步骤 23 中的图像 1,2 MacBook Pro 13" 2022 (M2) Display Assembly Replacement, Unfasten the antenna bar: 步骤 23 中的图像 2,2
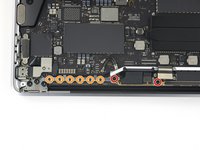
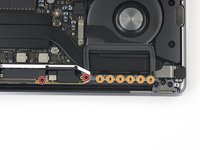
    • Remove the sixteen screws securing the antenna bar:

    • Four 3.3 mm T5 Torx screws, two on each side

    • Twelve 1.1 mm P2 Pentalobe screws, six on each side

    • P2 Pentalobe screws are very small and strip easily. Make sure your driver is in good condition before applying pressure.

  24. MacBook Pro 13" 2022 (M2) Display Assembly Replacement, Unfasten the antenna cables: 步骤 24 中的图像 1,1
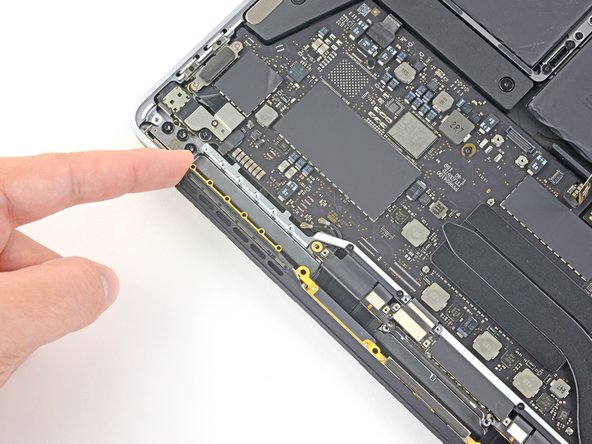
    • Use your T5 Torx driver to remove the 3.4 mm screw securing the antenna cables to the logic board.

  25. MacBook Pro 13" 2022 (M2) Display Assembly Replacement, Pry up the antenna bar: 步骤 25 中的图像 1,3 MacBook Pro 13" 2022 (M2) Display Assembly Replacement, Pry up the antenna bar: 步骤 25 中的图像 2,3 MacBook Pro 13" 2022 (M2) Display Assembly Replacement, Pry up the antenna bar: 步骤 25 中的图像 3,3
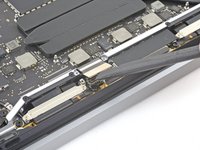
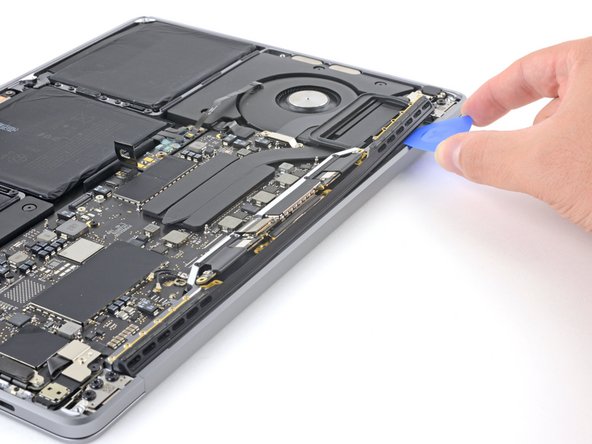
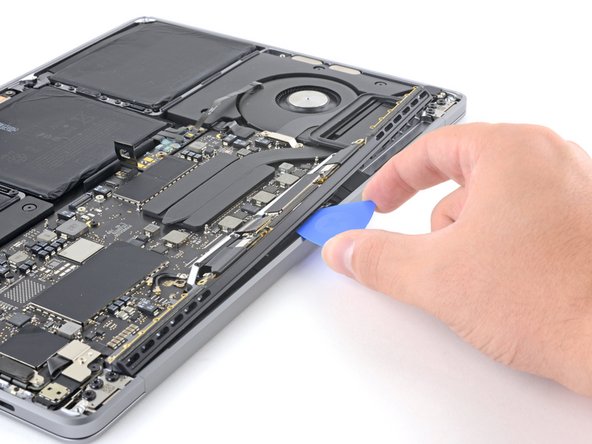
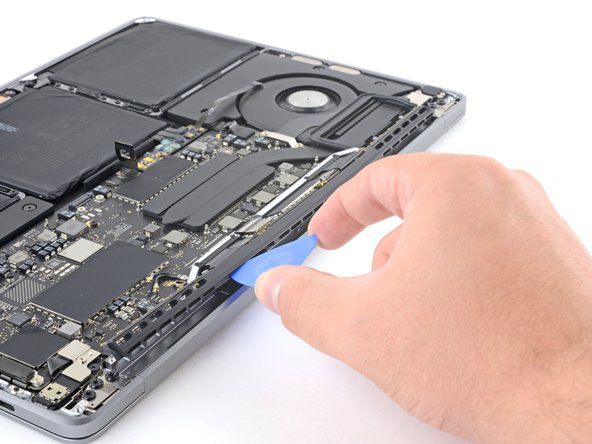
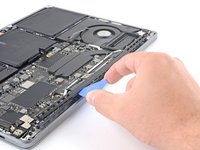
    • Insert your opening pick between the antenna bar and the frame.

    • Pry at different spots along the length of the antenna bar to free it from its recess in the frame.

    • Don't slide your pick, as it may damage display cables underneath the antenna bar.

  26. MacBook Pro 13" 2022 (M2) Display Assembly Replacement, Remove the antenna bar: 步骤 26 中的图像 1,3 MacBook Pro 13" 2022 (M2) Display Assembly Replacement, Remove the antenna bar: 步骤 26 中的图像 2,3 MacBook Pro 13" 2022 (M2) Display Assembly Replacement, Remove the antenna bar: 步骤 26 中的图像 3,3
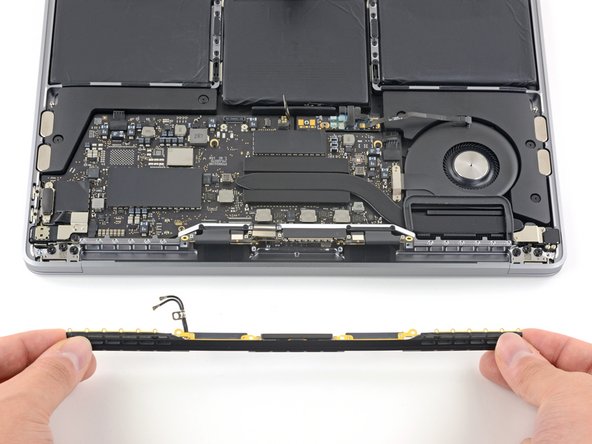
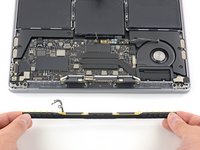
    • Pull the left edge of the antenna bar away from the frame and feed its two antenna cables out from underneath the cutouts in the frame.

    • Remove the antenna bar.

  27. MacBook Pro 13" 2022 (M2) Display Assembly Replacement, Unfasten the cable spring hinges: 步骤 27 中的图像 1,1
    • Use your T3 Torx driver to remove the four 3.9 mm screws securing the cable spring hinges.

  28. MacBook Pro 13" 2022 (M2) Display Assembly Replacement, Remove the spring hinges: 步骤 28 中的图像 1,3 MacBook Pro 13" 2022 (M2) Display Assembly Replacement, Remove the spring hinges: 步骤 28 中的图像 2,3 MacBook Pro 13" 2022 (M2) Display Assembly Replacement, Remove the spring hinges: 步骤 28 中的图像 3,3
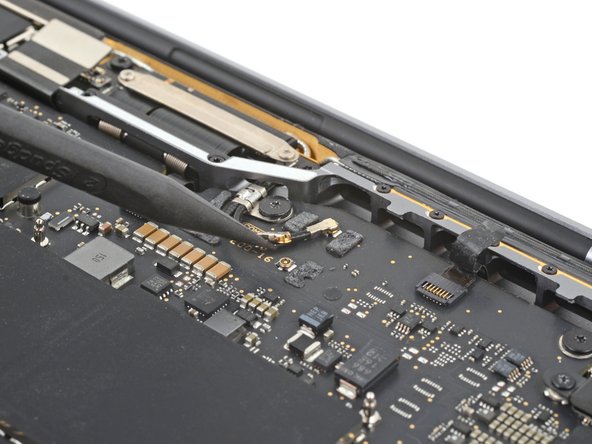
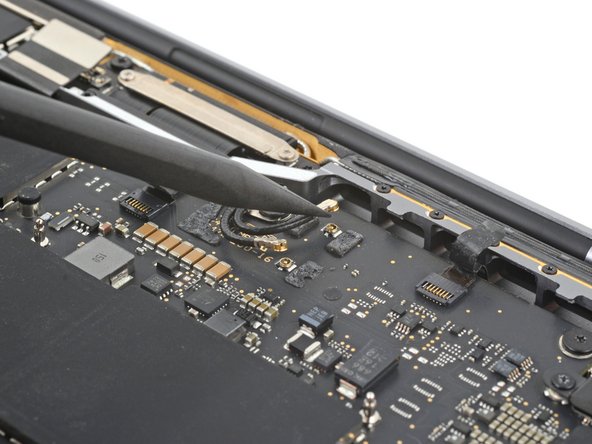
    • Grab and pull the left side of the display cable assembly away from the spring hinge.

    • Use tweezers to pull the spring hinge out of its recess.

    • Repeat this step for the right spring hinge.

  29. MacBook Pro 13" 2022 (M2) Display Assembly Replacement, Unfasten the display assembly: 步骤 29 中的图像 1,2 MacBook Pro 13" 2022 (M2) Display Assembly Replacement, Unfasten the display assembly: 步骤 29 中的图像 2,2
    • Open the screen of your MacBook and prop it on its side with its screen facing away from you.

    • Hold your MacBook steady during this step, as either the frame or the display assembly could fall unexpectedly at any point.

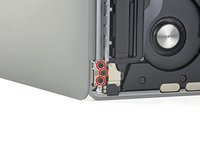
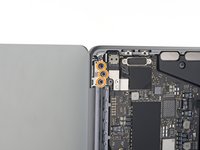
    • Use your T8 Torx driver to remove the three 4.4 mm screws securing the bottom hinge.

    • Remove the three 4.4 mm screws securing the top hinge.

  30. MacBook Pro 13" 2022 (M2) Display Assembly Replacement, Remove the display assembly: 步骤 30 中的图像 1,3 MacBook Pro 13" 2022 (M2) Display Assembly Replacement, Remove the display assembly: 步骤 30 中的图像 2,3 MacBook Pro 13" 2022 (M2) Display Assembly Replacement, Remove the display assembly: 步骤 30 中的图像 3,3
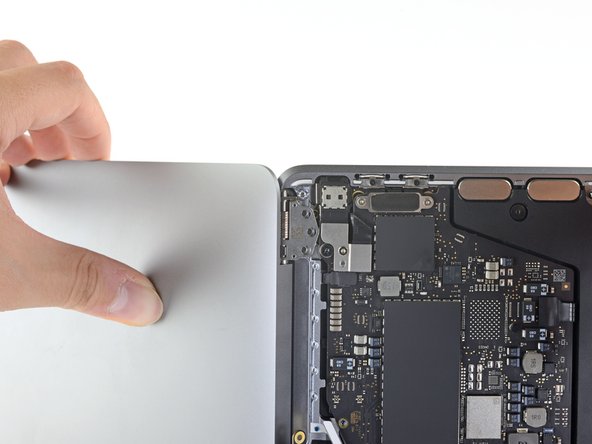
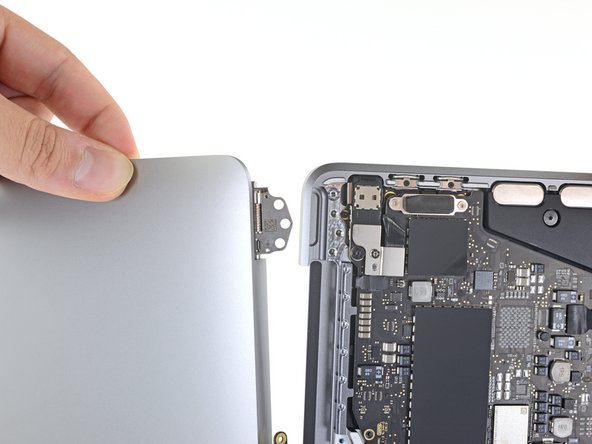
    • Keep a firm grip on both the display and main body of the MacBook. Either half can fall unexpectedly during this step.

    • Push both halves of the MacBook together so that the hinge brackets can be lifted clear of their recesses in the chassis.

    • Push the main body of the MacBook away from you while pulling the display toward you to separate it.

    • Remove the display assembly, being careful not to snag it on any cables.

    • During reassembly:

    • Install the hinge screws loosely and adjust the display until each hinge is centered. Finally, tighten down the screws.

    • If your display clicks or snaps when opening or closing, loosen the hinge screws and adjust the alignment. Make sure the display assembly doesn't sit too far forward, or it can catch on the chassis edge when opening and closing.

结论

Compare your new replacement part to the original part—you may need to transfer remaining components or remove adhesive backings from the new part before installing.

To reassemble your device, follow these instructions in reverse order.

Take your e-waste to an R2 or e-Stewards certified recycler.

Repair didn’t go as planned? Try some basic troubleshooting or search our Answers community for help.

另外一个人完成了本指南。

Clay Eickemeyer

于09/19/22注册

66,441 声望

创作了453篇指南

团队

iFixit iFixit 的会员

Staff

135 名成员

创作了16,820篇指南

3条评论

What a well written and detailed guide. I recently purchased a replacement display assembly from ifixit. proud to say that my MacBook is back in business. Thanks Clay, great job.

Flyingfishegg - 回复
We're so glad to have helped!

Clay Eickemeyer -

Hello, I will be repairing this model soon, I wanted to ask Do i need to solder the IC or Transfer anything from the old board

Mirav Patel - 回复
添加评论

浏览统计数据:

过去 24 小时: 20

过去 7 天: 200

过去 30 天: 815

总计 8,258