此翻译由机器生成,尚未经过人工审核。 会说这种语言吗? 查看评论。
简介
更换 LCD 屏幕,不包括逆变器、线缆或边框。
你所需要的
视频概述
-
-
-
-
-
从电脑的光驱(右)侧拆下两颗十字螺丝:
-
两颗 5.2 mm 十字 #00 螺丝,带杆(杆直径 2.3 mm,长度 3.25 mm)(螺丝头:直径 3.2 mm,厚度 0.5 mm)
-
-
-
-
-
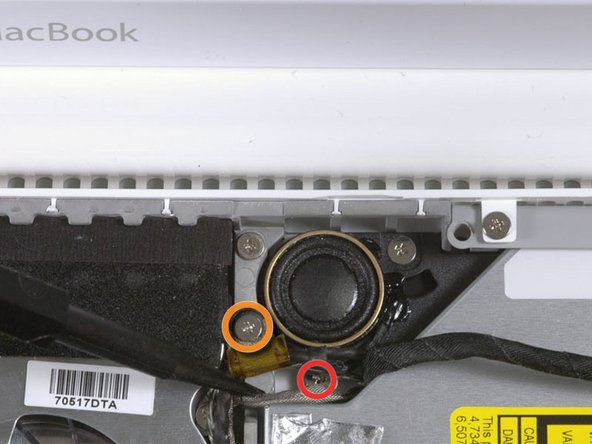
对于原款 Macbook Core Duo 和 Core 2 Duo 机型,请拆下这 3 颗螺丝:
-
右侧扬声器附近的 2 颗 3 mm 十字螺丝。
-
1 颗穿过低音炮上方塑料扣孔的 6 mm 十字螺丝。
-
对于不带 C 型槽的 Santa Rosa/Penryn 和 2009 款机型:
-
只需拆下右侧扬声器上的单颗 3 mm 十字螺丝,并跳过第 26 步。
-
-
-
-
-
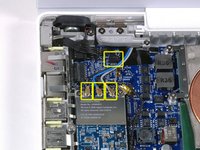
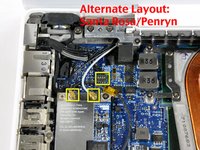
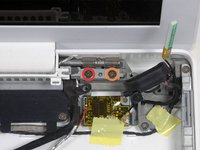
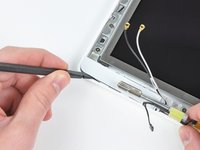
断开 Airport 卡上的天线电缆:
-
如果你使用的是第一代 MacBook Core Duo 或 Core 2 Duo 机型,请参考第一张图片,其中显示有三根天线电缆。
-
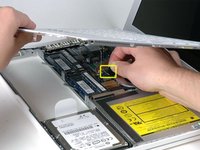
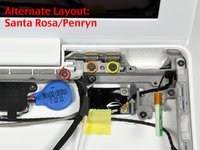
如果你使用的是 MacBook Core 2 Duo Santa Rosa/Penryn 或 2009 年款机型,则只有两根天线电缆,且黑色逆变器电缆的插头/插孔位置有所不同。逆变器板连接器的插头/插孔上可能覆盖着一块方形泡沫。
-
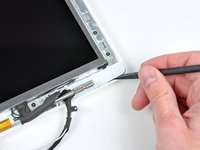
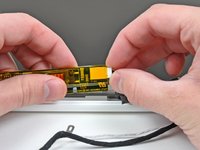
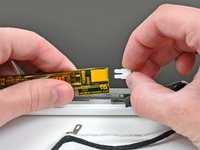
将撬棒插入插头的左右两端与插孔之间,然后垂直轻轻撬起,断开逆变器电缆的连接。请勿撬起插孔——你必须仅向上拉动插头,将其垂直拔出插孔。请勿沿着电缆线的方向拉扯,否则会将插孔从逻辑板上撕下。
-
-
-
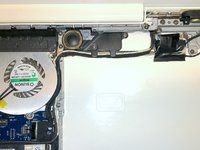
对于早期的 MacBook Core Duo 和 Core 2 Duo 机型,请参照第一张图片,从右侧铰链支架上拆下以下 2 颗螺丝:
-
铰链支架左侧的一颗 6 mm Phillips 螺丝。
-
铰链支架右侧的一颗 10 mm Phillips 螺丝。
-
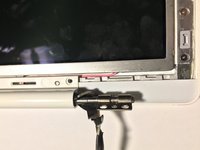
对于 Santa Rosa/Penryn 和 2009 年款机型,请参照第二张图片,从右侧铰链支架上拆下以下 3 颗螺丝:
-
最左侧的一颗 3 mm 小直径 Phillips 螺丝。
-
中间的一颗 5.2 mm 大直径、4.2 mm 螺丝头 Phillips 螺丝。
-
最右侧的一颗 10 mm 大直径、4.2 mm 螺丝头 Phillips 螺丝。
-
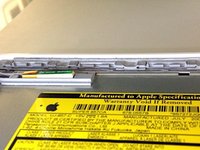
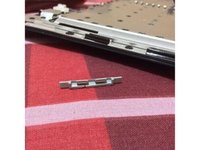
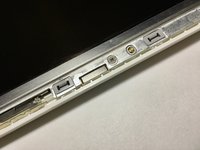
在拆下右侧铰链支架前,请留意各部件是如何组合在一起的,包括那个白色的小塑料件。了解支架各部分的装配方式将有助于重新组装。将右侧铰链支架连同白色小塑料件一起从电脑中取出。
-
-
-
在这个步骤中使用的工具:Plastic Cards$2.99
-
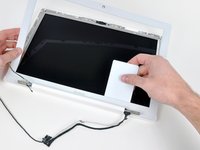
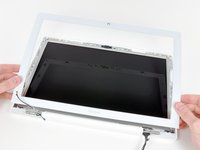
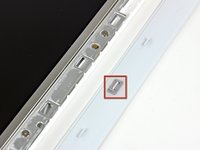
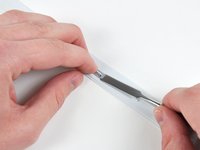
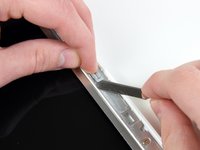
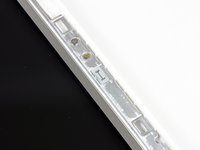
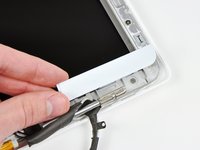
使用一张薄的 塑料卡片 松开将显示屏前边框固定在显示屏组件上的卡扣和夹子。显示屏边框左侧共有五个卡扣。
-
-
-
-
-
-
-
将显示屏组件翻转过来,使屏幕朝下。你可以在工作台上垫一块布,以防划伤屏幕。
-
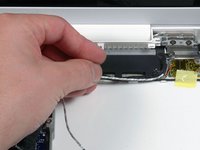
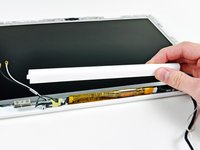
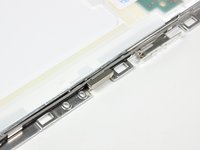
撕下所有固定显示屏数据排线和 iSight 线缆的黄色胶带,这些胶带位于显示面板背面。
-
-

 询问修复机器人




























要重新组装设备,请按相反顺序执行这些说明。
330等其他人完成本指南。

11指南评论
This guide is fantastic and has worked well for me. As other commenters have said and noted in the "Difficult" difficulty, it does require some skill and repair knowledge. The most important thing here is to keep track of your screws. I use a bead organizer for some perspective. All things said and done, be patient, keep your head, have the right tools and this fix is a piece of cake.
The directions are excellent! I did it... and it worked!!! The whole thing took me about 2 hours or so. While you have the computer apart, it's probably a good idea to replace the backlight inverter too (only about $20). I used the top and bottom of an egg carton to sort the screws by step, then reassembled using the screws in reverse order.
Quick Question: I seem to have an "extra" cable on my White Macbook (2007, IIRC) LCD. If you look at foto for Step 52 above, I have a thin BLUE cable running down the right-hand side - near the silver one - that goes down between the hinge and the edge of the back cover and then along the edge behind the inverter and then behind the other hinge, then goes up towards the LCD panel and is taped together in a 3-cable bunch with the 2 thin cables you can see on the left of of foto 52. This blue cable has the same "tip" as the other 2 in the foto.
Any ideas? Thanks.
In reply to Matt; there are 2 types of airport cards that come on these machines, some require 2 antennae leads and others use 3 (I believe the newer type uses 2). Some machines have the older style 3 leads even though they used the newer airport card, so they just left the tip off the unused lead.
maccentric - 回复 分享
To replace JUST THE CCFL BULB, would I really need to do all of this? Can the face of the LCD be removed to reveal the bulb enough for removal?
