跳转到主内容
加入维修社区 - 创建账户

此翻译由机器生成,尚未经过人工审核。 会说这种语言吗? 查看评论。

Mac mini A1283 型号光驱更换

你所需要的

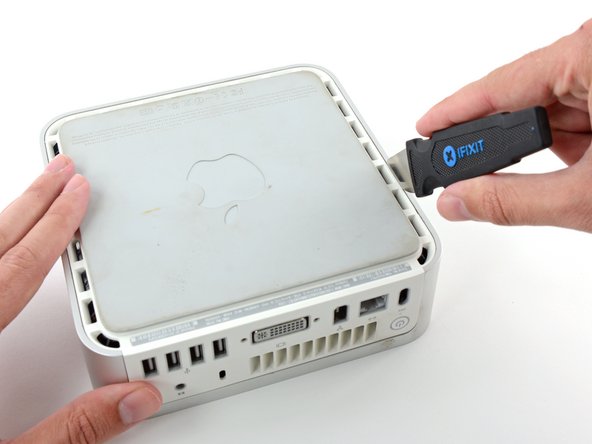
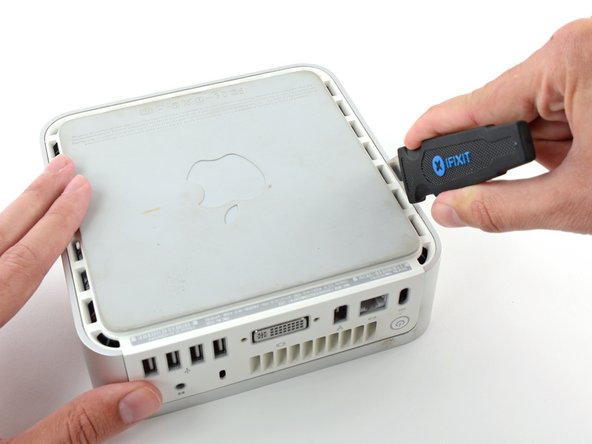
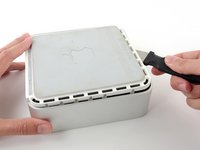
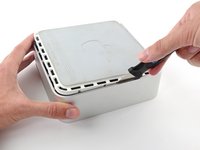
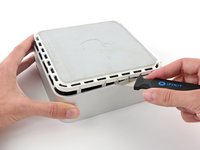
    1. Mac mini A1283 型号光驱更换, 顶盖: 步骤 1 中的图像 1,2 Mac mini A1283 型号光驱更换, 顶盖: 步骤 1 中的图像 2,2
      • 将你的Mac mini断电并拔出所有接线,然后将其反转背面朝上。

      • 用撬棒工具插入铝制上壳和塑料下壳之间。

      • 撬棒大约可插入9.5 mm左右。

      添加评论

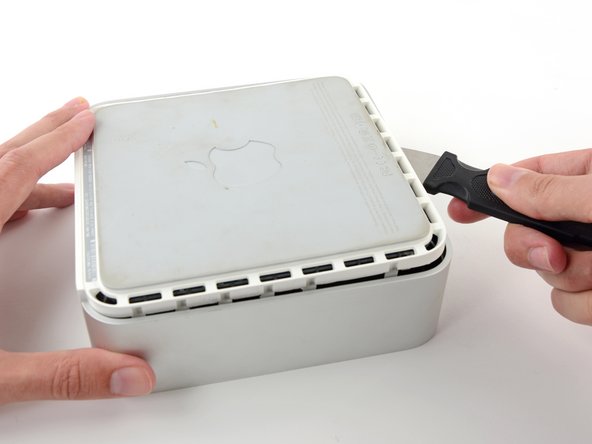
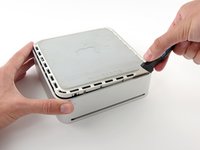
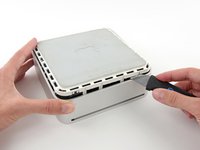
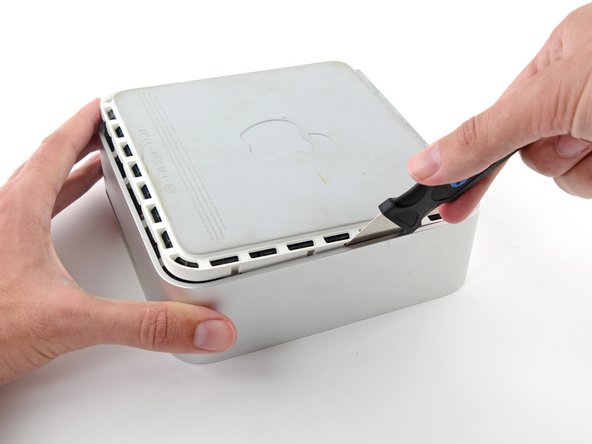
    2. Mac mini A1283 型号光驱更换: 步骤 2 中的图像 1,3 Mac mini A1283 型号光驱更换: 步骤 2 中的图像 2,3 Mac mini A1283 型号光驱更换: 步骤 2 中的图像 3,3
      • 轻轻使用撬棒向外撬起铝制上壳并将塑料下壳略微抬起。

      • 有几个塑料卡扣在下壳体上,与铝制外壳上的凹槽匹配。你的目标是使用撬棒去推动那些卡扣使上下壳分离,同时小心抬起下壳。

      添加评论

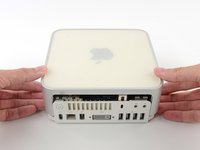
    3. Mac mini A1283 型号光驱更换: 步骤 3 中的图像 1,2 Mac mini A1283 型号光驱更换: 步骤 3 中的图像 2,2
      • 将一侧边缘打开后,旋转Mac mini并开始从前边缘向上撬起。

      • 使用相同的方法向内撬卡扣,然后将下壳从上壳中取出,

      询问修复机器人

      添加评论

    4. Mac mini A1283 型号光驱更换: 步骤 4 中的图像 1,2 Mac mini A1283 型号光驱更换: 步骤 4 中的图像 2,2
      • 你可能需要沿着边缘撬开所有卡扣才能打开,所以操作的时候要小心谨慎。

      询问修复机器人

      添加评论

    5. Mac mini A1283 型号光驱更换: 步骤 5 中的图像 1,2 Mac mini A1283 型号光驱更换: 步骤 5 中的图像 2,2
      • 继续沿着边缘操作,打开最后一边的卡扣。

      询问修复机器人

      添加评论

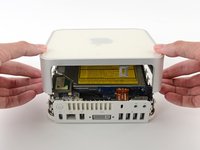
    6. Mac mini A1283 型号光驱更换: 步骤 6 中的图像 1,2 Mac mini A1283 型号光驱更换: 步骤 6 中的图像 2,2
      • 將Mac mini翻回正面,並將上蓋拿起。

      添加评论

    1. Mac mini A1283 型号光驱更换, 中框: 步骤 7 中的图像 1,1
      • 在接下来的几个步骤中,你将从内部中框上拆下 AirPort 和蓝牙天线(以红色显示)。请务必小心,如果弄断了支架,将需要更换内部中框。

      • 我们将首先拆下位于图中左下角的 AirPort 天线。

      添加评论

    2. Mac mini A1283 型号光驱更换: 步骤 8 中的图像 1,2 Mac mini A1283 型号光驱更换: 步骤 8 中的图像 2,2
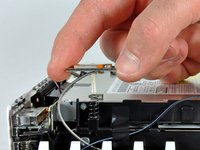
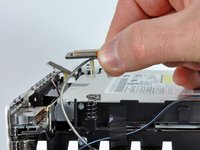
      • 轻捏两个固定臂使其相互靠近,然后将 AirPort 天线从固定柱上提起。

      • 过度挤压这两个柱子肯定会使其从内部中框上折断。请小心操作。

      • 重新安装时,你需要轻捏这两个柱子,使其能够嵌入 AirPort 天线板上的开口中。

      添加评论

    3. Mac mini A1283 型号光驱更换: 步骤 9 中的图像 1,2 Mac mini A1283 型号光驱更换: 步骤 9 中的图像 2,2
      • 这两个蓝牙天线板可以直接从中框上提起。

      • 抓住电脑接口侧最近的蓝牙天线板边缘,将其垂直向上从中框上拉起。

      • 请小心拉动,因为它可能会有很大的阻力,并会突然松开。

      添加评论

    4. Mac mini A1283 型号光驱更换: 步骤 10 中的图像 1,1
      • 将位于 mini 前部附近的无线天线板垂直向上拉起,使其从内中框上脱离。

      • 如有必要,撕掉固定天线导线的胶带,使其从内中框上分离。

      • 请务必妥善保管三个天线板下方各自的弹簧。

      添加评论

    5. Mac mini A1283 型号光驱更换: 步骤 11 中的图像 1,1
      • 使用撬棒的扁平端将音频排线连接器从音频连接器板上撬起。

      询问修复机器人

      添加评论

    6. Mac mini A1283 型号光驱更换: 步骤 12 中的图像 1,1
      • 拧下固定内部中框到下部外壳的以下四颗螺丝:

      • 三颗 6.7 mm Phillips 螺丝

      • 一颗 9.5 mm Phillips 螺丝

      • 图片右下角的螺丝深深嵌入在中框中,且比其他三颗螺丝更长。使用手电筒和细长螺丝刀有助于拆卸。

      添加评论

    7. Mac mini A1283 型号光驱更换, 拆卸中框: 步骤 13 中的图像 1,1
      • 从后边缘开始,将中框从外壳底部提起,直到感觉到主板上的隐藏式边缘连接器断开。然后垂直向上取下,注意避开蓝牙和 802.11 天线电缆。

      • 重新组装时,Wi-Fi 天线电缆需布线至通风口内侧,并从通风口顶部上方穿过。

      添加评论

    1. Mac mini A1283 型号光驱更换, 光驱: 步骤 14 中的图像 1,2 Mac mini A1283 型号光驱更换, 光驱: 步骤 14 中的图像 2,2
      • 用撬棒尖端揭下跨越互连板和光驱的黑色电工胶带。

      询问修复机器人

      添加评论

    2. Mac mini A1283 型号光驱更换: 步骤 15 中的图像 1,1
      • 使用撬棒的扁平端断开音频排线与互连板的连接。

      询问修复机器人

      添加评论

    3. Mac mini A1283 型号光驱更换: 步骤 16 中的图像 1,1
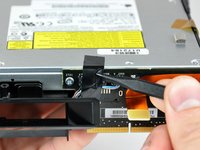
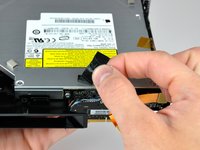
      • 如有必要,撕掉覆盖在中框和光驱上的黄色 Kapton 胶带。

      询问修复机器人
      添加评论

    4. Mac mini A1283 型号光驱更换: 步骤 17 中的图像 1,1
      • 拧下两颗将光驱固定在中框上的十字螺丝。

      询问修复机器人
      添加评论

    5. Mac mini A1283 型号光驱更换: 步骤 18 中的图像 1,1
      • 将 mini 旋转 180 度,拧下将光驱固定到另一侧中框上的两颗十字螺丝。

      询问修复机器人

      添加评论

    6. Mac mini A1283 型号光驱更换: 步骤 19 中的图像 1,1
      • 拧下将光驱连接板固定的两颗十字螺丝。

      询问修复机器人

      添加评论

    7. Mac mini A1283 型号光驱更换: 步骤 20 中的图像 1,1
      • 将撬棒的扁平端插入光驱和转接板之间的缝隙中。

      • 小心地扩大缝隙,以断开光驱与转接板的连接。

      询问修复机器人

      添加评论

    8. Mac mini A1283 型号光驱更换: 步骤 21 中的图像 1,1
      • 轻轻地将光驱从内部中框中取出。

      询问修复机器人

      添加评论

    1. Mac mini A1283 型号光驱更换, 光驱: 步骤 22 中的图像 1,1
      • 将四个泡棉肩键转移到更换用的光驱上。

      询问修复机器人

      添加评论

结论

要重新组装设备,请按相反顺序执行这些说明。

取消:我没有完成这个指南。

65等其他人完成本指南。

6指南评论

I found that it's entirely possible to remove the optical drive without removing the whole subframe. You can remove the four screws on the sides of the drive quite easily, remove the other end of the audio cable then unscrew the two screws on the back of the drive holding the interconnect board to the drive (the only fiddly bit as it's hard to get a a good angle onto those two screws), then gently lift the front of the drive and pull it forward.

Marcus Bointon - 回复 分享

Can anyone tell me now that I have replaced the optical drive, why if only accepts dvd's being put into it when I have first turn on the computer?? If I do it when the computer is already on, no matter how far I try and push in the DVD it doesn't grab it and pull it in properly. No trouble playing them once in.

Hannah - 回复 分享

Please help! Can anyone tell me now that I have replaced the optical drive, why if only accepts dvd's being put into it when I have first turn on the computer?? If I do it when the computer is already on, no matter how far I try and push in the DVD it doesn't grab it and pull it in properly. No trouble playing them once in.

Hannah - 回复 分享

Hi!

Is is correct about the optibay i need to replace a DVD up to SSD:

- the inside connector of this optibay is SATA 3 witch is compatible for a modern SSD, like this one - https://ru.aliexpress.com/item/Newest-Go...

- the outside that goes to a motherboard - what is it - i can't really understand - is it eSATA or it it mSATA or smth else?

Thanks for your reply in advance!

dv1977 - 回复 分享

I also had n0o need to remove the frame. To use a screwdriver that is magnetized made some undesirable problems. Overall, the optical drive was replaced -that is , put in as the former drive was removed by someone else.

john.raser.142 - 回复 分享

添加评论

浏览统计数据:

过去 24 小时: 6

过去 7 天: 27

过去 30 天: 115

总计 79,001