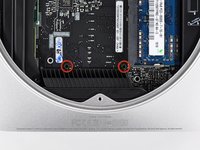
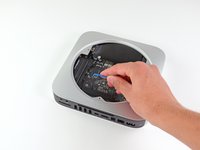
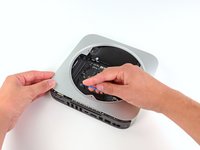
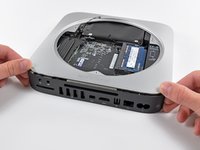
简介
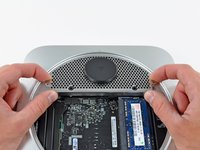
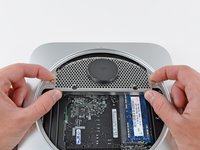
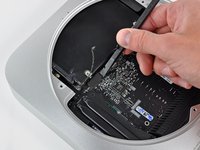
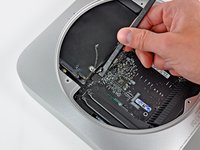
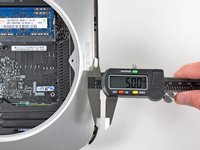
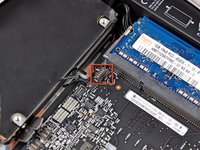
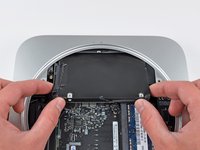
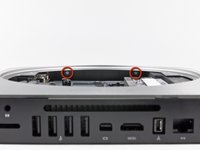
使用本指南来完全的为您的mini更换硬盘。 要完成本指南需要橡胶粘合剂来将旧的热传感器粘到您的新硬盘上。
你所需要的
按照本指南相反步骤来重新组装设备。
426等其他人完成本指南。
由衷感谢以下译者:
90%
Leon赵国鑫正在帮助我们修复这个世界! 您也想加入吗?
开始翻译 ›
38指南评论
These instructions and a little common sense can also be used to replace the lower hard drive in the server version of the Mac Mini. Luckily that was the drive that had failed in my case. Replacing the upper drive looks like a tougher proposition.
Fantastic guide, thank you very much Mr. Bookholt!
As with the above commenter, I accidentally mistook the fan's standoff for a screw and removed it while removing the fan. Also the top right fan screw's standoff came out along with it. I edited the guide with a note on this.
While replacing the antenna, it wasn't immediately clear why the screws weren't lining up, until I realized that two of the screws were in the (otherwise free-floating but for the back grommets) hard drive, I also added a note on that.
Jon Bailey - 回复
STEP 15: If you don't have the time to purchase the Mac Mini Logic Board Removal Tool, the round stock on a large binder clip is PERFECT for the job. It requires a little bending and cutting but it worked perfectly!!
And as jon jon stated, it works like a lever - not a pull. You can feel it kind of click in to the lever points below.
Bravo to ifixit.com for the easy to follow instruction!!
Hey, what about the 2nd harddrive? how does that come out?
This was a superb guide. Thank you very, very much.
Ok, just did here. 1 tera HD working fine. Thanks iFixit, for repacking my tools because the Brazilian mail lost them. So, for those who want to do the same, just have in mind that not ALL things happen just like the how-to. I have to figure out What to do with the logic board removal tool... And, no, I did not fuss with those initial thermal stuff, because they are impossible to unplug. I only fuss with the HD thermal.


