跳转到主内容
加入维修社区 - 创建账户

M3D Micro Fan Replacement

你所需要的

  1. M3D Micro Fan Replacement, Fan: 步骤 1 中的图像 1,3 M3D Micro Fan Replacement, Fan: 步骤 1 中的图像 2,3 M3D Micro Fan Replacement, Fan: 步骤 1 中的图像 3,3
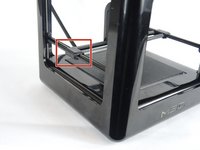
    • To release the x-rods, pull the x-rods away from the plastic sliders on the y-rods, and flip the slider upwards to release the tracks.

    询问修复机器人
  2. M3D Micro Fan Replacement: 步骤 2 中的图像 1,3 M3D Micro Fan Replacement: 步骤 2 中的图像 2,3 M3D Micro Fan Replacement: 步骤 2 中的图像 3,3
    • Slide the tracks off the second slider and remove the printer head and x-tracks from the center of the printer. To remove the front cover of the print head, firmly grip the cover and gently pull it off.

    询问修复机器人
  3. M3D Micro Fan Replacement: 步骤 3 中的图像 1,2 M3D Micro Fan Replacement: 步骤 3 中的图像 2,2
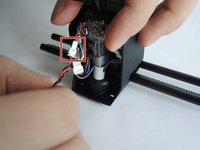
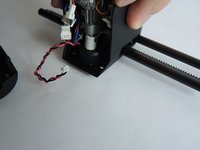
    • Disconnect the red and black wires at the white connector. They should easily separate.

    询问修复机器人
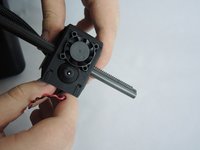
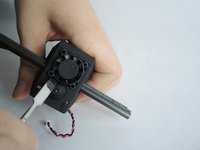
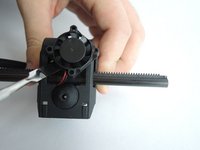
  4. M3D Micro Fan Replacement: 步骤 4 中的图像 1,3 M3D Micro Fan Replacement: 步骤 4 中的图像 2,3 M3D Micro Fan Replacement: 步骤 4 中的图像 3,3
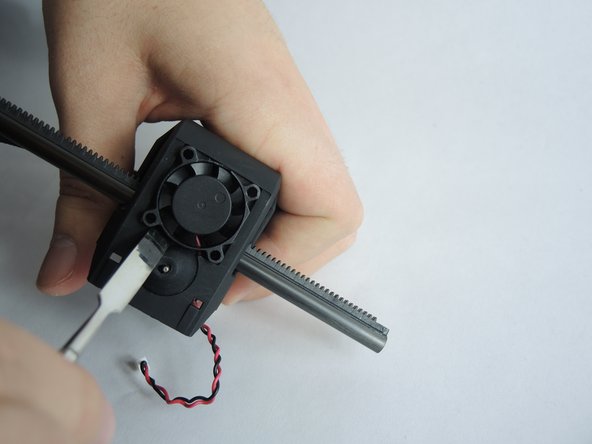
    • The fan is held loosely in place at the base of the printer head. Use a metal spudger to gently pry it out of the printer head.

    询问修复机器人
  5. M3D Micro Fan Replacement: 步骤 5 中的图像 1,1
    • Pull the fan all the way out of the printer head.

    询问修复机器人
结论

To reassemble your device, follow these instructions in reverse order.

团队

USF Tampa, Team S3-G2, Nance Fall 2017 USF Tampa, Team S3-G2, Nance Fall 2017 的会员

USFT-NANCE-F17S3G2

4 名成员

创作了10篇指南

0指南评论

添加评论

浏览统计数据:

过去 24 小时: 1

过去 7 天: 7

过去 30 天: 64

总计 1,518