跳转到主内容
加入维修社区 - 创建账户

Logitech UE MegaBoom 3 Motherboard Replacement

你所需要的

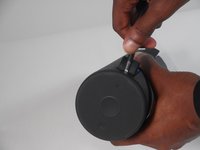
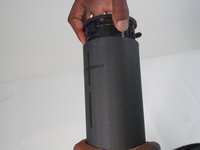
    1. Logitech UE MegaBoom 3 Motherboard Replacement, General Disassembly: 步骤 1 中的图像 1,2 Logitech UE MegaBoom 3 Motherboard Replacement, General Disassembly: 步骤 1 中的图像 2,2
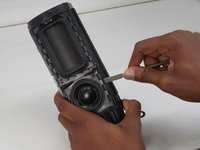
      • To access all internal components, first flip the speaker upwards to where you can see the base.

      • Place your blue iFixit opening picks inside the gap between the speaker and the base to act as a lever when opening the speaker.

      询问修复机器人

      添加评论

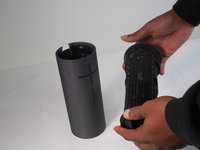
    2. Logitech UE MegaBoom 3 Motherboard Replacement: 步骤 2 中的图像 1,3 Logitech UE MegaBoom 3 Motherboard Replacement: 步骤 2 中的图像 2,3 Logitech UE MegaBoom 3 Motherboard Replacement: 步骤 2 中的图像 3,3
      • Using the flat head #4.5 screw driver, carefully lever and rotate the driver around the edge of the speaker to enlarge the gap further.

      • Here, it is ideal to use a spudger as opposed to the flathead screwdriver, however, the flathead makes it so much easier to pry off the cap.

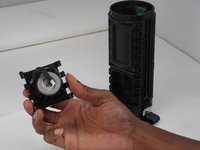
      • Pry off the base of the speaker and remove the end cap.

      询问修复机器人

      添加评论

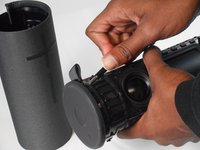
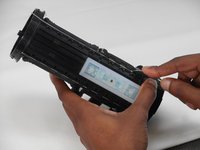
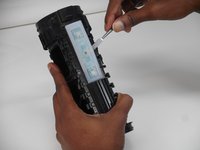
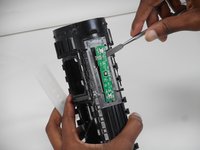
    1. Logitech UE MegaBoom 3 Motherboard Replacement, Power Button Control Board: 步骤 3 中的图像 1,3 Logitech UE MegaBoom 3 Motherboard Replacement, Power Button Control Board: 步骤 3 中的图像 2,3 Logitech UE MegaBoom 3 Motherboard Replacement, Power Button Control Board: 步骤 3 中的图像 3,3
      • Take off the fiber cover by prying it from the top of the speaker using the flathead 4.5 mm screwdriver.

      • After the cover is loosened, the cap can finally be pulled off.

      询问修复机器人

      添加评论

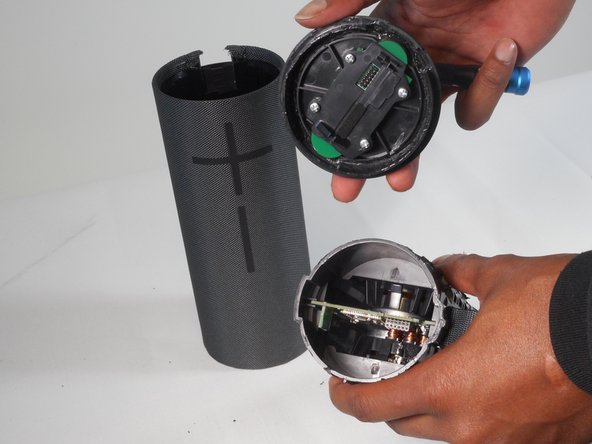
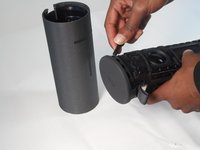
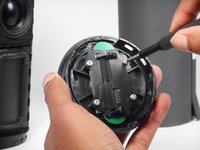
    2. Logitech UE MegaBoom 3 Motherboard Replacement: 步骤 4 中的图像 1,3 Logitech UE MegaBoom 3 Motherboard Replacement: 步骤 4 中的图像 2,3 Logitech UE MegaBoom 3 Motherboard Replacement: 步骤 4 中的图像 3,3
      • Remove the top half of the speaker using the 4.5 mm flat head screwdriver.

      • Now remove the top of the speaker by prying and releasing the tab around the cap using the same screwdriver.

      询问修复机器人

      添加评论

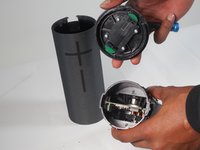
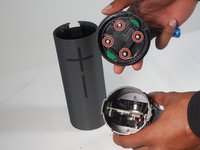
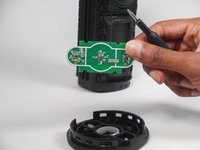
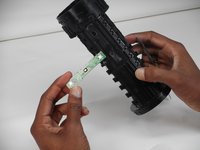
    3. Logitech UE MegaBoom 3 Motherboard Replacement: 步骤 5 中的图像 1,3 Logitech UE MegaBoom 3 Motherboard Replacement: 步骤 5 中的图像 2,3 Logitech UE MegaBoom 3 Motherboard Replacement: 步骤 5 中的图像 3,3
      • With the cap removed, using Phillips #0 screwdriver remove all four 2.0 mm screws to take off the control board.

      • Now you can replace the power button control board.

      询问修复机器人

      添加评论

    1. Logitech UE MegaBoom 3 Motherboard Replacement, Speaker Driver: 步骤 6 中的图像 1,2 Logitech UE MegaBoom 3 Motherboard Replacement, Speaker Driver: 步骤 6 中的图像 2,2
      • Take of the metal rods by gently prying them out using the metal spudger.

      • Be sure to slide them out as gently as possible to prevent the rods from becoming damaged.

      添加评论

    2. Logitech UE MegaBoom 3 Motherboard Replacement: 步骤 7 中的图像 1,2 Logitech UE MegaBoom 3 Motherboard Replacement: 步骤 7 中的图像 2,2
      • Once the rods are removed, you can pry it off and disconnect the speaker driver.

      • Repeat the same steps to disconnect the speaker driver on the other side of the speaker.

      询问修复机器人

      添加评论

    1. Logitech UE MegaBoom 3 Motherboard Replacement, Passive Radiator: 步骤 8 中的图像 1,2 Logitech UE MegaBoom 3 Motherboard Replacement, Passive Radiator: 步骤 8 中的图像 2,2
      • Take off the metal rods by gently prying them out using the metal spudgers

      • Be sure to slide them out as gently as possible to prevent the rods from becoming damaged.

      询问修复机器人

      添加评论

    2. Logitech UE MegaBoom 3 Motherboard Replacement: 步骤 9 中的图像 1,1
      • One the rods are removed you can pry it off and disconnect the passive radiator.

      • Repeat the same steps to disconnect the passive radiator on the other side of the speaker.

      询问修复机器人

      添加评论

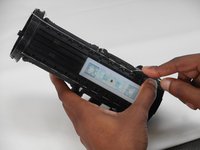
    1. Logitech UE MegaBoom 3 Motherboard Replacement, Motherboard: 步骤 10 中的图像 1,3 Logitech UE MegaBoom 3 Motherboard Replacement, Motherboard: 步骤 10 中的图像 2,3 Logitech UE MegaBoom 3 Motherboard Replacement, Motherboard: 步骤 10 中的图像 3,3
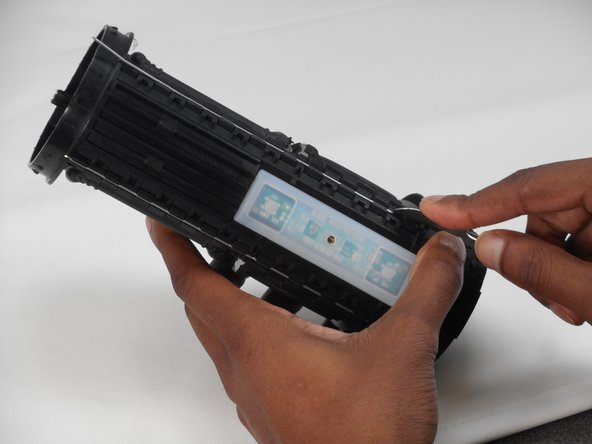
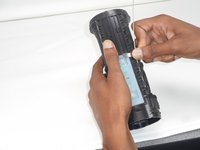
      • Using the metal spudger, remove the volume control board to prevent any damage.

      • Remove the clear silicone cover to access the board.

      • Carefully pull off the board and disconnect it from the motherboard.

      询问修复机器人

      添加评论

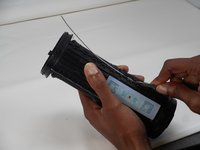
    2. Logitech UE MegaBoom 3 Motherboard Replacement: 步骤 11 中的图像 1,2 Logitech UE MegaBoom 3 Motherboard Replacement: 步骤 11 中的图像 2,2
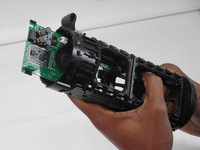
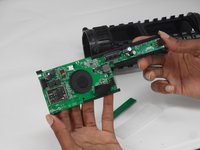
      • Slide out the mother board gently.

      询问修复机器人

      添加评论

结论

To reassemble your device, follow these instructions in reverse order.

取消:我没有完成这个指南。

3等其他人完成本指南。

Anthony Miles

于09/04/23注册

1,021 声望

创作了6篇指南

团队

0指南评论

添加评论

浏览统计数据:

过去 24 小时: 0

过去 7 天: 3

过去 30 天: 34

总计 1,150