跳转到主内容
加入维修社区 - 创建账户

Logitech K480 Keycap Replacement

你所需要的

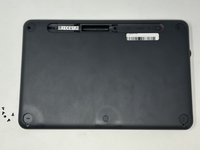
    1. Logitech K480 Keycap Replacement, Back Cover: 步骤 1 中的图像 1,1
      • Flip the keyboard over.

      添加评论

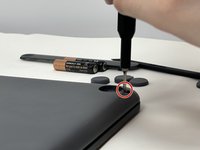
    2. Logitech K480 Keycap Replacement: 步骤 2 中的图像 1,3 Logitech K480 Keycap Replacement: 步骤 2 中的图像 2,3 Logitech K480 Keycap Replacement: 步骤 2 中的图像 3,3
      • Remove the four rubber feet with a spudger.

      询问修复机器人
      添加评论

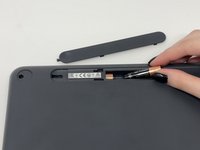
    3. Logitech K480 Keycap Replacement: 步骤 3 中的图像 1,3 Logitech K480 Keycap Replacement: 步骤 3 中的图像 2,3 Logitech K480 Keycap Replacement: 步骤 3 中的图像 3,3
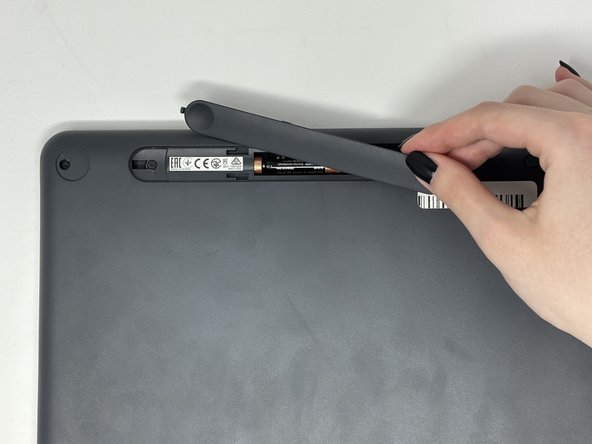
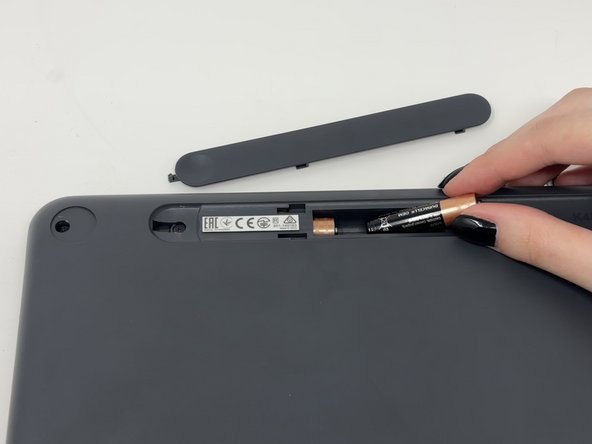
      • Slide open battery panel.

      • Remove the batteries.

      询问修复机器人

      添加评论

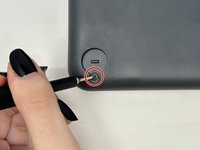
    4. Logitech K480 Keycap Replacement: 步骤 4 中的图像 1,2 Logitech K480 Keycap Replacement: 步骤 4 中的图像 2,2
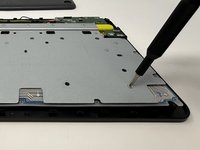
      • Remove the three 4 mm screws under the rubber feet using a Phillips #0 screwdriver.

      询问修复机器人

      添加评论

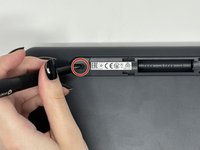
    5. Logitech K480 Keycap Replacement: 步骤 5 中的图像 1,2 Logitech K480 Keycap Replacement: 步骤 5 中的图像 2,2
      • Remove the two 4 mm screws from beneath the battery cover using a Phillips #0 screwdriver.

      询问修复机器人
      添加评论

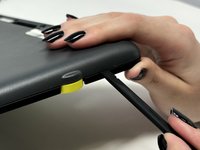
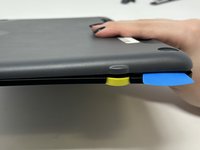
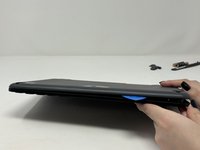
    6. Logitech K480 Keycap Replacement: 步骤 6 中的图像 1,3 Logitech K480 Keycap Replacement: 步骤 6 中的图像 2,3 Logitech K480 Keycap Replacement: 步骤 6 中的图像 3,3
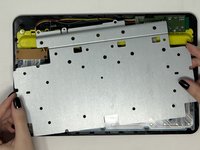
      • Starting by the dial, slide the spudger between the front and back panels until it lifts and snaps.

      • Slide a blue pick in to keep the pieces apart while you work on other areas.

      • Continue prying along the edges until you have enough opened that you can pull both pieces apart gently with your hands.

      • The loud snaps are the clips that hold the pieces together. They're not breaking and you do not need to be alarmed.

      询问修复机器人
      添加评论

    1. Logitech K480 Keycap Replacement, Metal Plate: 步骤 7 中的图像 1,3 Logitech K480 Keycap Replacement, Metal Plate: 步骤 7 中的图像 2,3 Logitech K480 Keycap Replacement, Metal Plate: 步骤 7 中的图像 3,3
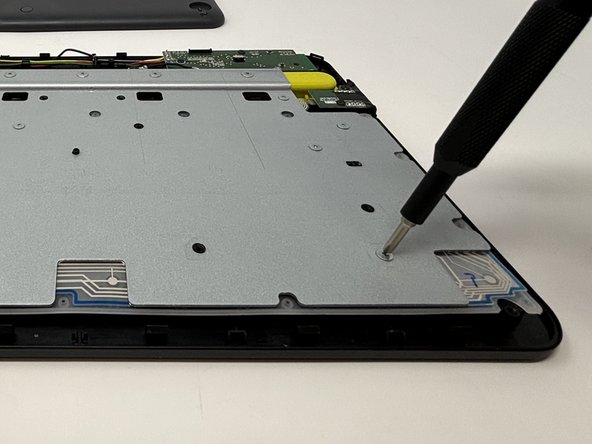
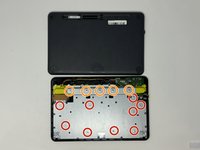
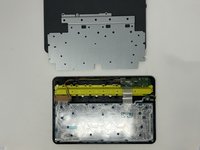
      • Remove the eight 3 mm screws using a Phillips #00 screwdriver

      • Remove the five 2 mm silver screws from the metal plate using a Phillips #00 screwdriver.

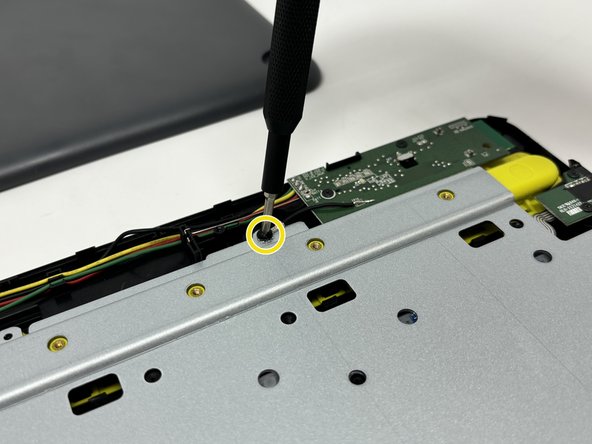
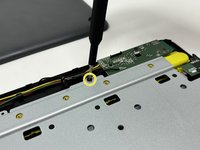
      • Remove the single 4 mm black screw by the motherboard using a Phillips #00 screwdriver.

      询问修复机器人

      添加评论

    2. Logitech K480 Keycap Replacement: 步骤 8 中的图像 1,2 Logitech K480 Keycap Replacement: 步骤 8 中的图像 2,2
      • Lift up and remove the metal plate.

      询问修复机器人

      添加评论

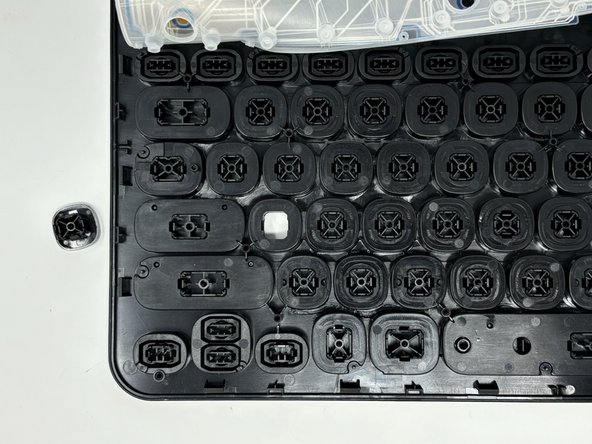
    1. Logitech K480 Keycap Replacement, Keycap: 步骤 9 中的图像 1,1
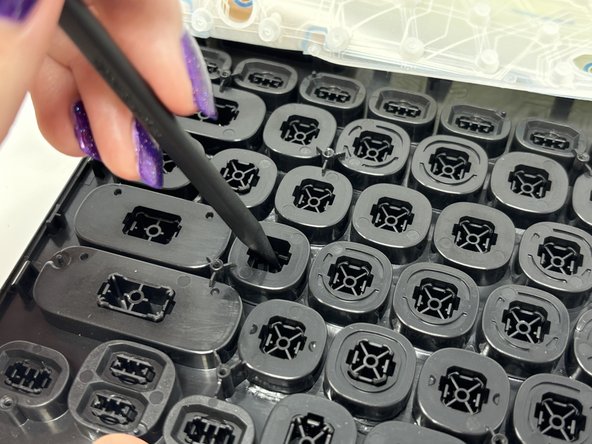
      • Flip the flex circuit and rubber dome sheet over.

      询问修复机器人
      添加评论

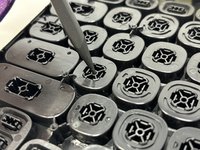
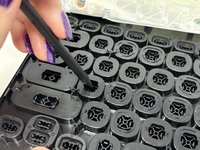
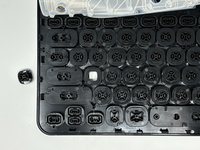
    2. Logitech K480 Keycap Replacement: 步骤 10 中的图像 1,3 Logitech K480 Keycap Replacement: 步骤 10 中的图像 2,3 Logitech K480 Keycap Replacement: 步骤 10 中的图像 3,3
      • Using the spudger, gently press on the underside of the key and pop it out.

      询问修复机器人

      添加评论

结论

To reassemble your device, follow these instructions in reverse order.

取消:我没有完成这个指南。

另外一个人完成了本指南。

Madison

于09/04/24注册

778 声望

创作了4篇指南

0指南评论

添加评论

浏览统计数据:

过去 24 小时: 1

过去 7 天: 11

过去 30 天: 71

总计 795