简介
If you need to replace the power button on your Logitech G733 Wireless Headset, you can do so with this guide. Since getting to the power button requires taking off the circuit board, you can also access the scroll wheel using these same steps. For this guide, you will need a Phillips #000 screwdriver, a Torx T4 star-shaped bit, and a halberd spudger. The most difficult step is popping the plastic button off; make sure to do this step with care.
你所需要的
-
-
-
Gently start to pull the left ear pad off, starting from the top.
-
Slide your finger around the edges until it releases completely.
-
Remove the ear pad.
 询问修复机器人
-
-
-
-
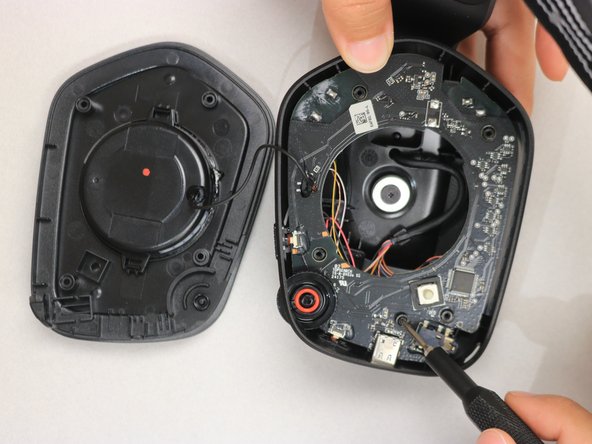
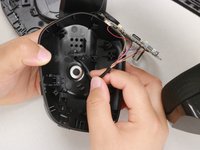
Gently lift off the speaker housing, with care not to strain the connected cable.
-
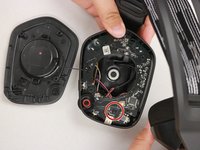
Remove the screw on the bottom right-hand side of the motherboard using a Phillips #000 screwdriver.
-
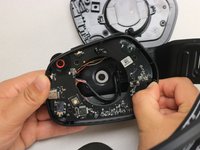
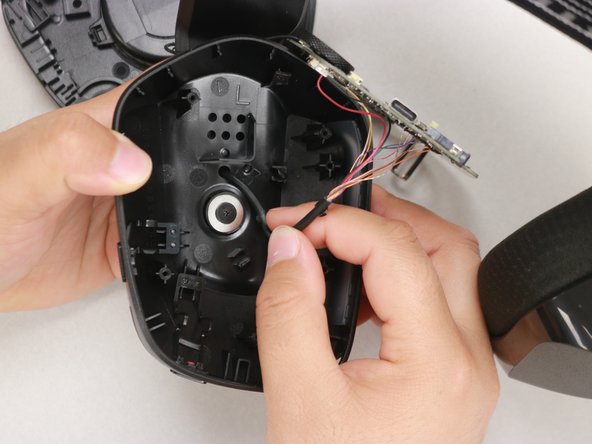
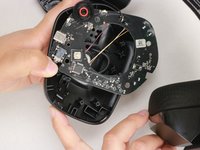
Use your thumb to gently pull back the tab at the upper right-hand corner of the headphone and simultaneously pull the circuit board out.
-
-
在这个步骤中使用的工具:Halberd Spudger$2.99
-
Pop the power button out of its recess by pushing it through the side of the headphone with your finger.
-
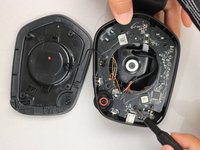
Now use the hook end of the halberd spudger to pry the connecting piece of the power button off at the end furthest to the inside of the headphone.
-
-






To reassemble your device, follow these instructions in reverse order.
另外一个人完成了本指南。

团队

Western Carolina University, Team 1-5, Virtue Spring 2023 Western Carolina University, Team 1-5, Virtue Spring 2023 的会员
WCU-VIRTUE-S23S1G5
4 名成员
创作了24篇指南
