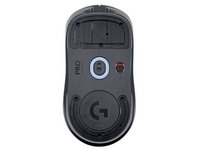
简介
Use this guide to replace the scroll wheel board, or the scroll wheel itself, in your Logitech G Pro X Superlight wireless gaming mouse.
If you're having trouble with left and right click (such as sticking), or your scroll wheel isn't working or is unresponsive, you might need to replace the scroll wheel board.
If possible, follow this guide after your battery has fallen below 15% charge—this is indicated when the LED light on top of the mouse is red. While your G Pro X Superlight has a relatively small battery, any charged battery is a potential safety hazard if accidentally bent or punctured.
你所需要的
-
-
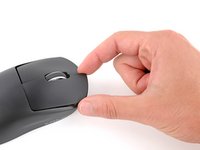
Slide your mouse's power switch down so it's in the OFF position.
-
Unplug all cables from your mouse.
-
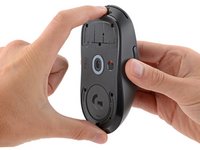
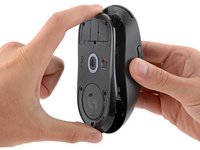
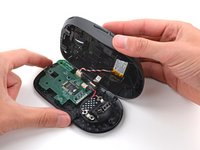
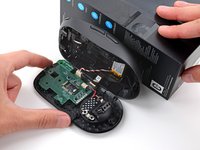
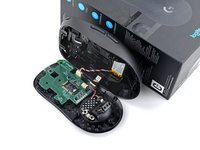
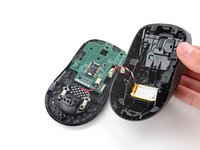
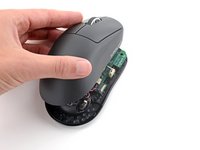
Flip the mouse over so the feet are facing up.
-
-
-
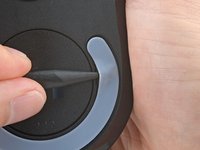
Heat an iOpener and lay it on the mouse feet for one minute to heat the adhesive.
-
-
-
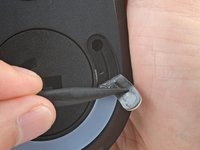
Use a spudger to carefully scrape up and remove any remaining adhesive bits.
-
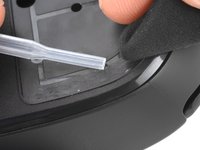
Use isopropyl alcohol and a microfiber cloth to thoroughly clean all adhesive residue from the foot recesses. Allow the surface to completely dry.
-
Remove the feet from their backing and firmly press them into place.
-
-
-
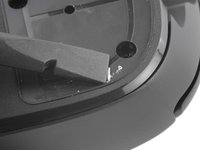
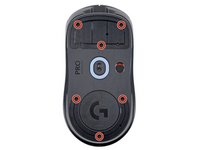
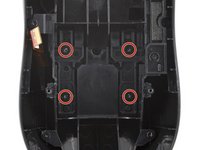
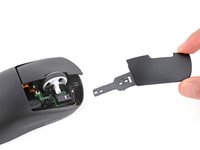
Use a Phillips screwdriver to remove the six 4.5 mm‑long screws securing the bottom shell.
-
-
-
-
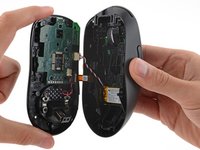
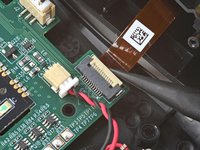
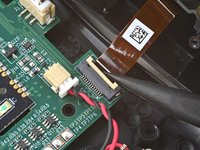
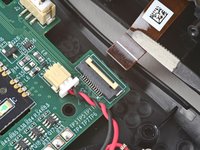
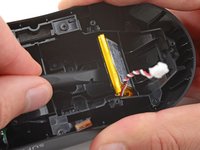
Use the point of a spudger to lift the locking flap on the top shell ZIF connector.
-
Use tweezers to gently pull the cable straight out of its socket.
-
-
在这个步骤中使用的工具:Tesa 61395 Tape$2.99
-
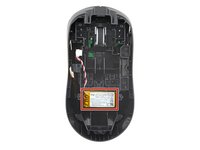
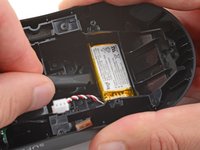
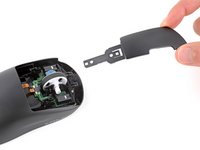
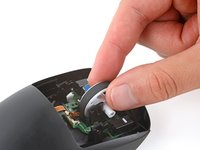
Remove the battery.
-
If the battery adhesive is still sticky, you can reuse it. Otherwise, remove all the old battery adhesive.
-
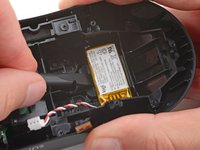
If your new battery has adhesive pre-installed, remove the plastic liner to expose the adhesive. Otherwise, apply strips of thin, double-sided tape to the battery well (not directly to the battery) where the old adhesive was.
-
Make sure the cable is on the side nearest its connector and firmly press the battery into place.
-
-
-
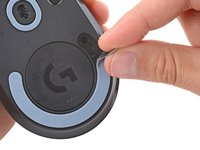
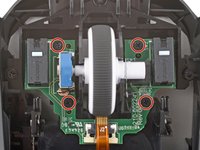
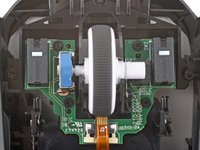
Use a Phillips screwdriver to remove the four 3.5 mm‑long screws securing the left and right click buttons.
-
-
-
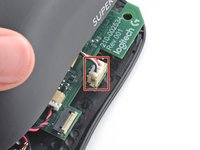
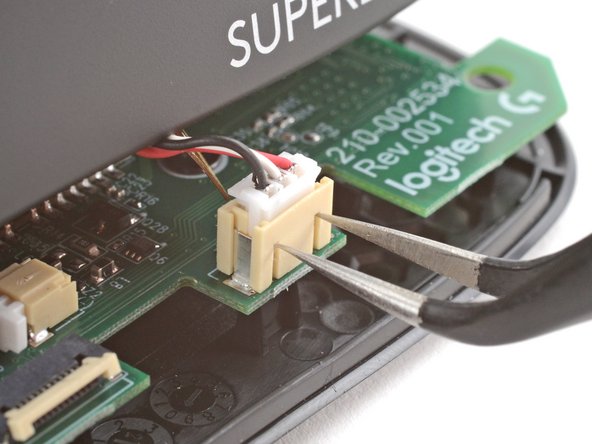
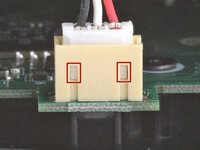
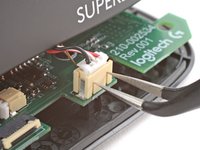
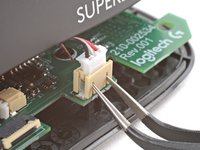
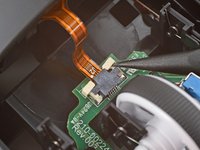
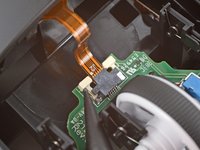
Use the point of a spudger to push on alternating sides of the plastic latch on the scroll wheel board connector.
-
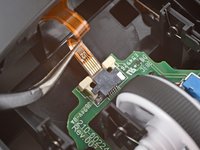
Use tweezers to gently pull the cable straight out of its socket.
-
-
-
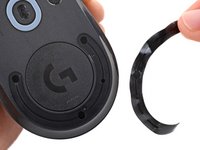
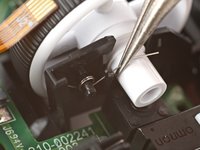
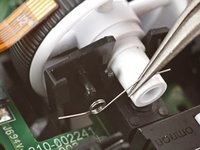
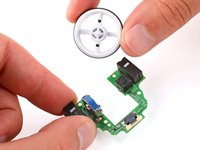
Use tweezers to lift the longer edge of the spring out of its groove and remove the spring.
-
Place the circular part of the spring onto its post so the longer end is closer to the scroll wheel mounting peg.
-
Guide the short end of the spring into its slot near the rear of the scroll wheel.
-
Lift the long end of the spring over and into its groove, so it's sitting on top of the scroll wheel mounting peg.
-
-
-
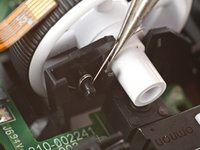
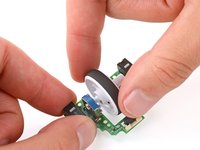
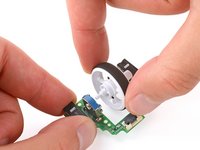
Firmly secure the board with one hand, and use your free hand to gently pull the scroll wheel straight out of its socket.
-


To reassemble your device, follow these instructions in reverse order.
Take your e-waste to an R2 or e-Stewards certified recycler.
Repair didn’t go as planned? Try some basic troubleshooting, or ask our Answers community for help.

