简介
Before reading this guide, check the “Device Won’t Turn On” section on the troubleshooting page to see if your issue can be solved without replacement: Lenovo ThinkPad x120e Troubleshooting - iFixit
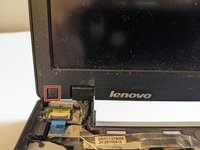
Before beginning replacing the LCD screen for the Lenovo ThinkPad x120e, make sure to power off your laptop and remove any power connectors. Also note that the size of the display is 11.6 inches.
After replacing it, make sure you properly dispose of any parts you don’t need. Check this site for more information: Electronics Donation and Recycling
你所需要的
-
-
Flip the laptop upside down and locate the battery latches under the battery.
-
Place your thumbs on both latches and push the latch inwards.
-
With your thumbs still on the latches, slide the battery out of the laptop.
-
-
-
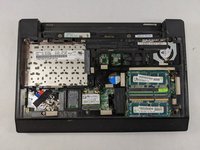
Using the Phillips #0 screwdriver, remove the three 4 mm screws that are securing the bottom cover.
-
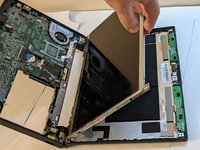
Remove the backplate carefully, making sure not to bend the cover.
-
-
-
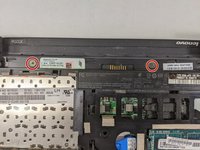
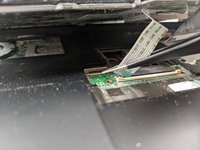
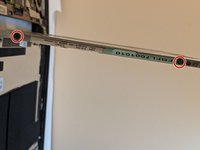
Using the Phillips #0 screwdriver, remove the two 4 mm retaining screws located on the battery slot.
-
-
-
-
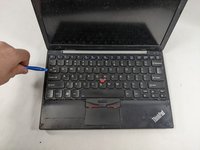
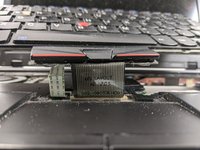
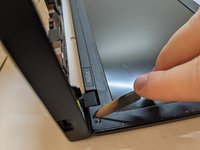
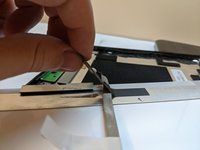
Remove the screw covers that are located on both sides of the display using a spudger.
-


To reassemble your device, follow these instructions in reverse order.
团队

UMass Dartmouth, Team 3-4, Sinclaire Fall 2021 UMass Dartmouth, Team 3-4, Sinclaire Fall 2021 的会员
UMASSD-SINCLAIRE-F21S3G4
3 名成员
创作了6篇指南